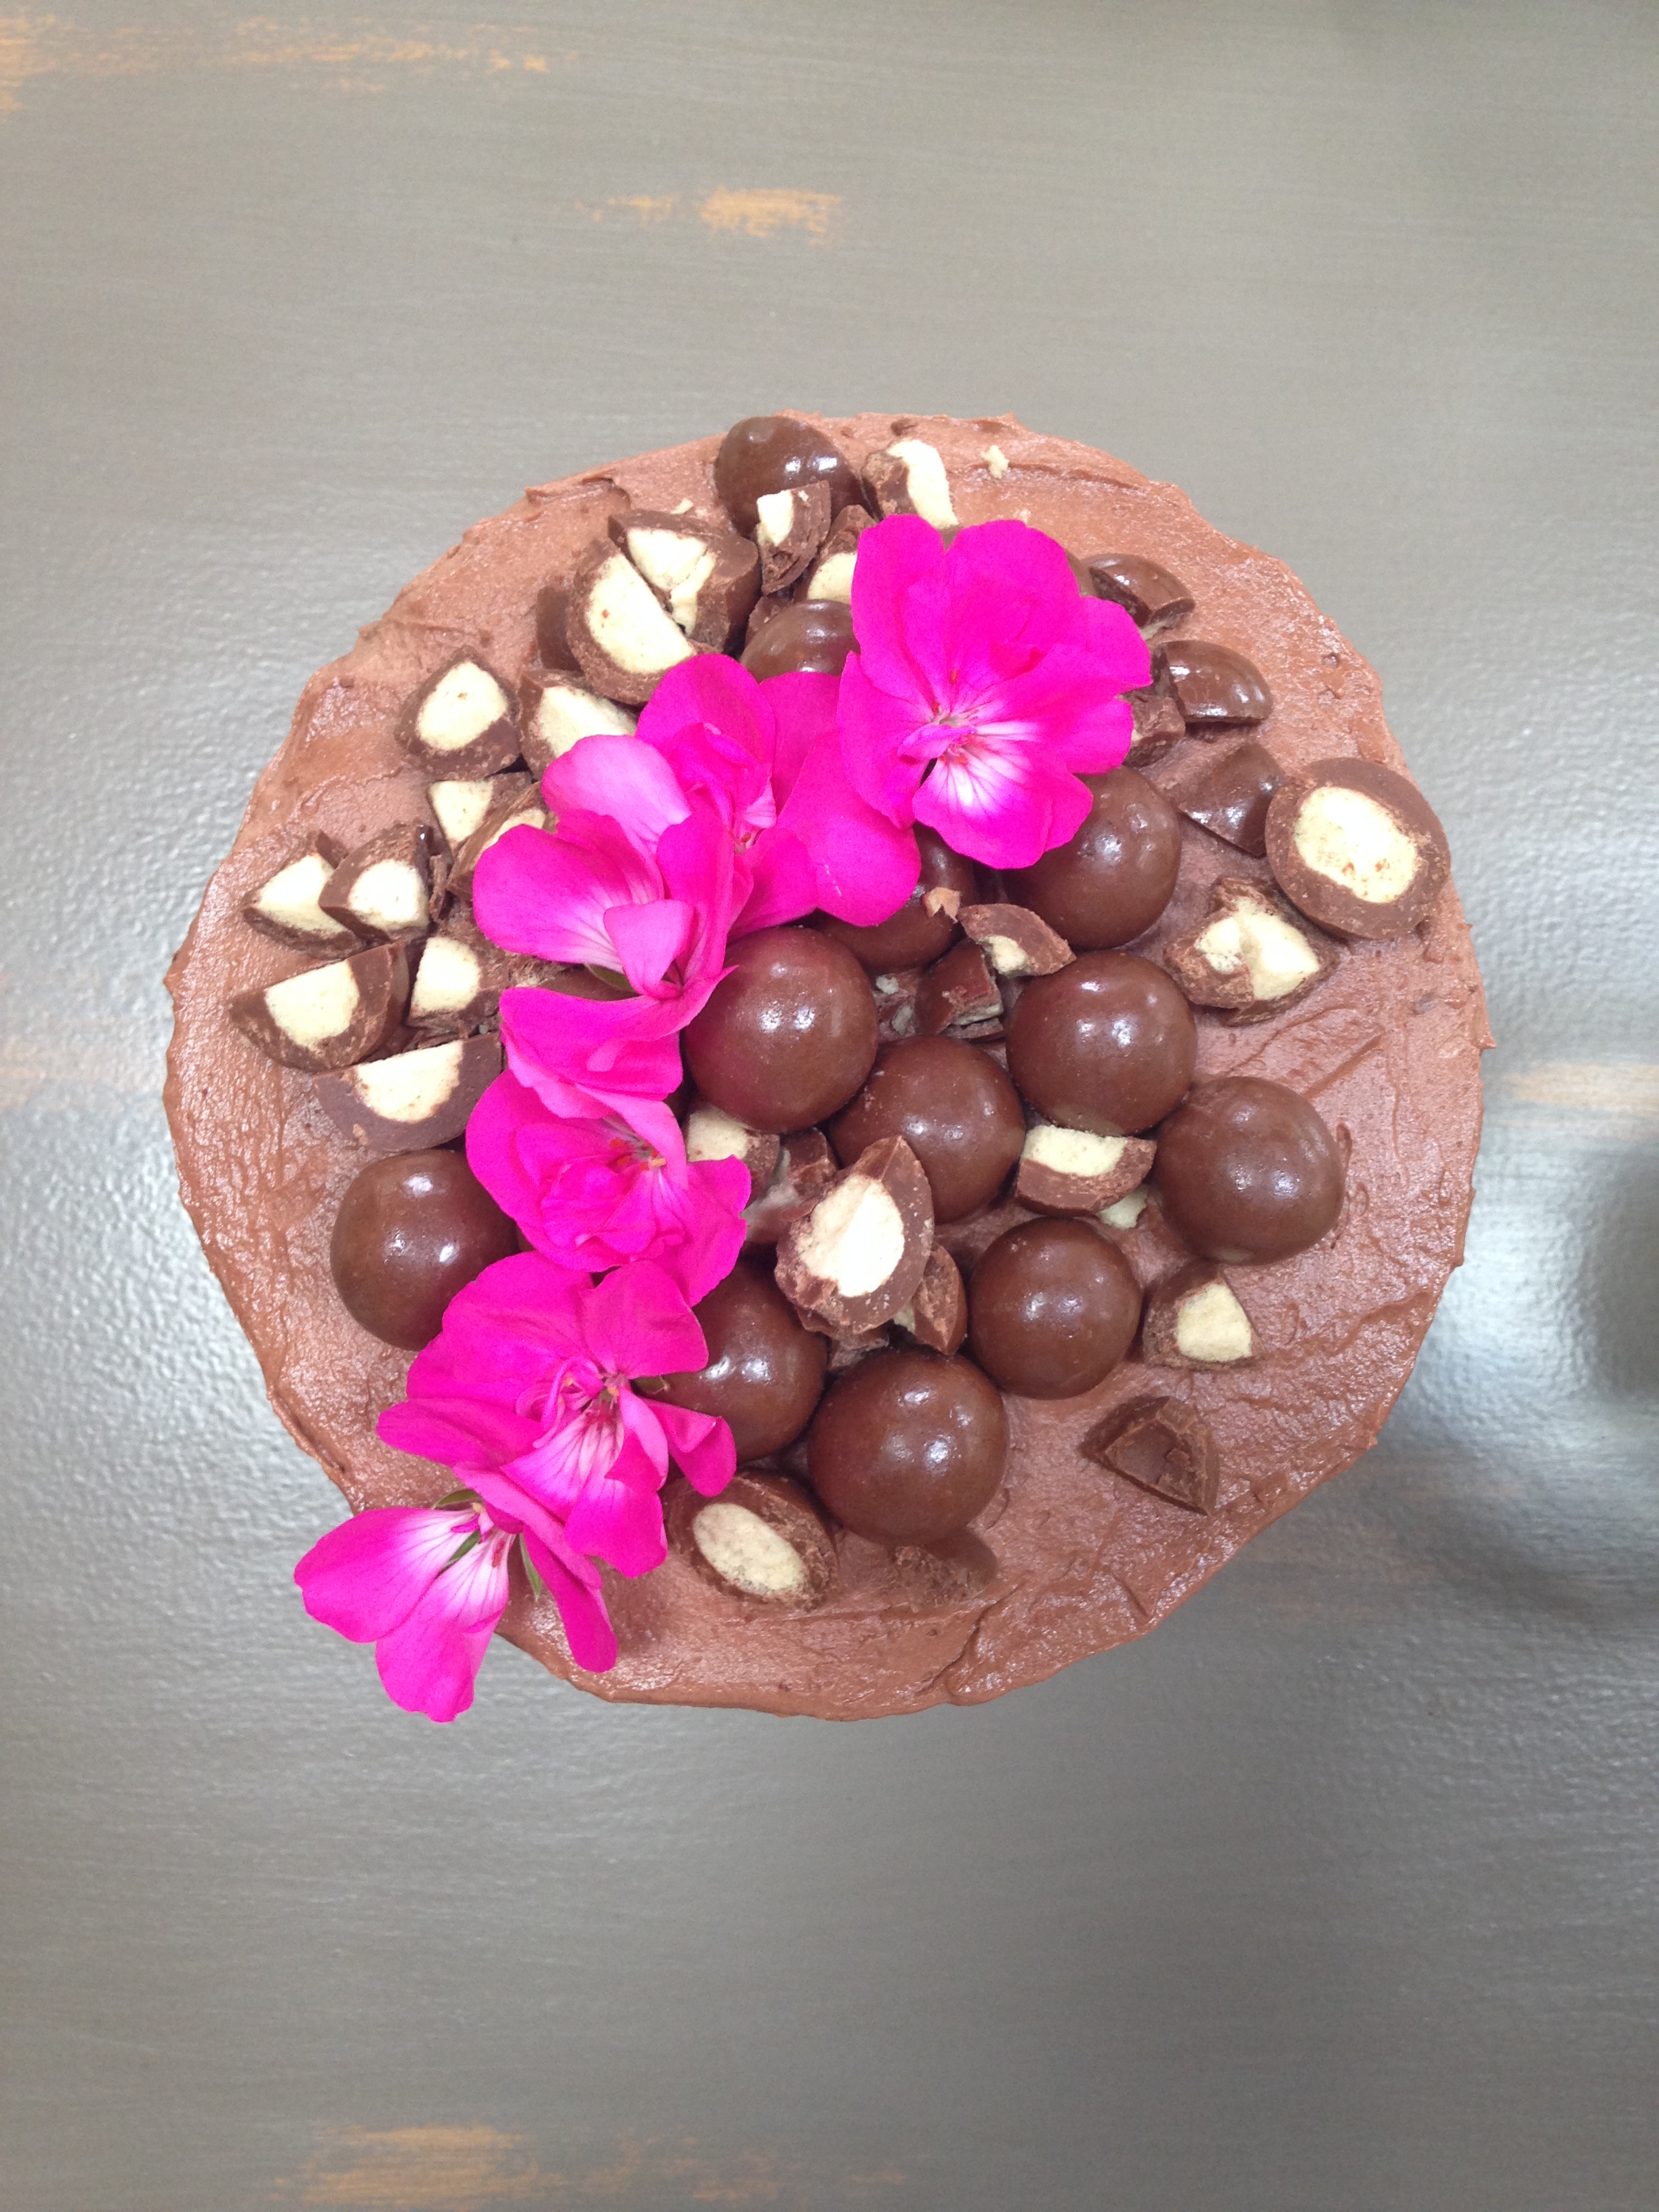
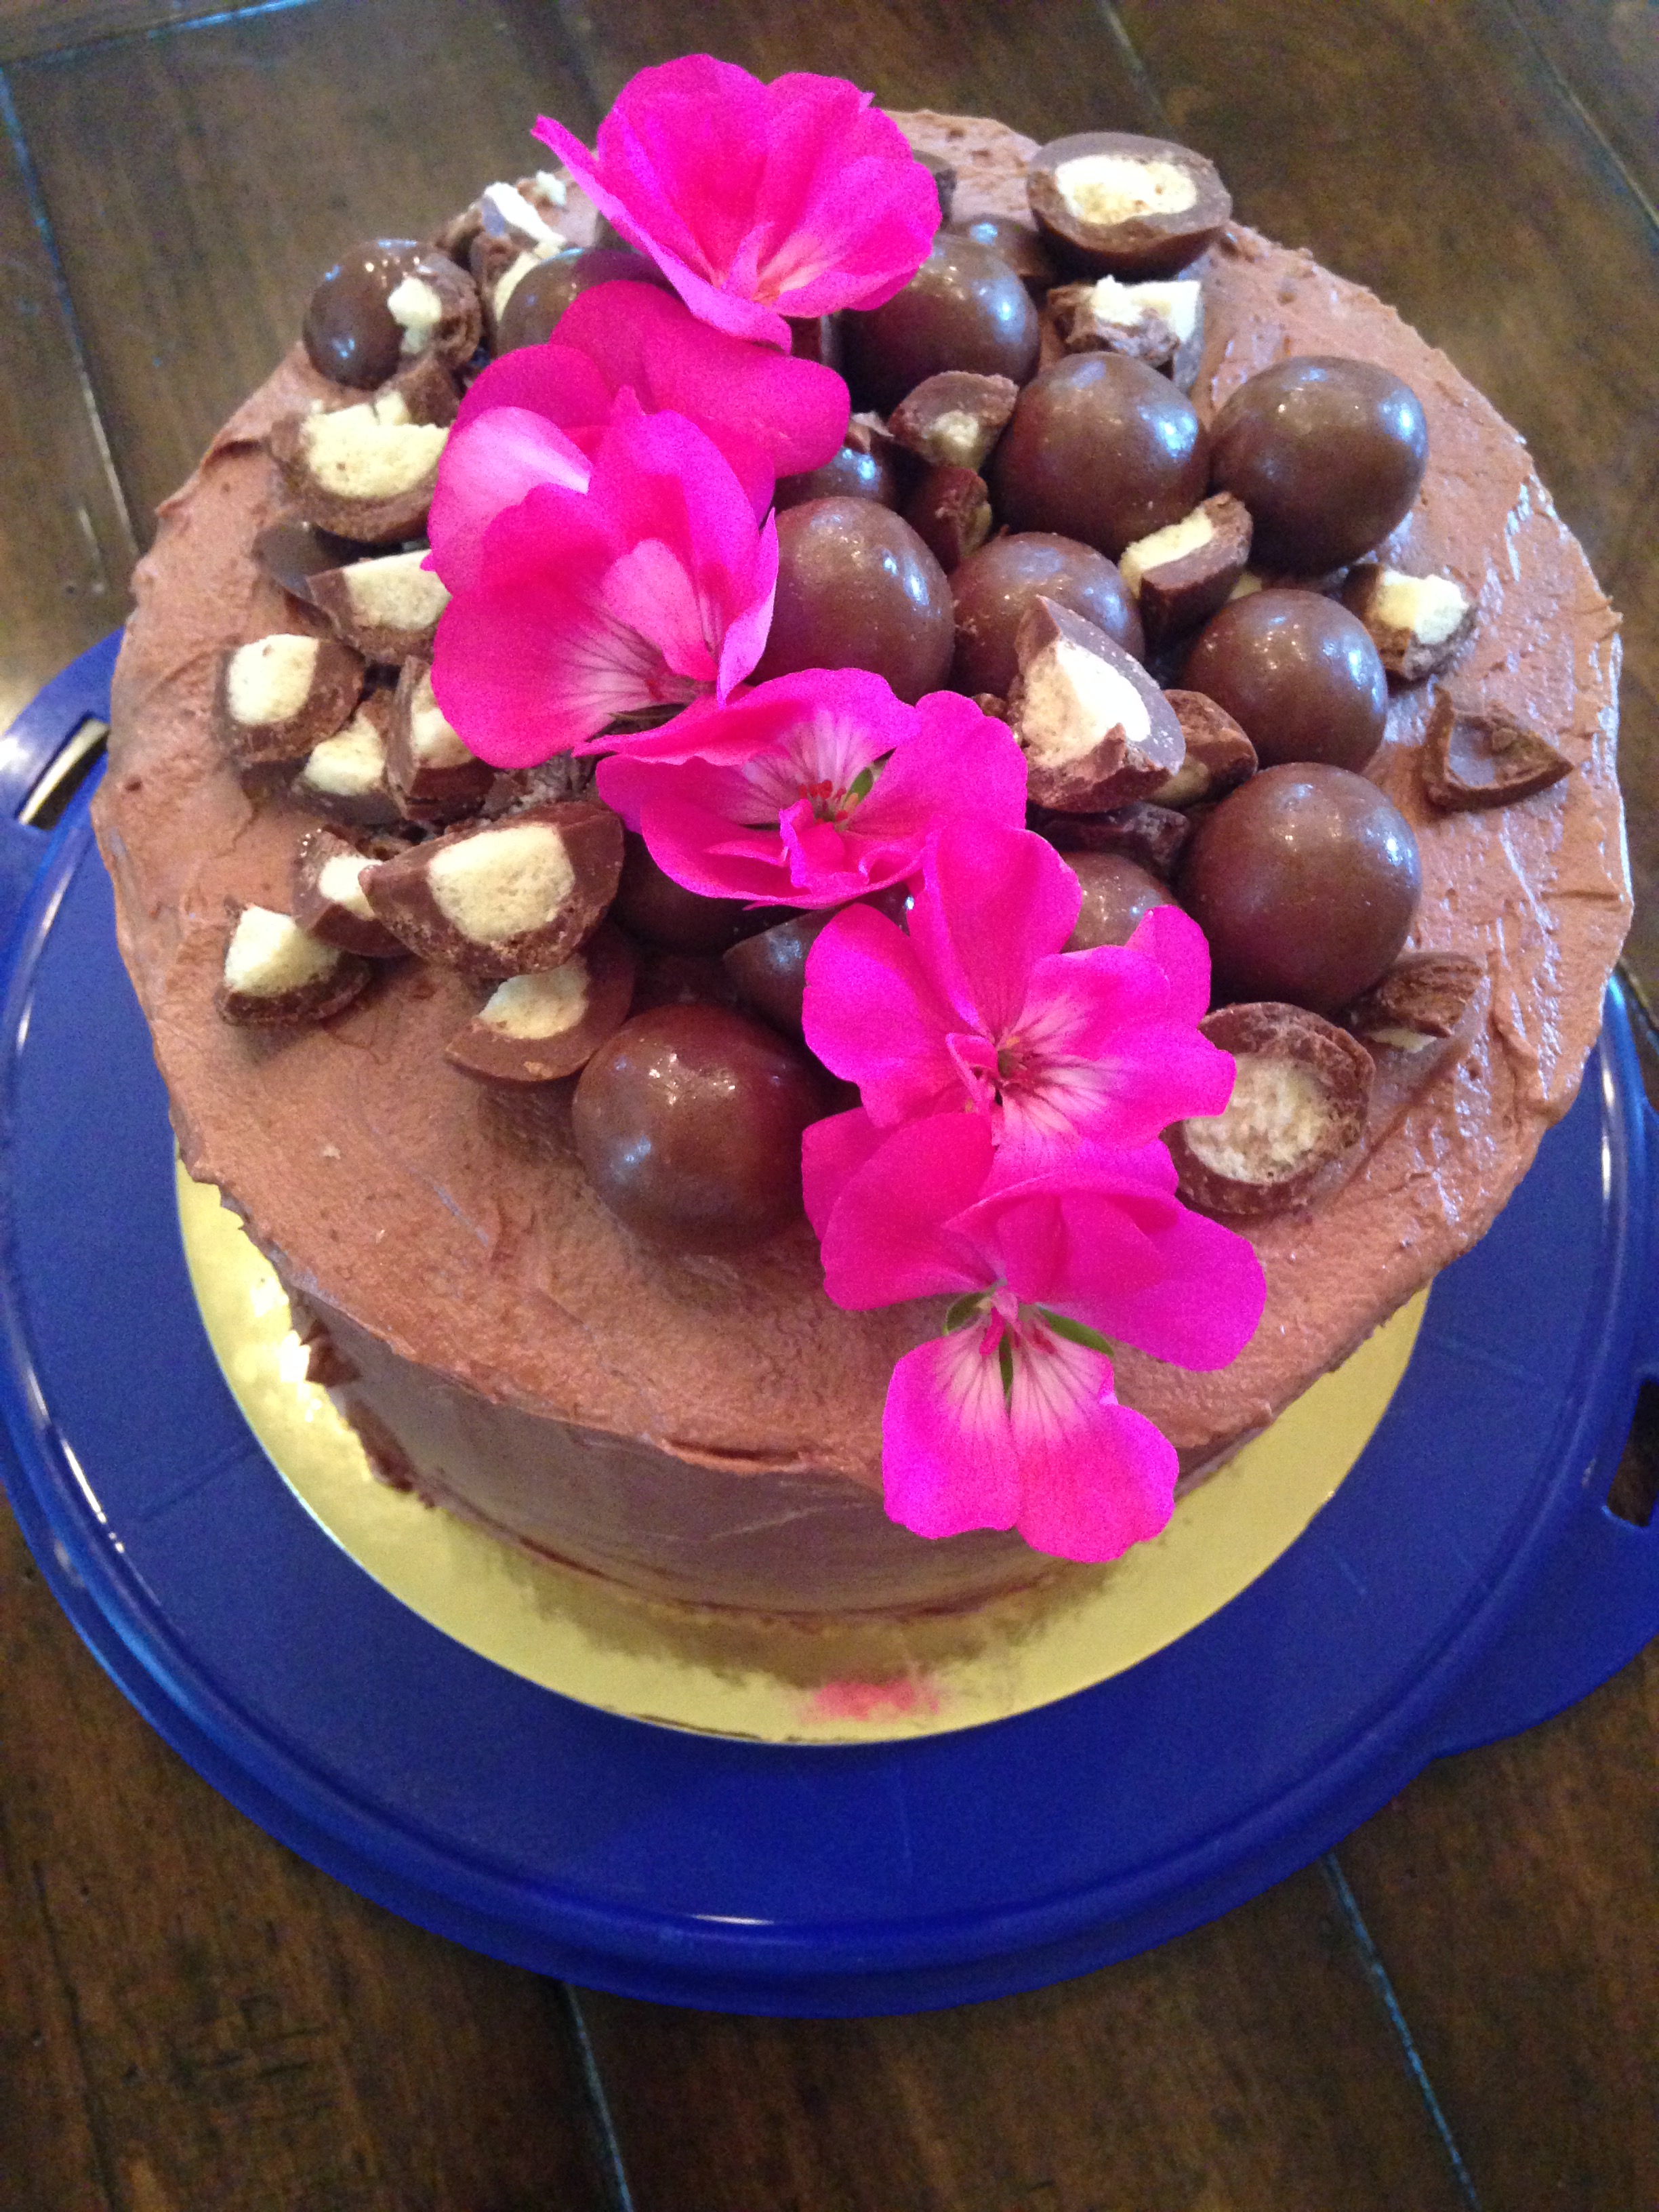
I’m not entirely sure what a double chocolate cake is. To me, this is more like triple or quadruple chocolate cake. Whatever the chocolate taxonomy, this cake is absolutely decadent. Although it’s actually the first tiered cake I’ve ever made, it’s definitely one of the best cakes I’ve ever had.
I hesitate to even call it a birthday cake, which was at least part of the original intent for making it (mother’s day being the other part). Let’s call it what it is, shall we? A masterpiece. BOOM!
yup…
When I think birthday cake, I think of the light and fluffy two tiered cakes–with a thick chocolate buttercream casing and some silly design of icing balloons or perhaps sprinkles all over the sides–that my family always orders from Graul’s market (roooooooar). For $35.00 these cakes are the best. But Graul’s cakes are sold for $35.00, I surely could sell this masterpiece for at least $100.00.
I mean… Geraniums. Right?!
I came up with the idea for this cake, while searching the internet and instagram for inspiration. I found a beautiful chocolate cake from a Canadian blogger, who takes very nice photos. I have to say that the chocolate cake I saw there, was the biggest inspiration. But how can you make a chocolate cake even better? Malt Balls! Malt Balls! and more Malt Balls!
Because you (er..I) just can’t have enough of a good thing…
I wasn’t quite sure how her recipe for the cake would turn out, so I ended up combining and modifying two recipes–one from the blogger I mentioned and the other from Momofuku Milk Bar, one of my favorite shops in NYC. The fact that this cake has two types of cake in it, makes it even more impressive. If you don’t have time, you can pick one. But I highly recommend the duo.
The rest of this post is segmented into three parts: The Cake; The Icing; The Assembly. It’s a long post. But, hey…making a cake this good is involved!
THE CAKE
Cake type 2 AKA Da Fudgilicious
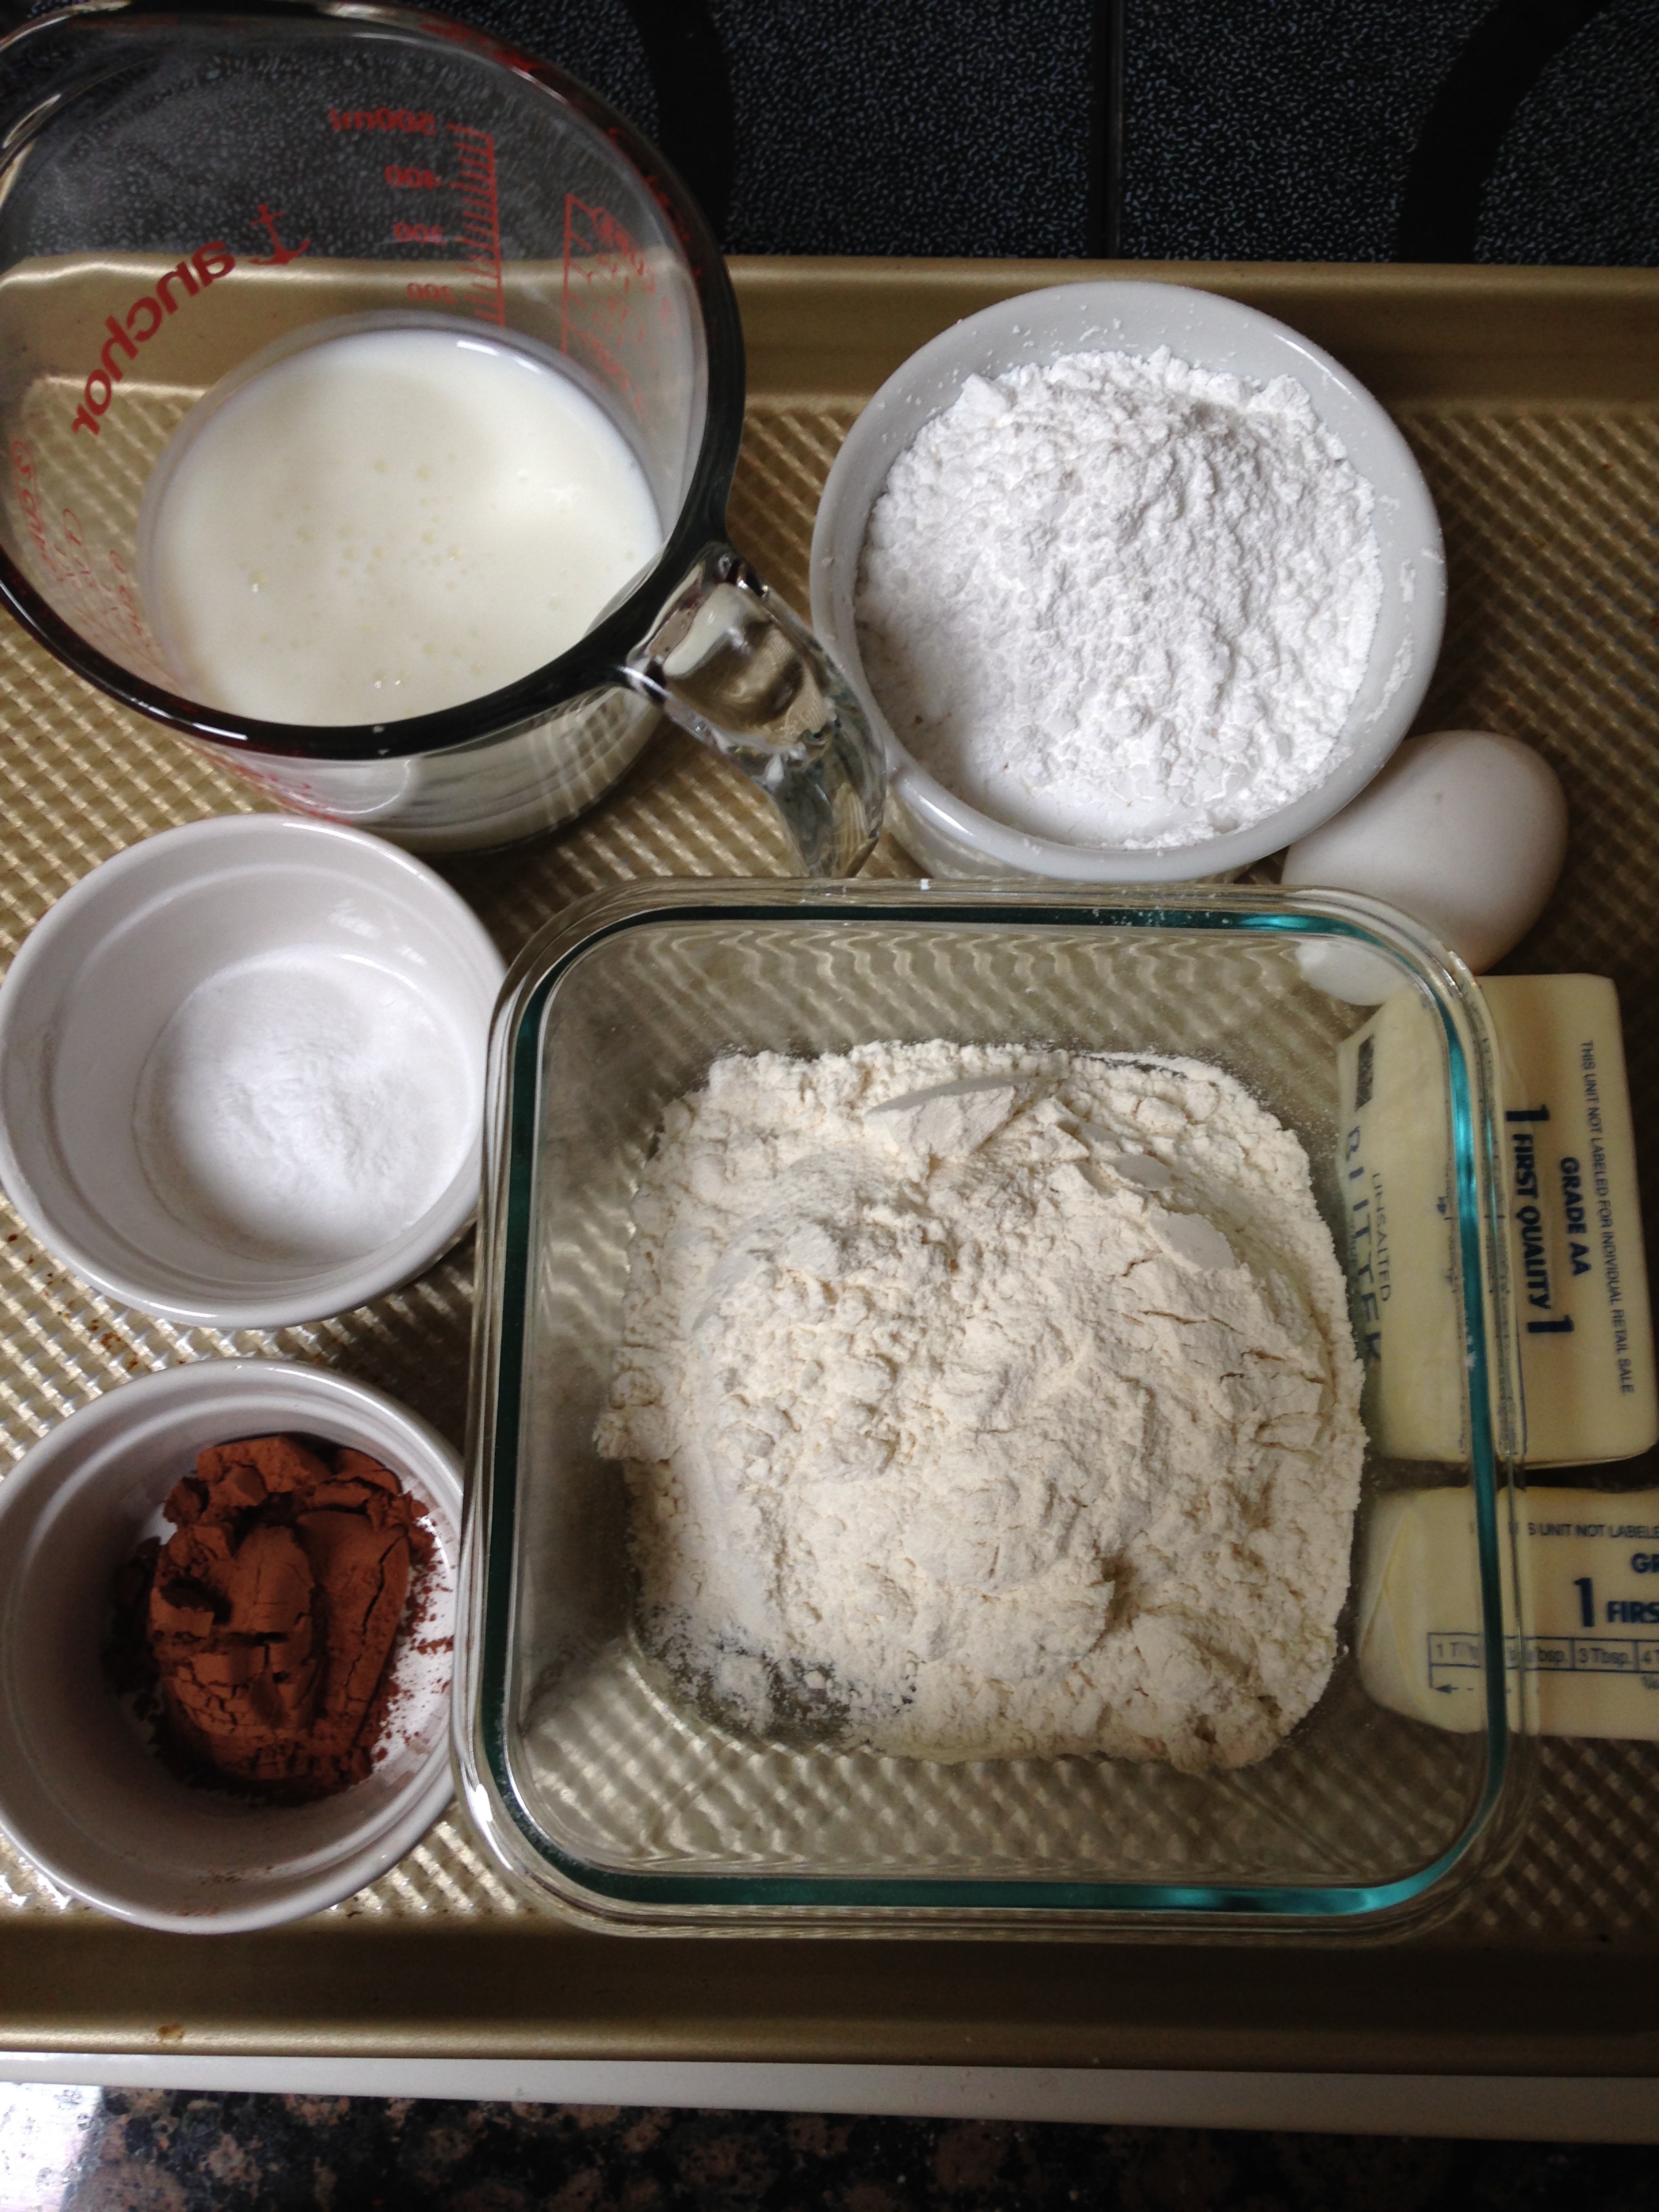
I’m embarrassed to report: This is the only mis en place I made for this cake:(
To make Cake Type 2 (layers 2 and 4): First…pre-heat your oven to 325 F.
You will need 2 round 8” cake tins, which you will want to butter up and lightly flour to ready for the cake batter. I only had 1, which is fine, but it just takes much longer to finish the cake with 1 tin v. 4 tins. Obviously…
To prepare the batter for Cake Type 2 Gather together: 1.5 large eggs (1 egg + 1/2 of another egg whisked up); 1.5 sticks of butter; 1/2 cup of cocoa powder; 1 cup of all purpose flour; 3/4 tsp of baking soda; 1/2 tsp of salt; 3/4 cup of buttermilk; and 1 1/4 cup of confectioners sugar.
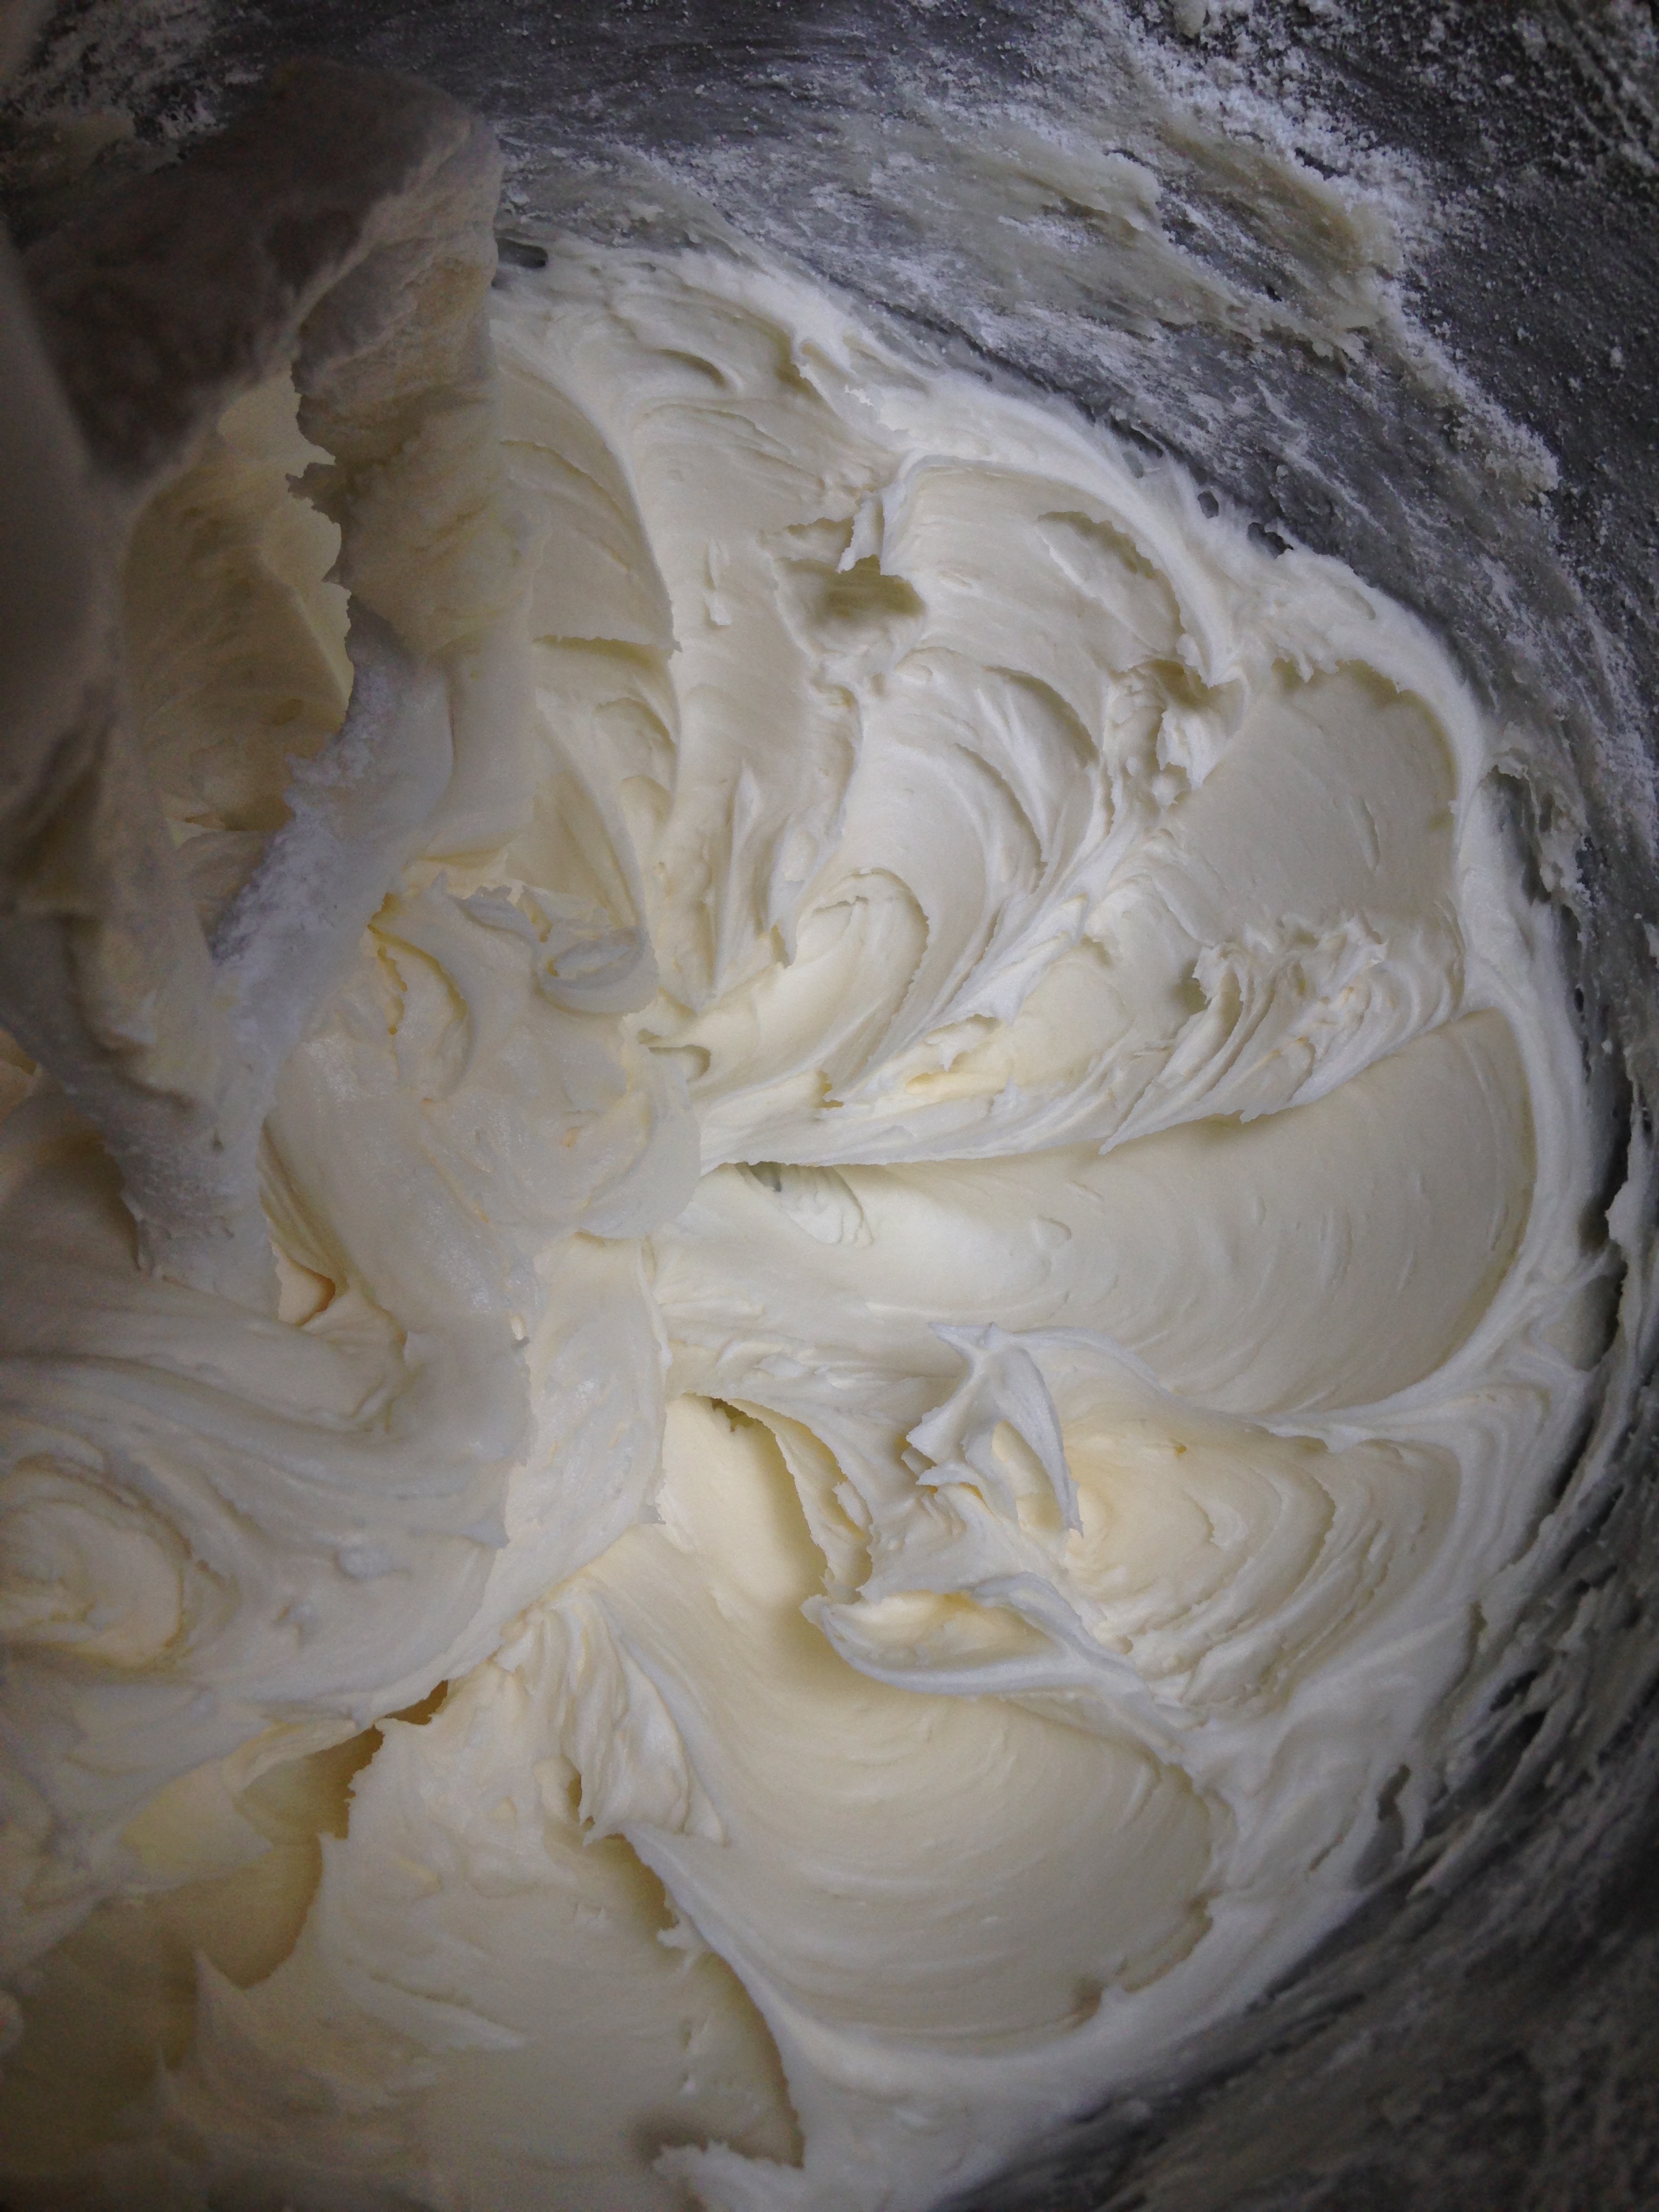
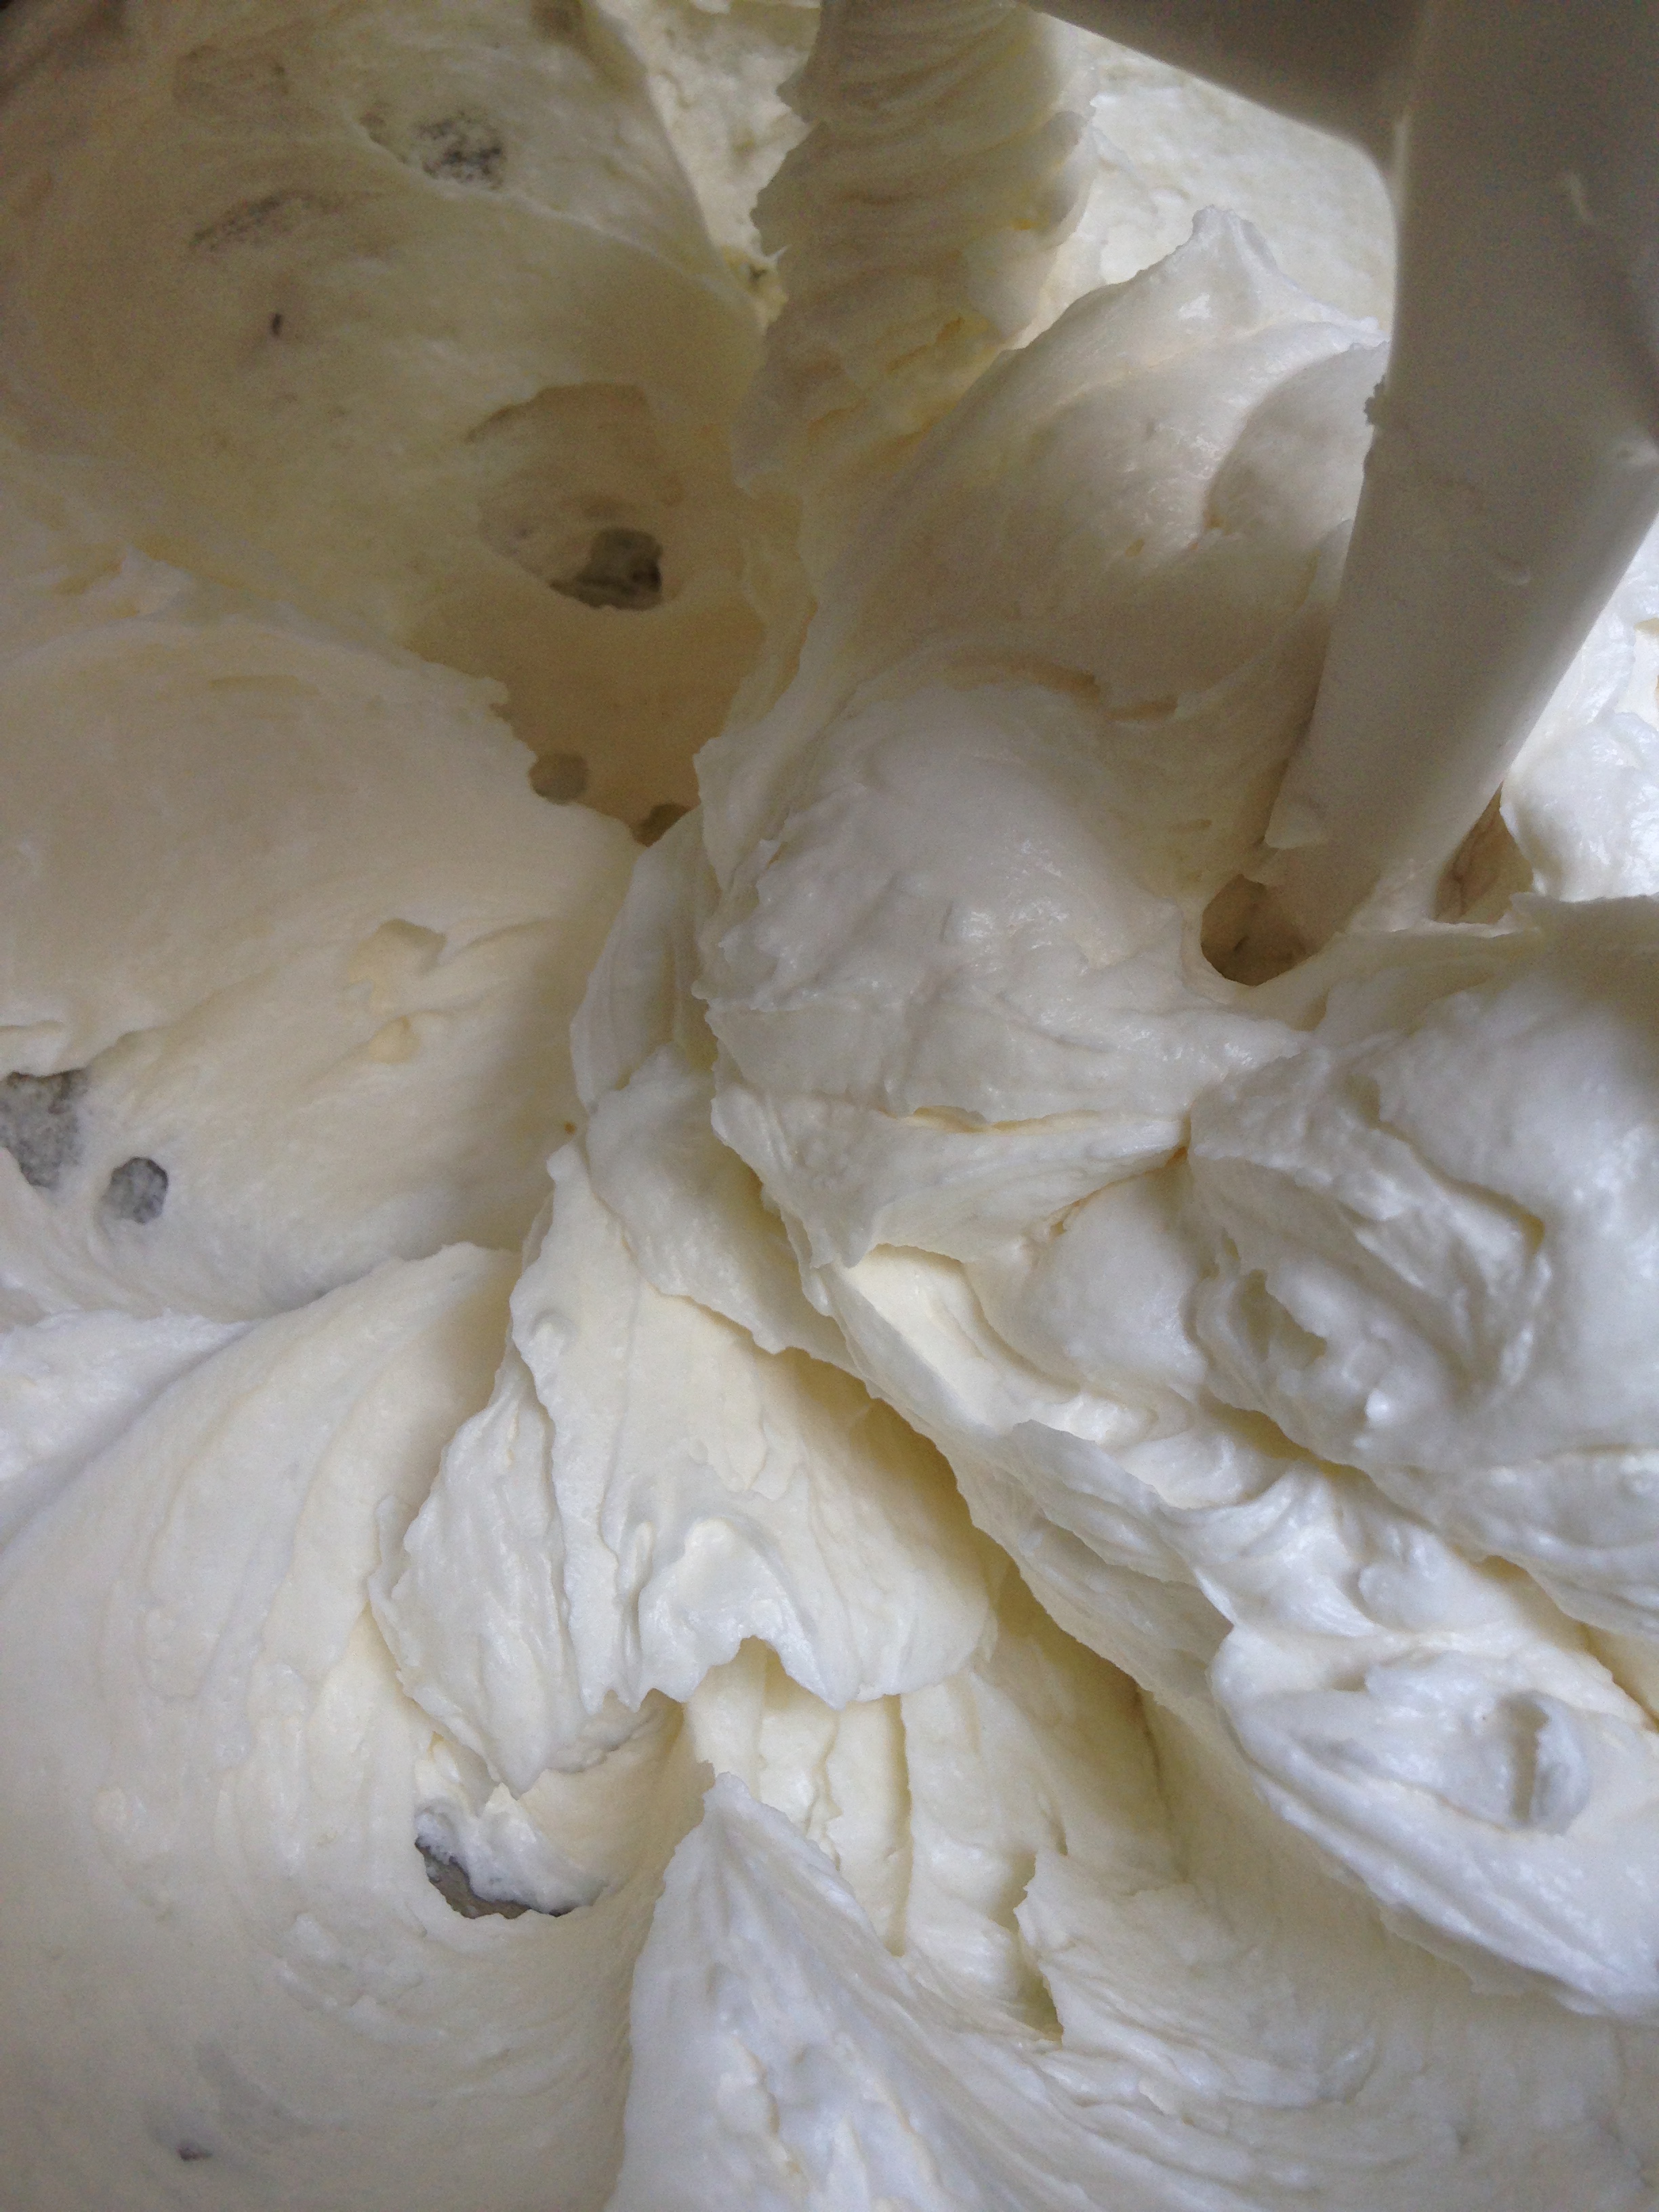
First cream the butter and the sugar on medium in a stand mixer (about 7 minutes).
Holy #^$^! looks so tasty!
Then add the eggs little by little. Once they are incorporated, add 1/3 cup of dry ingredients. Then 1/3 of the buttermilk. Then 1/3 cup of dry ingredients. Then 1/3 of the buttermilk etc. etc. until it’s all in the mixture. 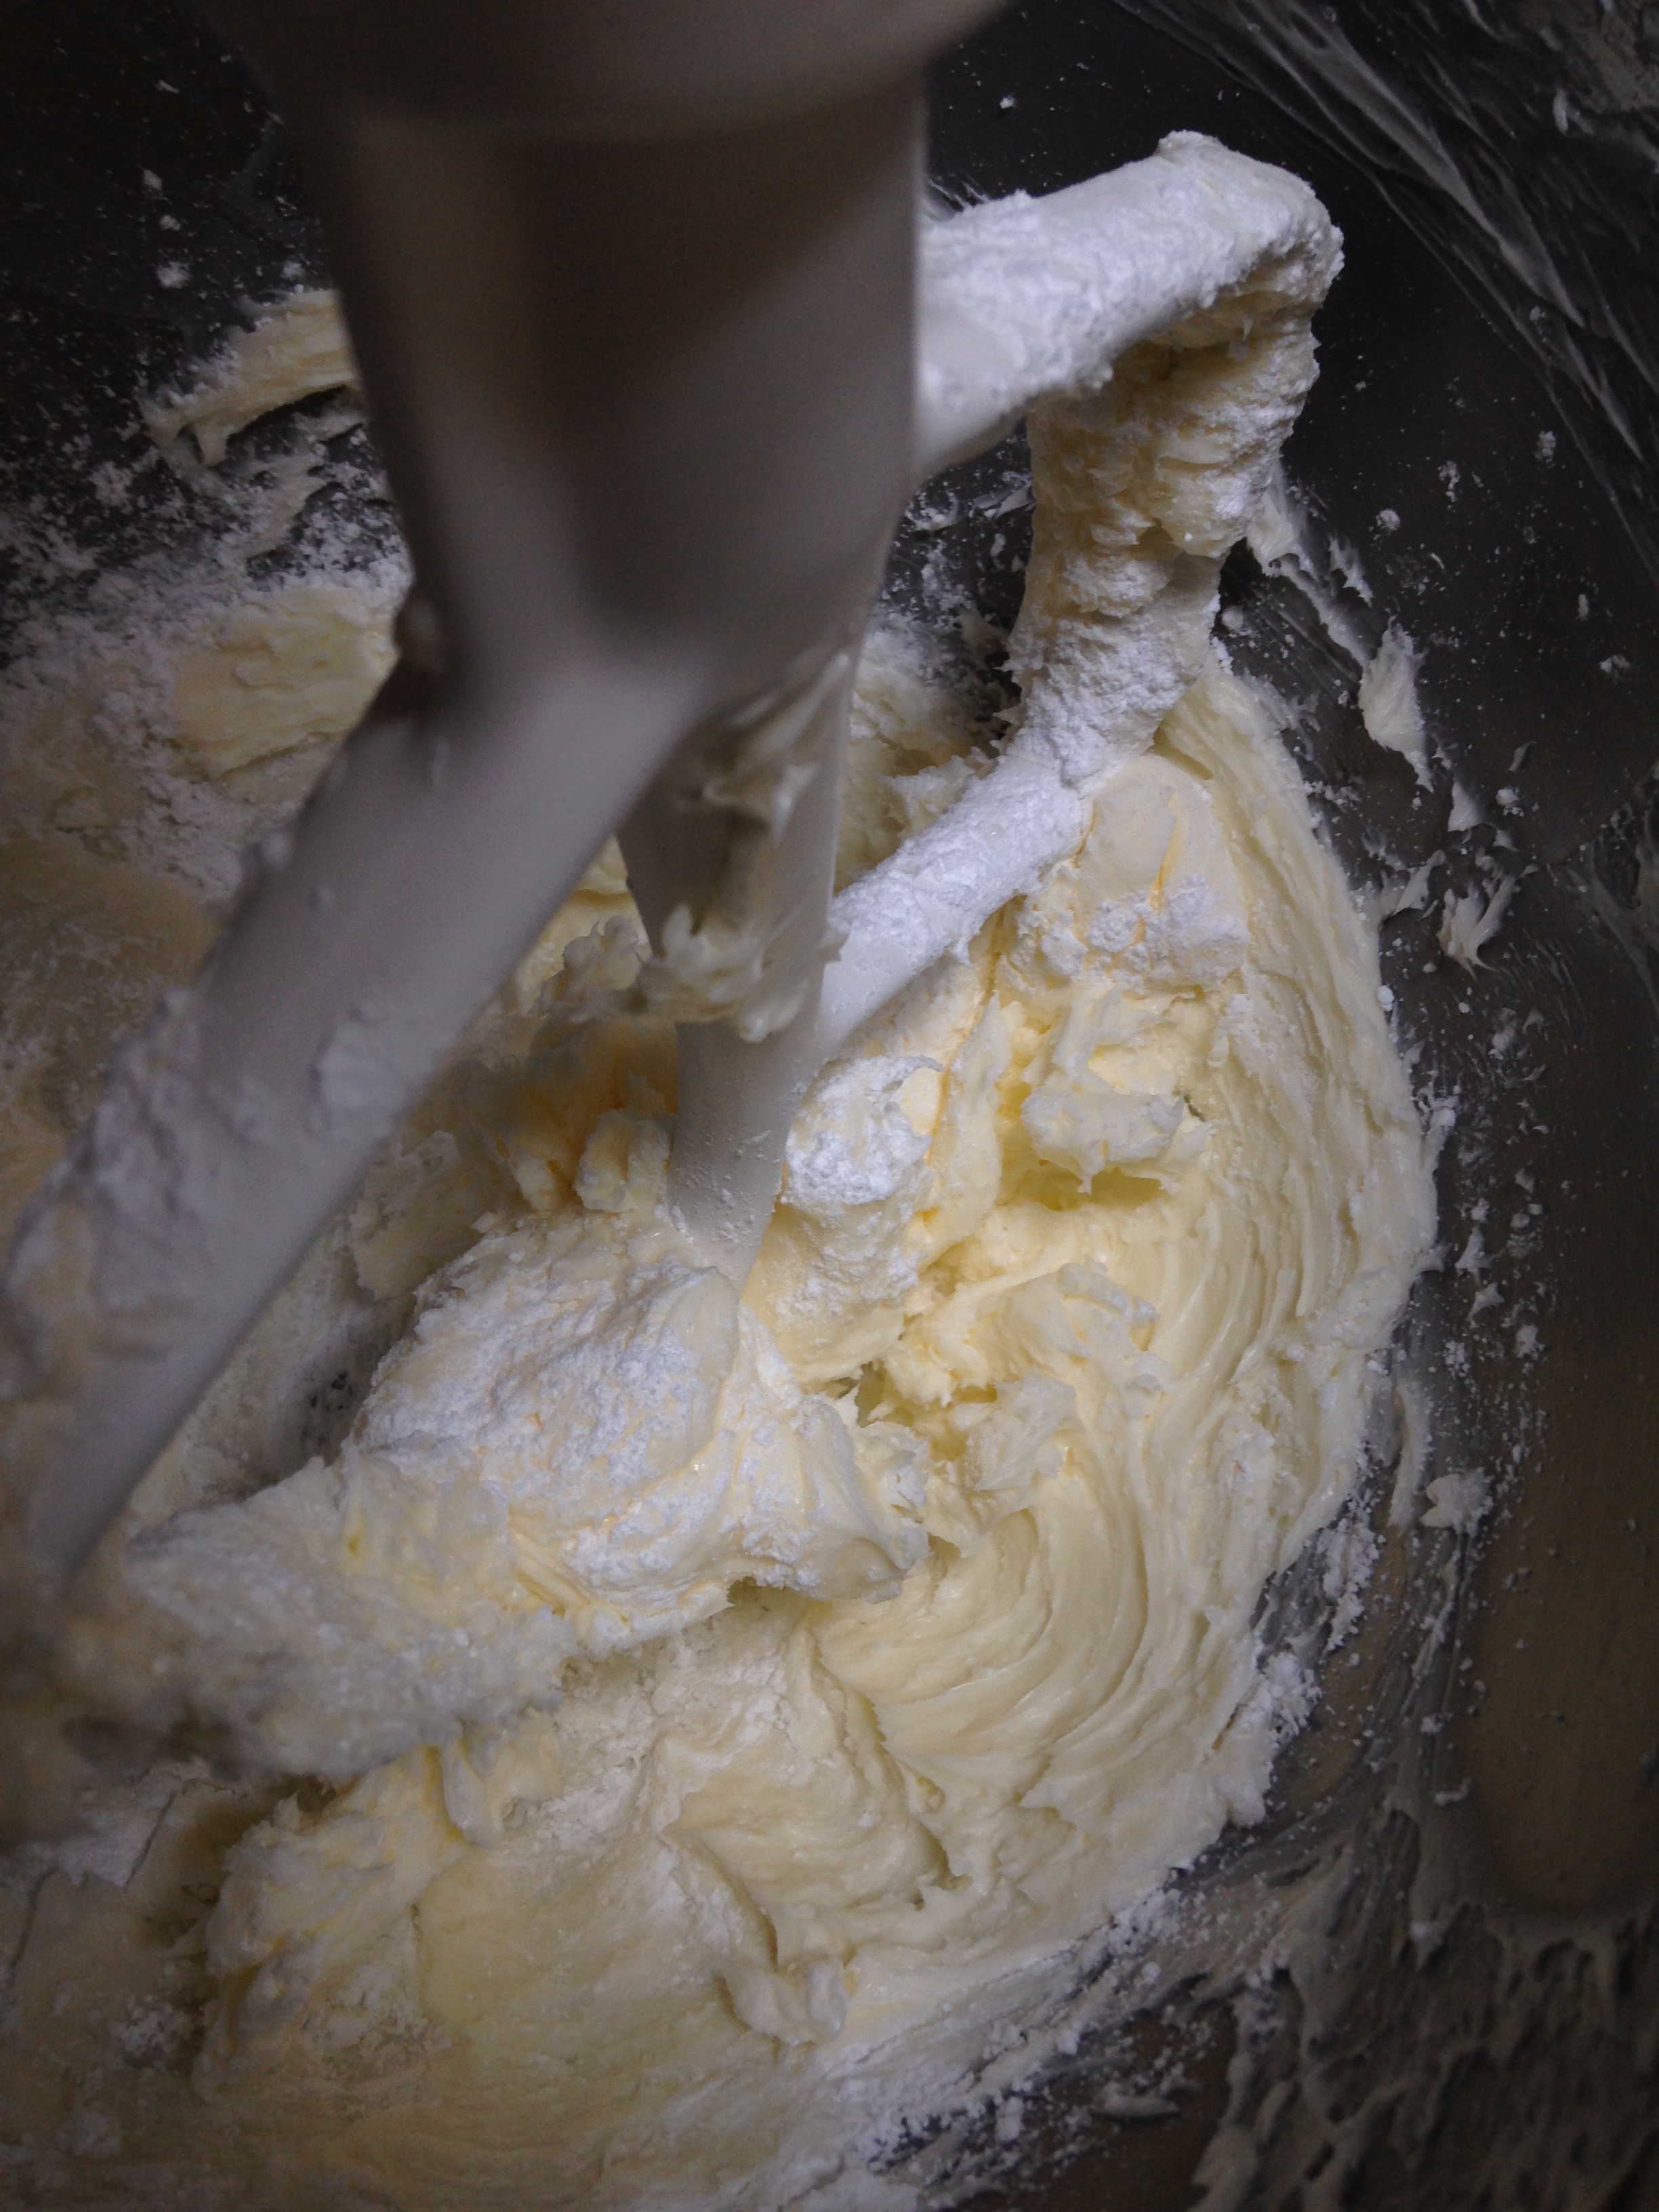
Finally add the cocoa until the batter is nice and dark and chocolatey and delicious.
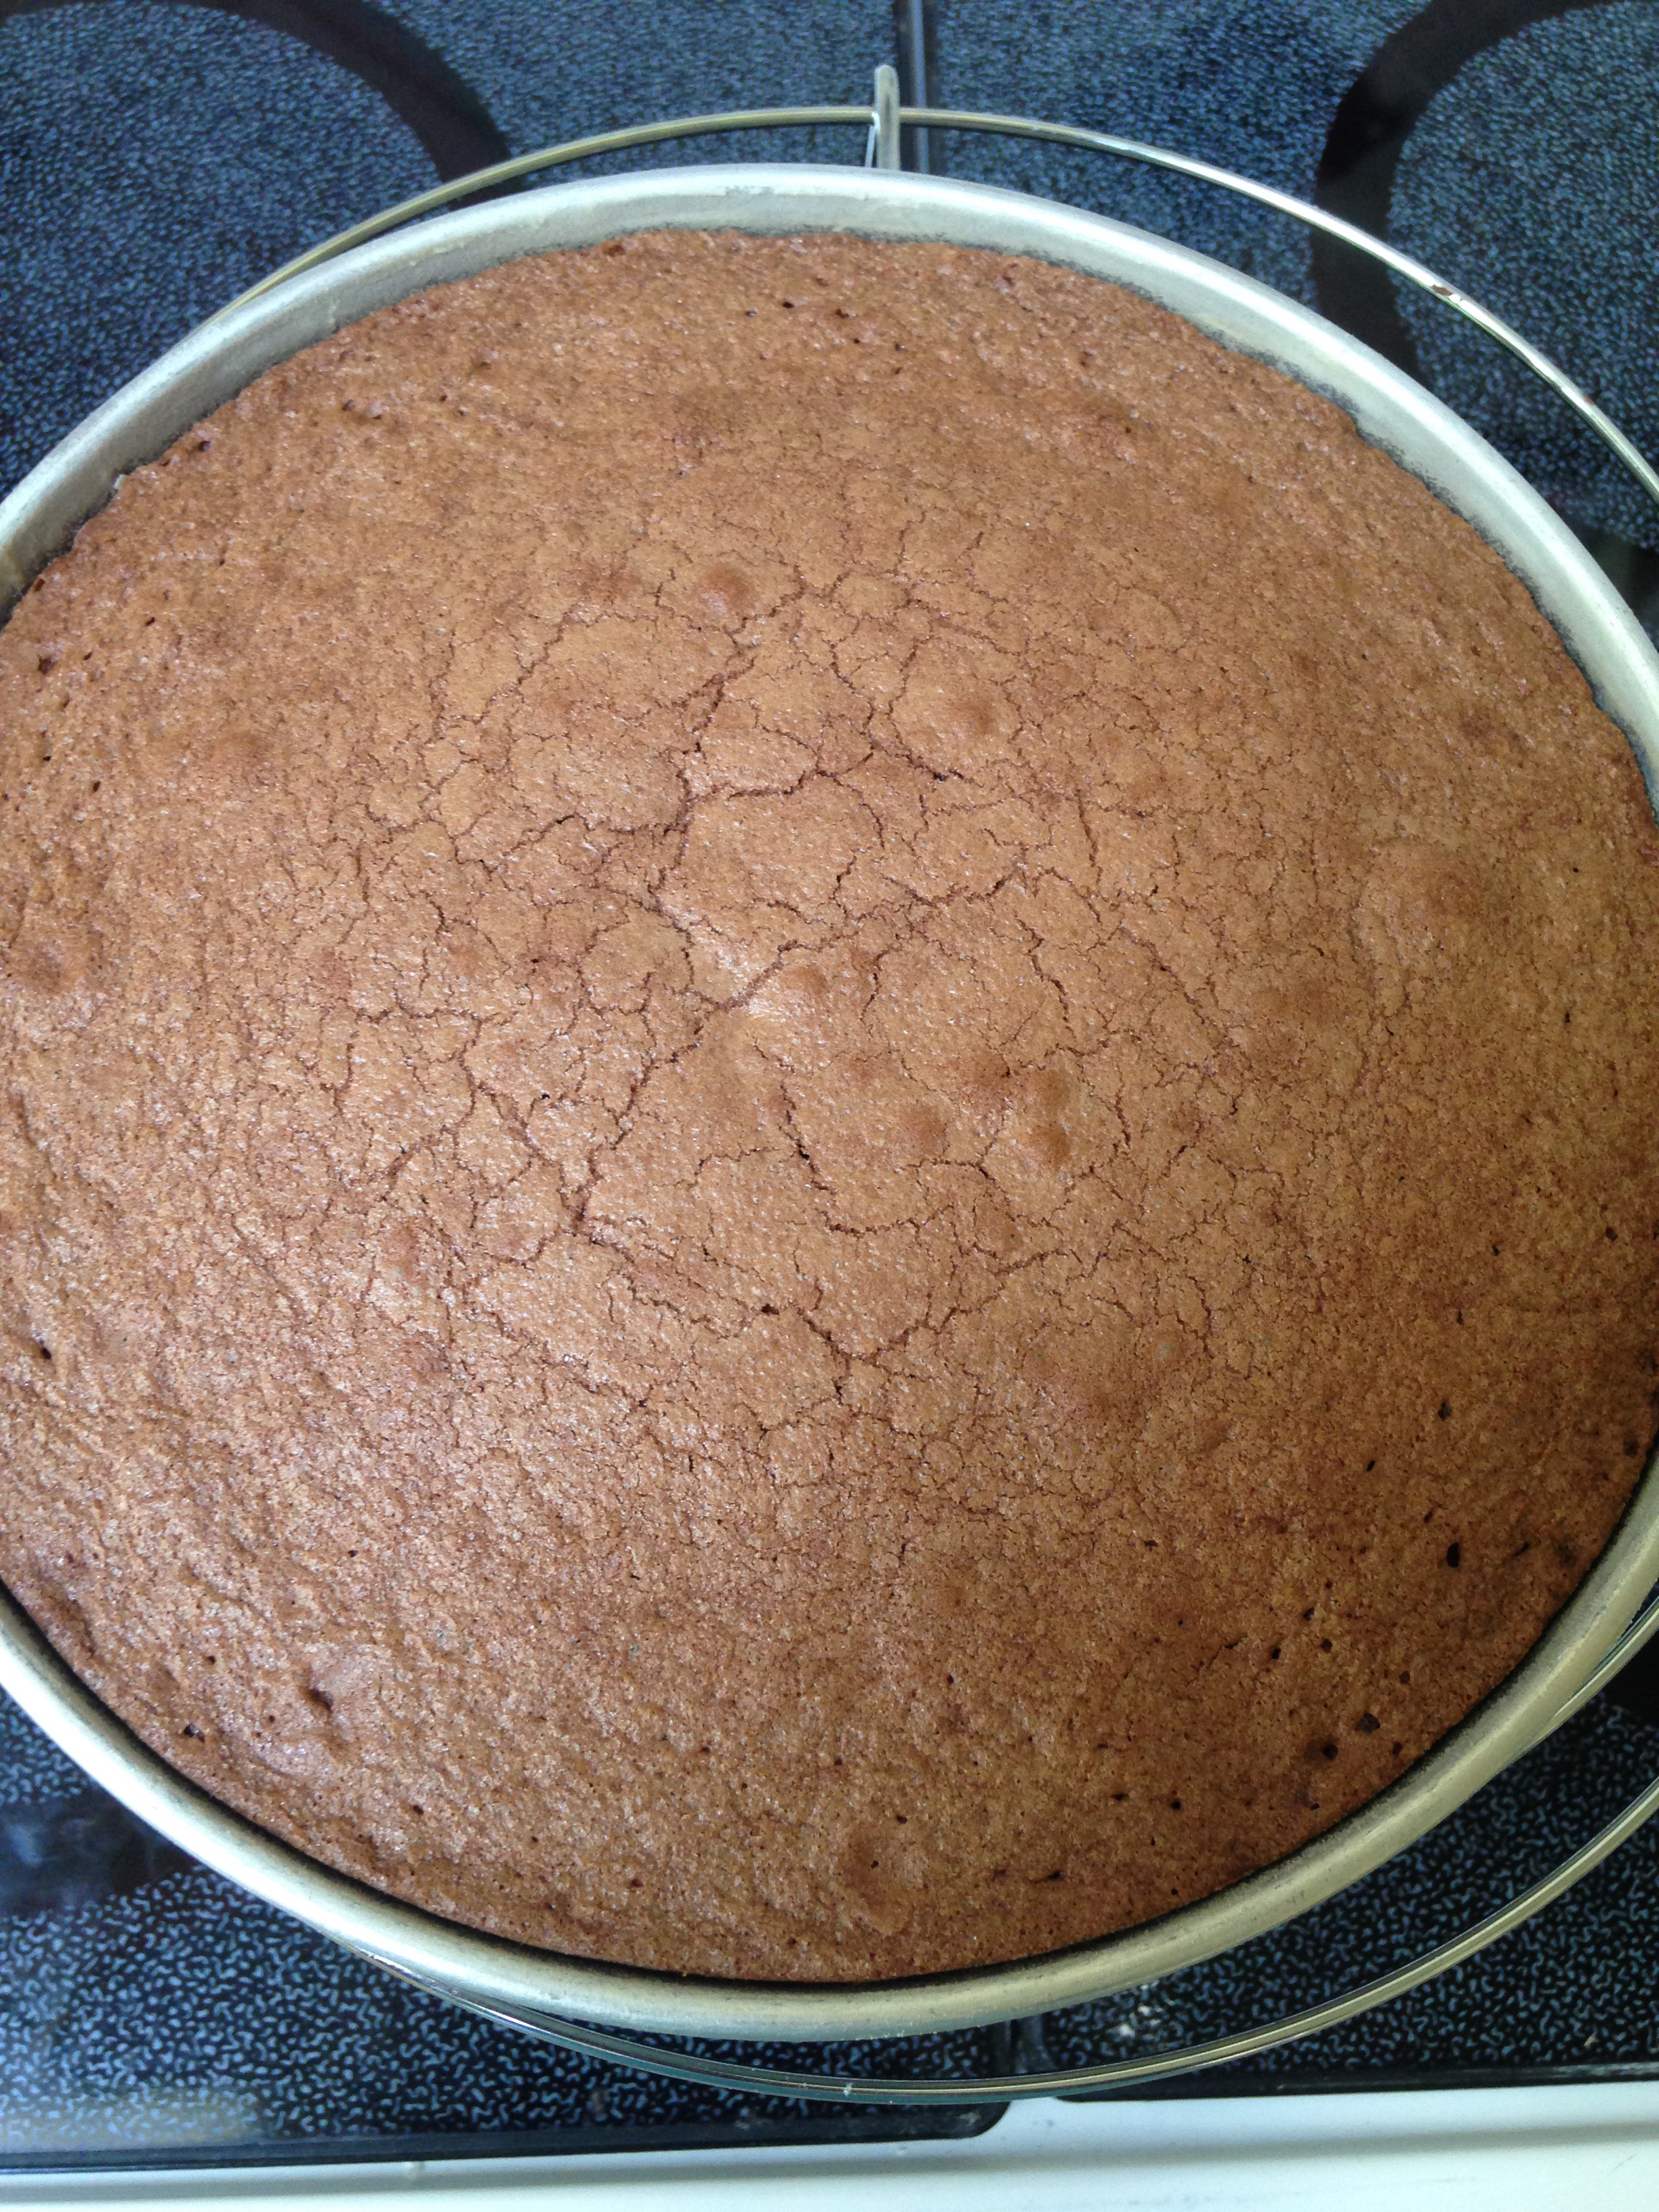
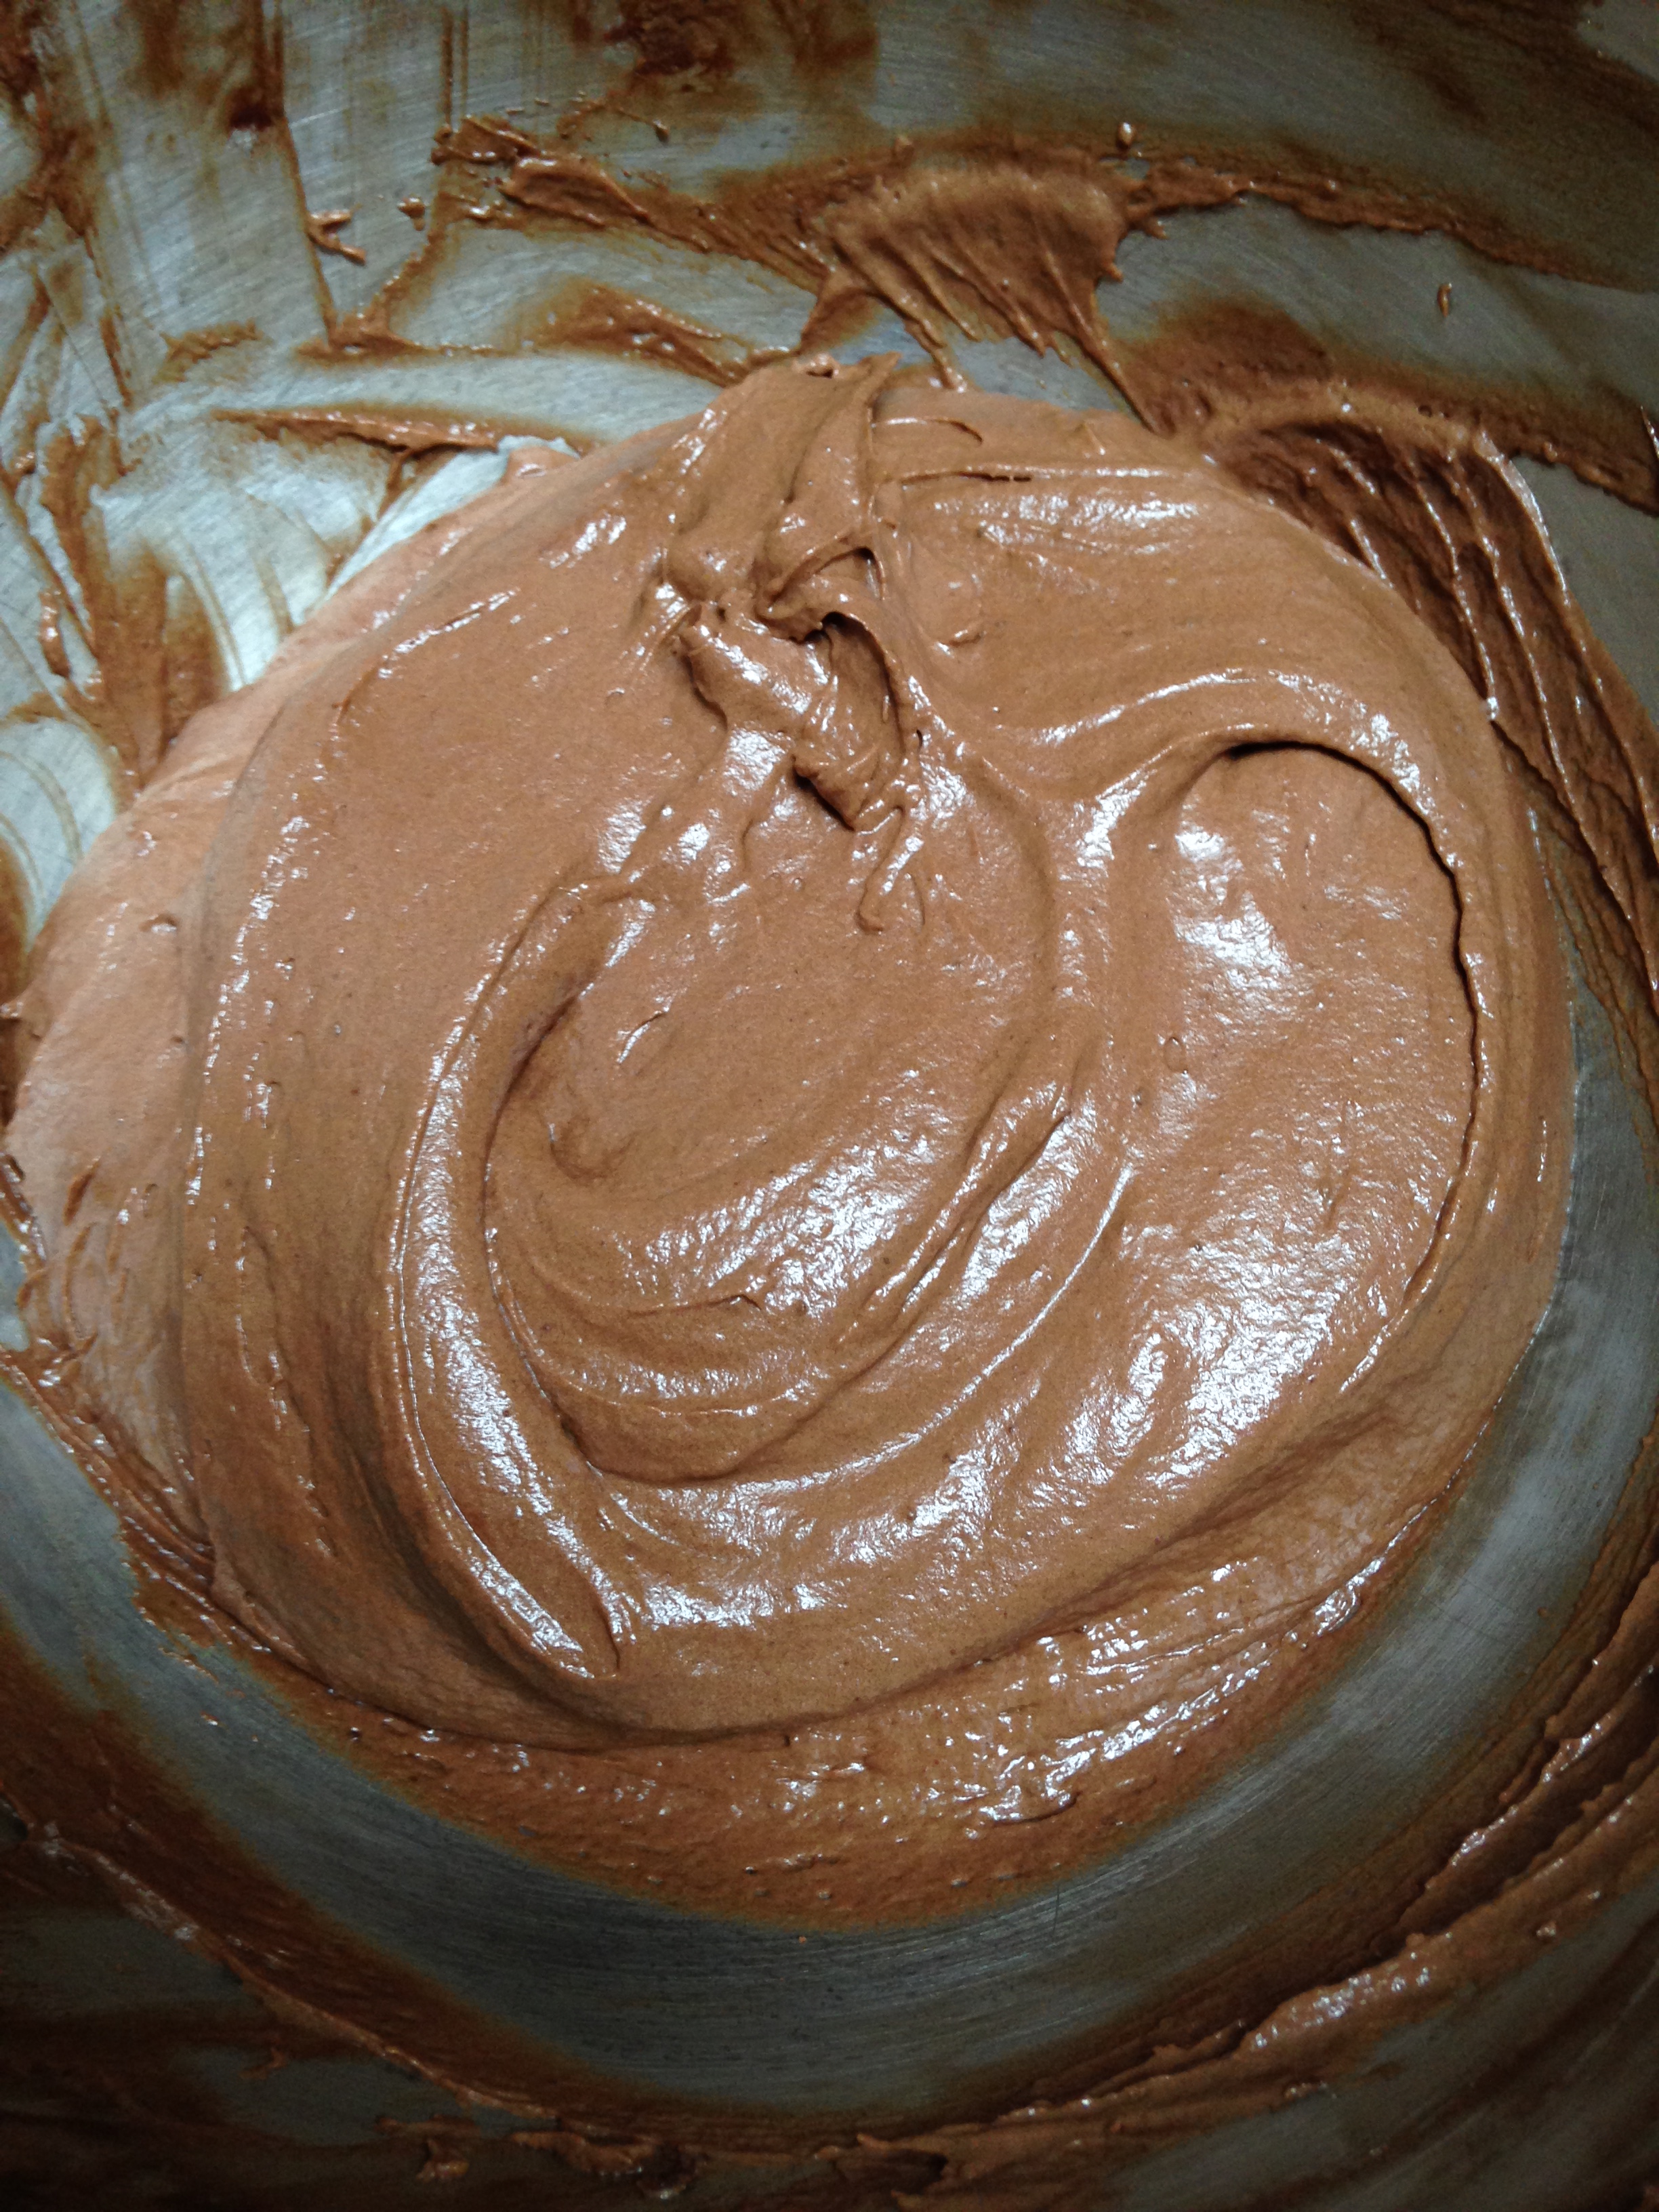 Pour 1/2 of the batter into the floured tin. The batter should reach half way up the tin. If you have two tins, add the rest of the batter to the other tin and pop into the oven for about 15 minutes. The cake might be slightly wet at this point, but take it out anyhow and let it cool down. It also won’t have risen much. This cake is much fudgier than the other. Stay cool. Stay calm. It’s all good.
Once the cake is cool, wrap it up and pop it into the freezer until you are finished with the other cake and the icing. Remember…cakes are much easier to ice when they are cold!
Cake Type 1 (layer 1 and 3) AKA The Maltese ChocoBomb
This cake is an adapted version of momofuku’s chocolate ovaltine soaked cake with charred marshmallows. I’ve modified it by adding malt balls and eliminating the fudge and the ovaltine soak. I was worried that the cake would be become over-powered with sweetness, but if you are looking to get your teeth drilled, feel free and go to town!
To make this cake:
First: Change the oven temperature to 350 F
Then assemble: 1 stick of butter; 1 1/2 cups of granulated sugar; 3 eggs; 1/2 cup of buttermilk; 1/4 cup of canola oil; 1 tsp vanilla extract; 4 tbps of pulverized malt balls (in the food processor); 1/2 cup of cocoa powder; 1 1/4 cup all purpose flour; 1 1/2 tsp baking powder; 1 tsp kosher salt.
In your stand mixer using the paddle attachment, cream the butter and the sugar (7 minutes) until nice and fluffy. Make sure to stop here and there and scrape down the sides. It helps to make sure all of it is fluffed up eavenly. Add the eggs and cream for another 3 minutes or so.
Lower the mixing speed and add the buttermilk, the oil, and vanilla until the ingredients are incorporated. The mixture will look strange–super white, super fluffy, and borderline unnatural–it’s aliiiive! Add the pulverized. malt balls.
Now, with the mixture on low, add all of the dry ingredients 1/4 cup at a time. Mix together until fully incorporated. If you have a ring of flour at the top of the bowl, stop and scrape down the sides and mix again until its all nice and incorporated.
Place the mixture into two 8″ tins and pop into the oven for 30 minutes and remove when the cake appears bouncy–like good cake should be.
Allow the cake to cool on a cooling rack. Once the cake is room temperature (or there abouts), wrap it with plastic wrap and place it into the freezer until you are ready to assemble the full cake!
THE ICING
The icing you see here is a Italian meringue chocolate butter cream icing, which basically means it’s meringue that you add butter and chocolate too. The taste is SUPERIOR. superior to anything. Out of this world. To make it…whisk together 5 egg whites and 1/3 cup of granulated sugar until you have medium peaks.
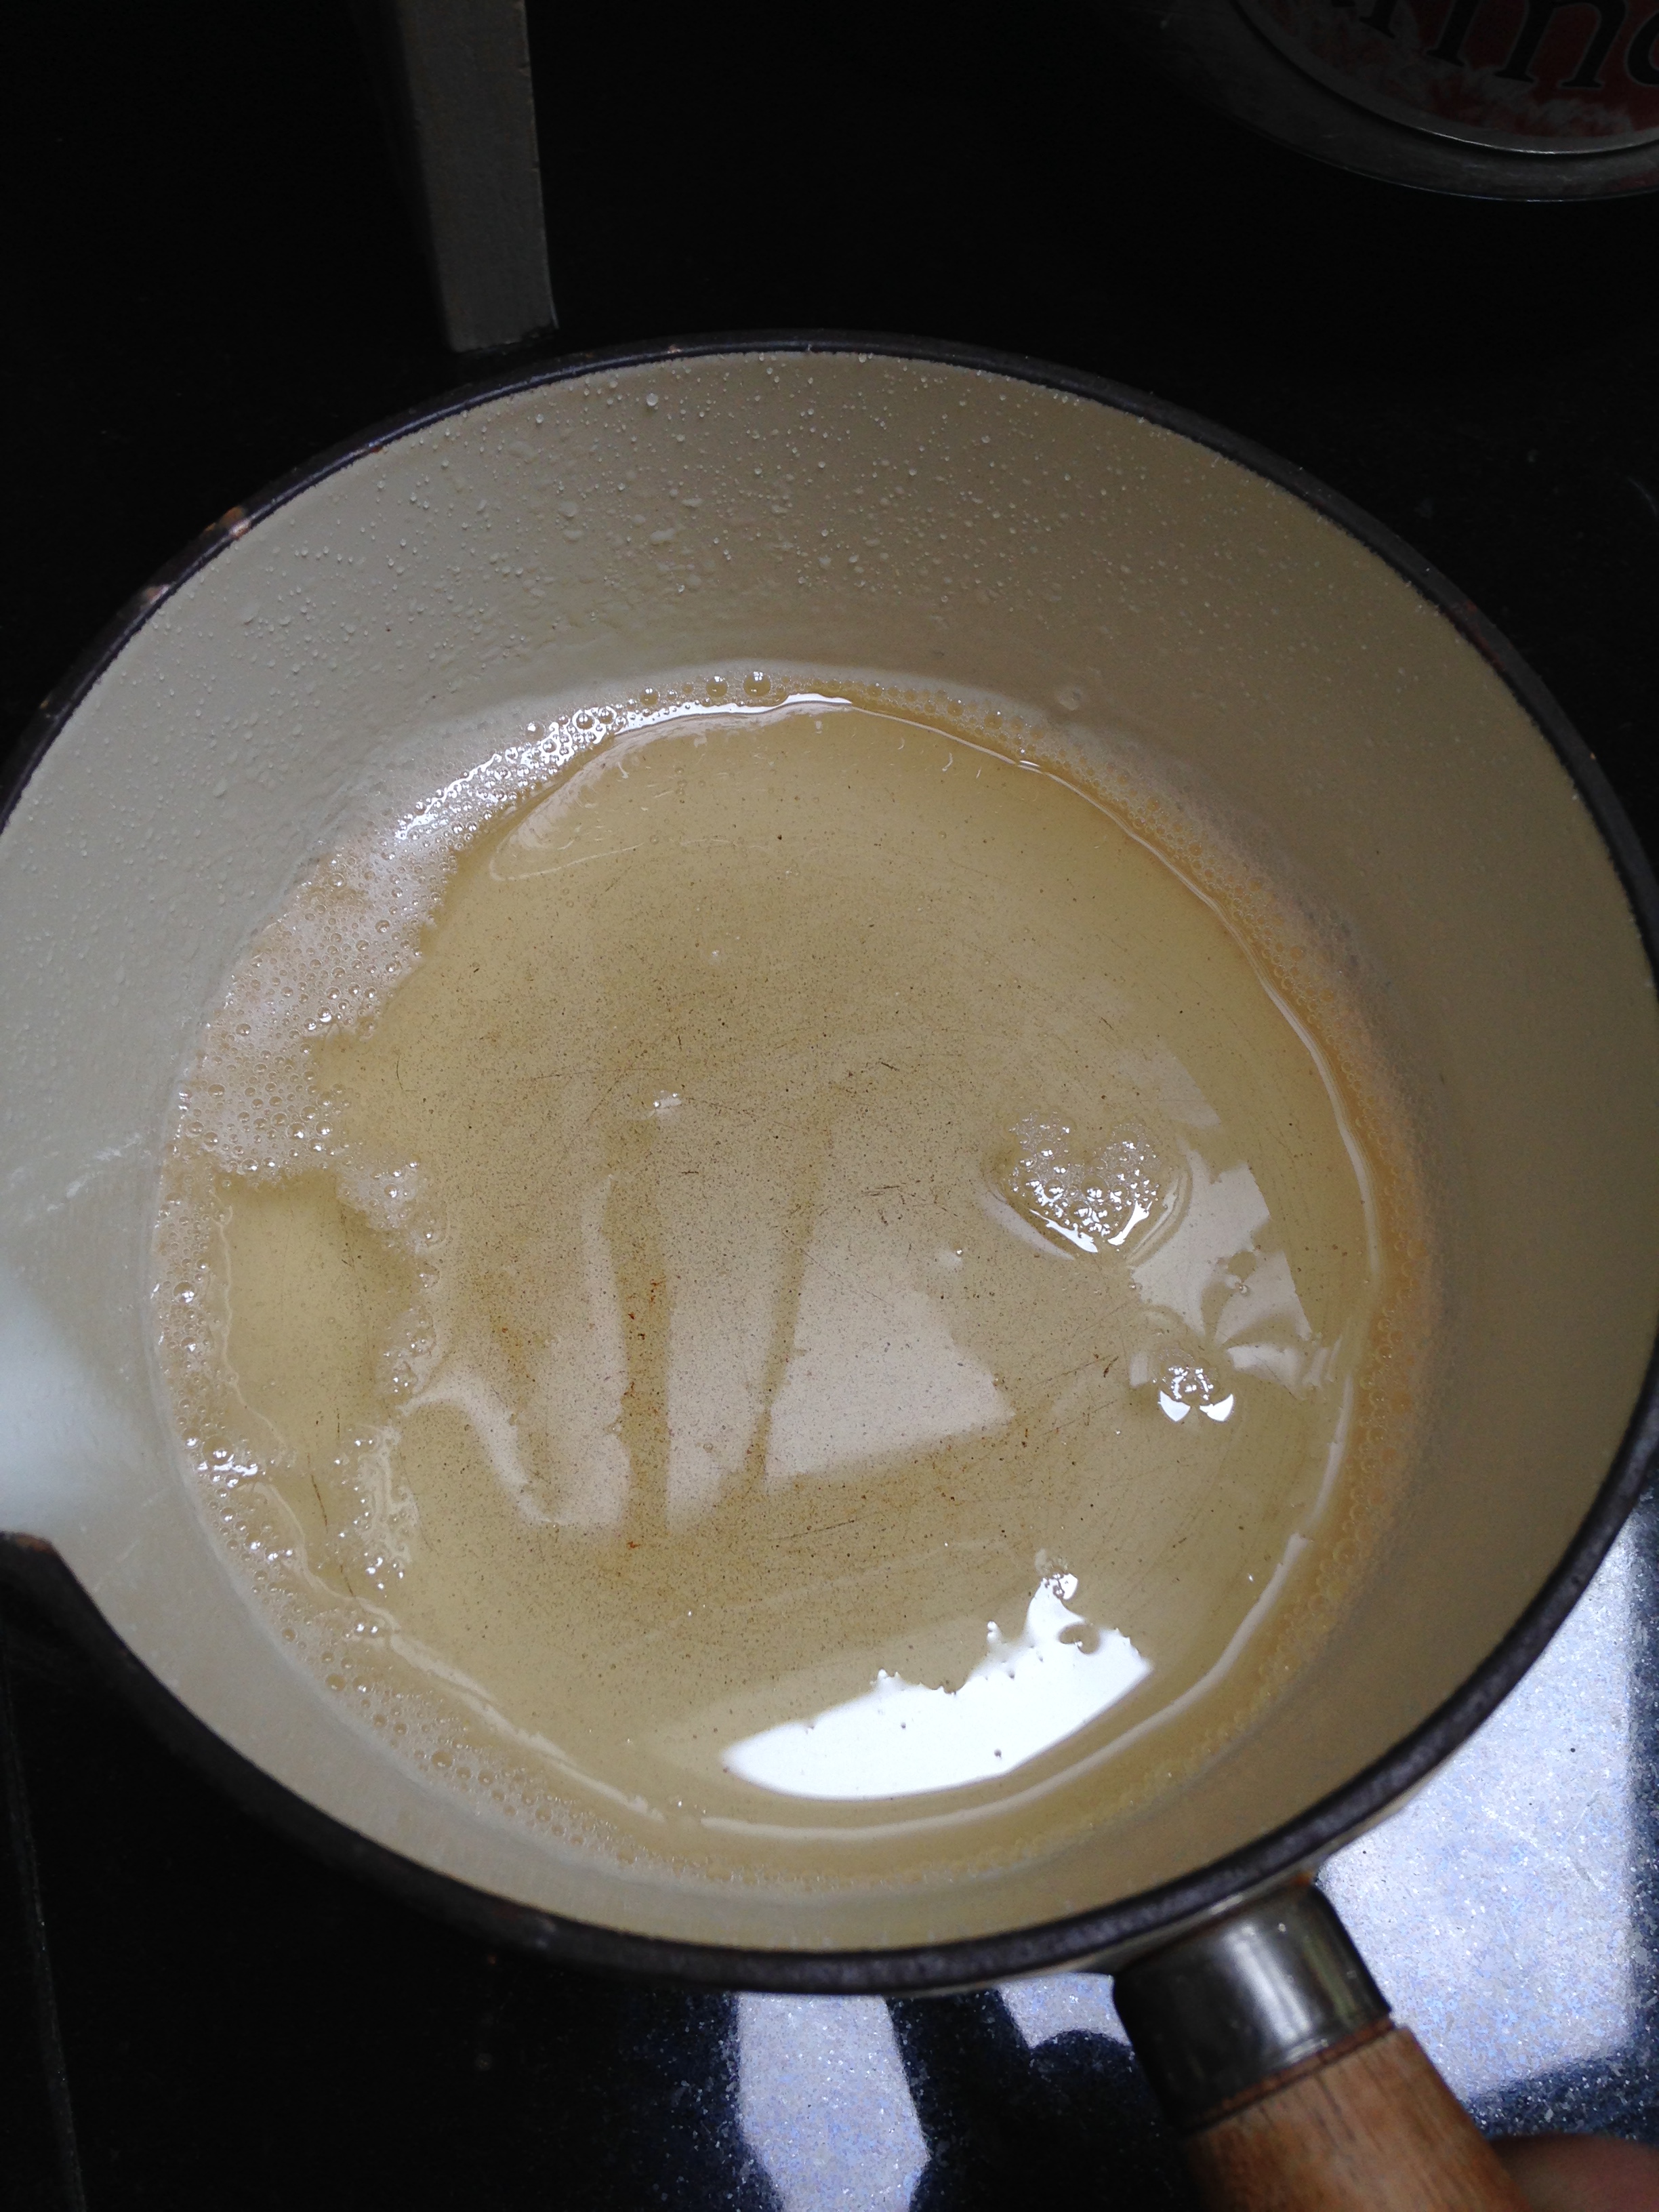
Then, combine 1 1/4 cup of granulated sugar with 2/3 cup of water in a small sauce pan. Heat the sugar/water mixture without touching it on medium low (about a 4 out of 10) without touching the mixture until all the sugar is dissolved.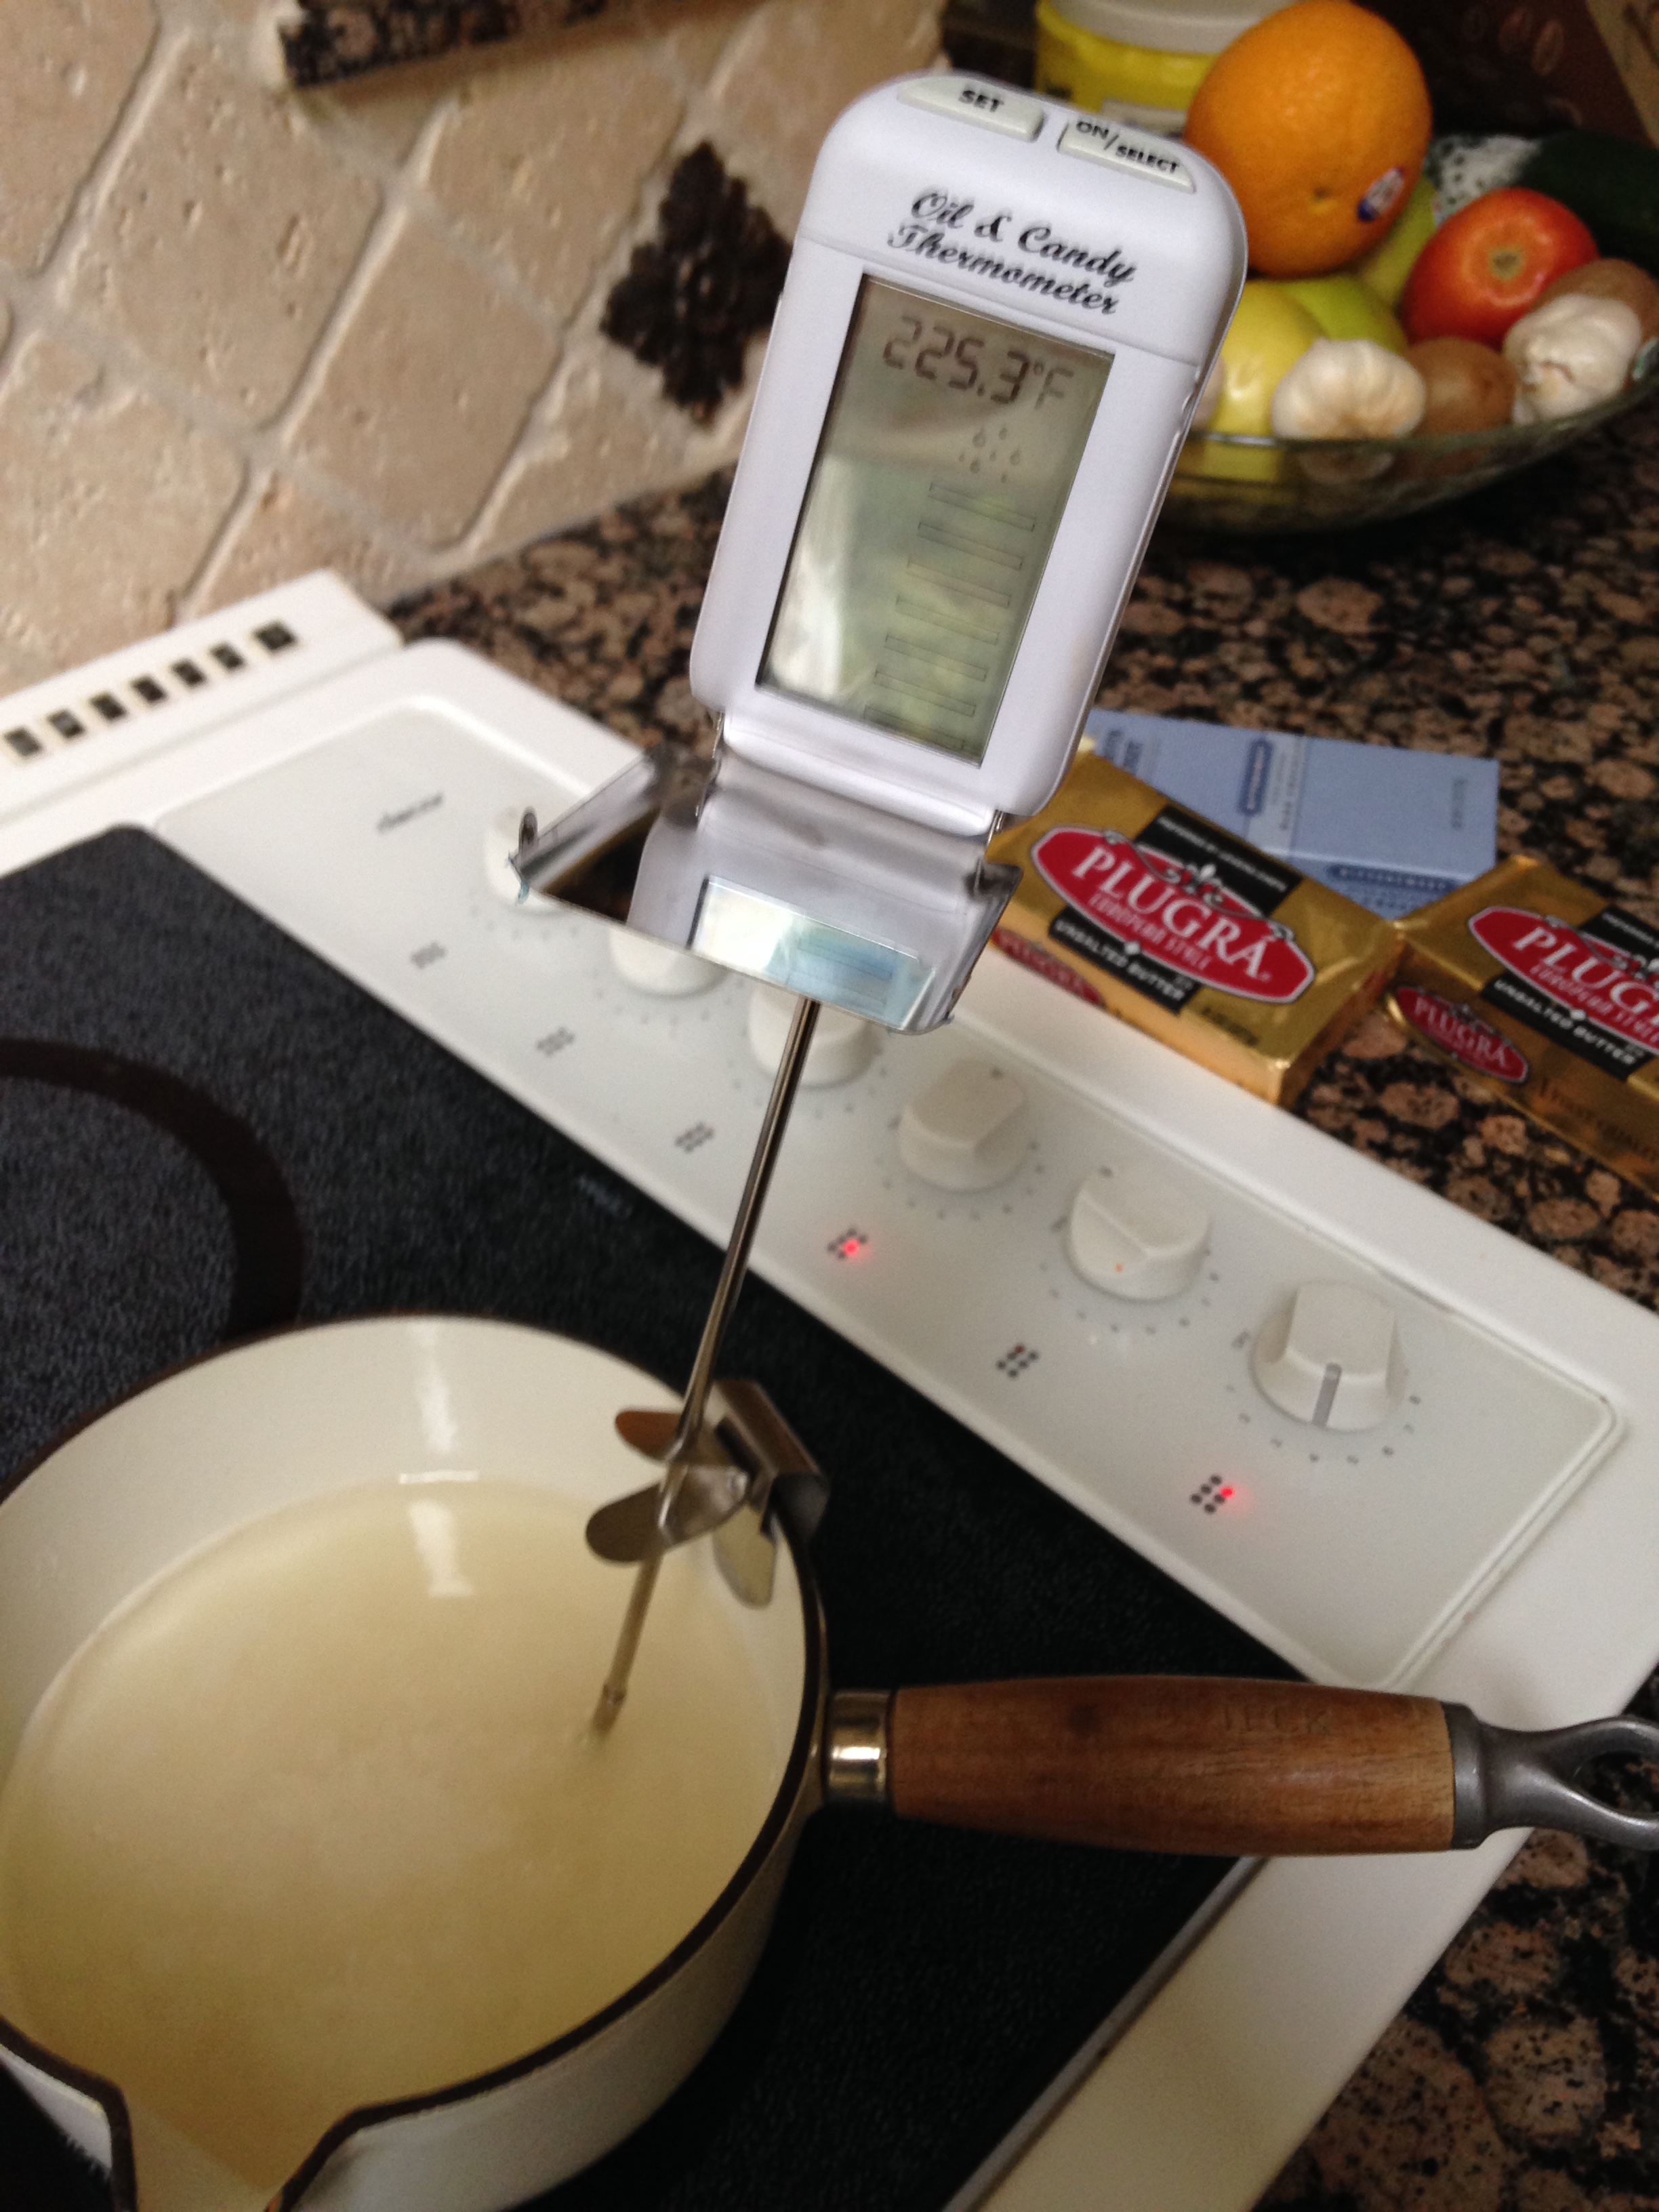
The syrup should begin to boil as it heats up. With a thermometer, monitor the mixture until the syrup reaches 240 F and immediately remove from the stove.
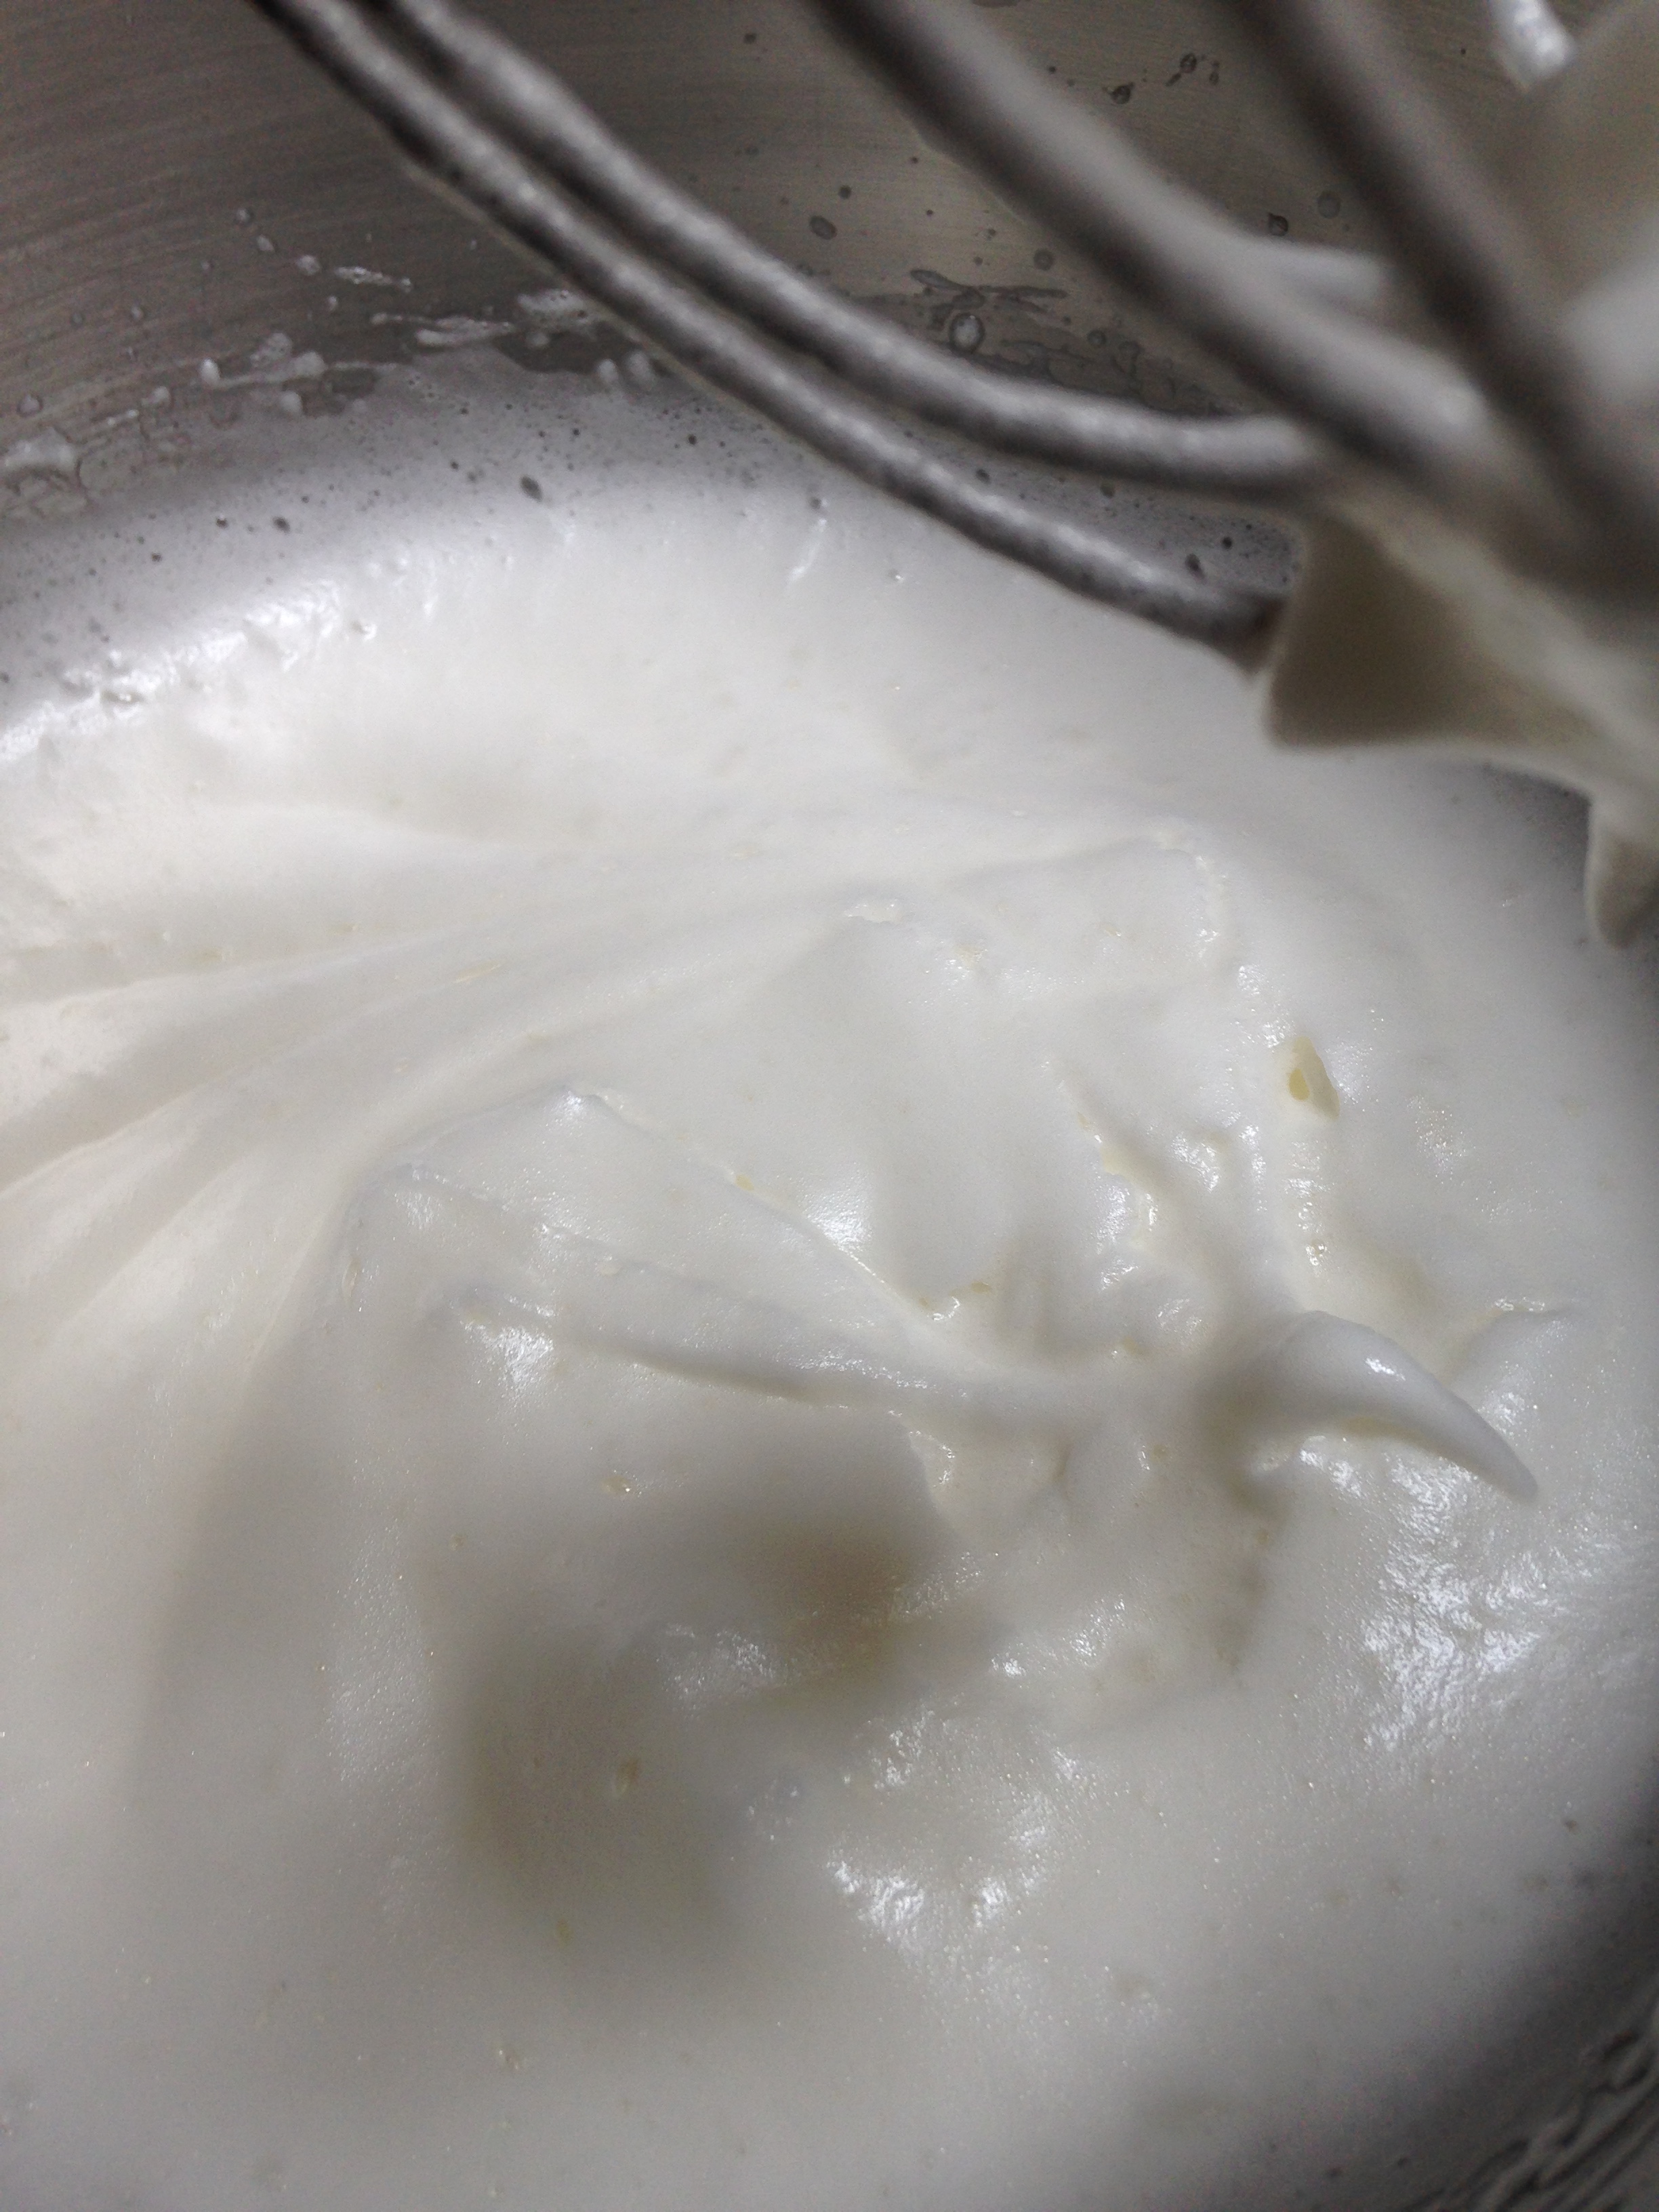
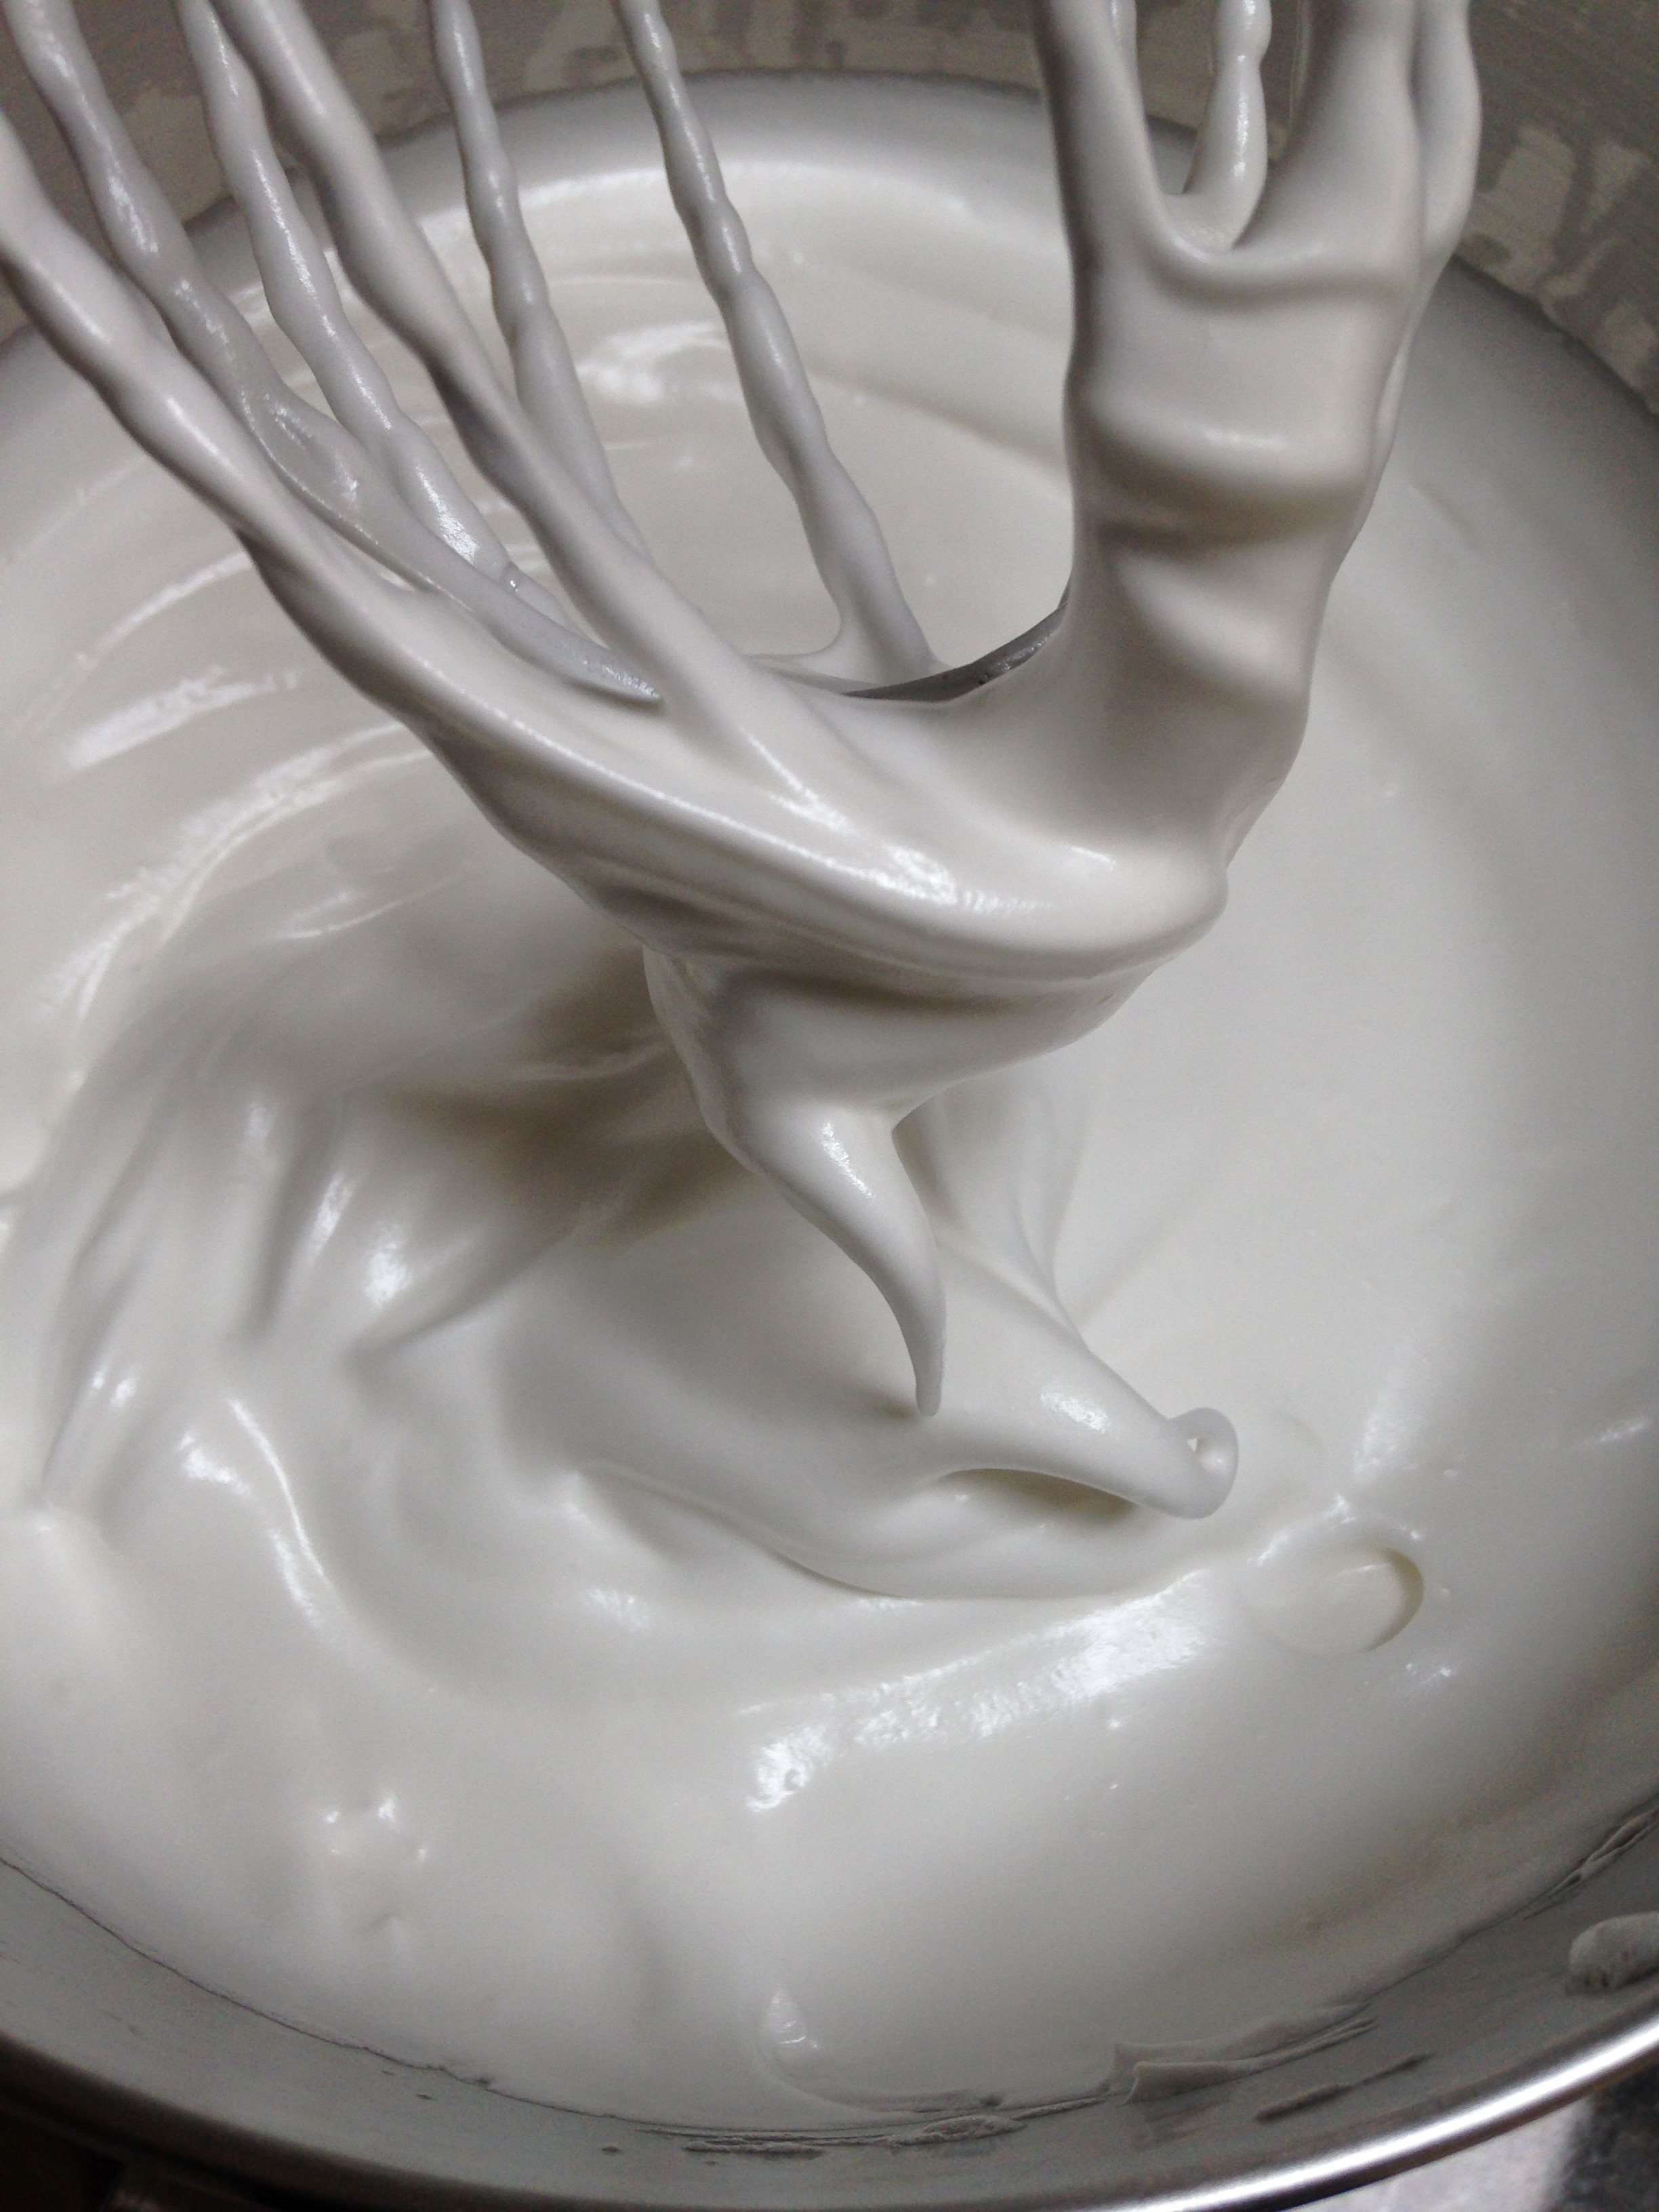
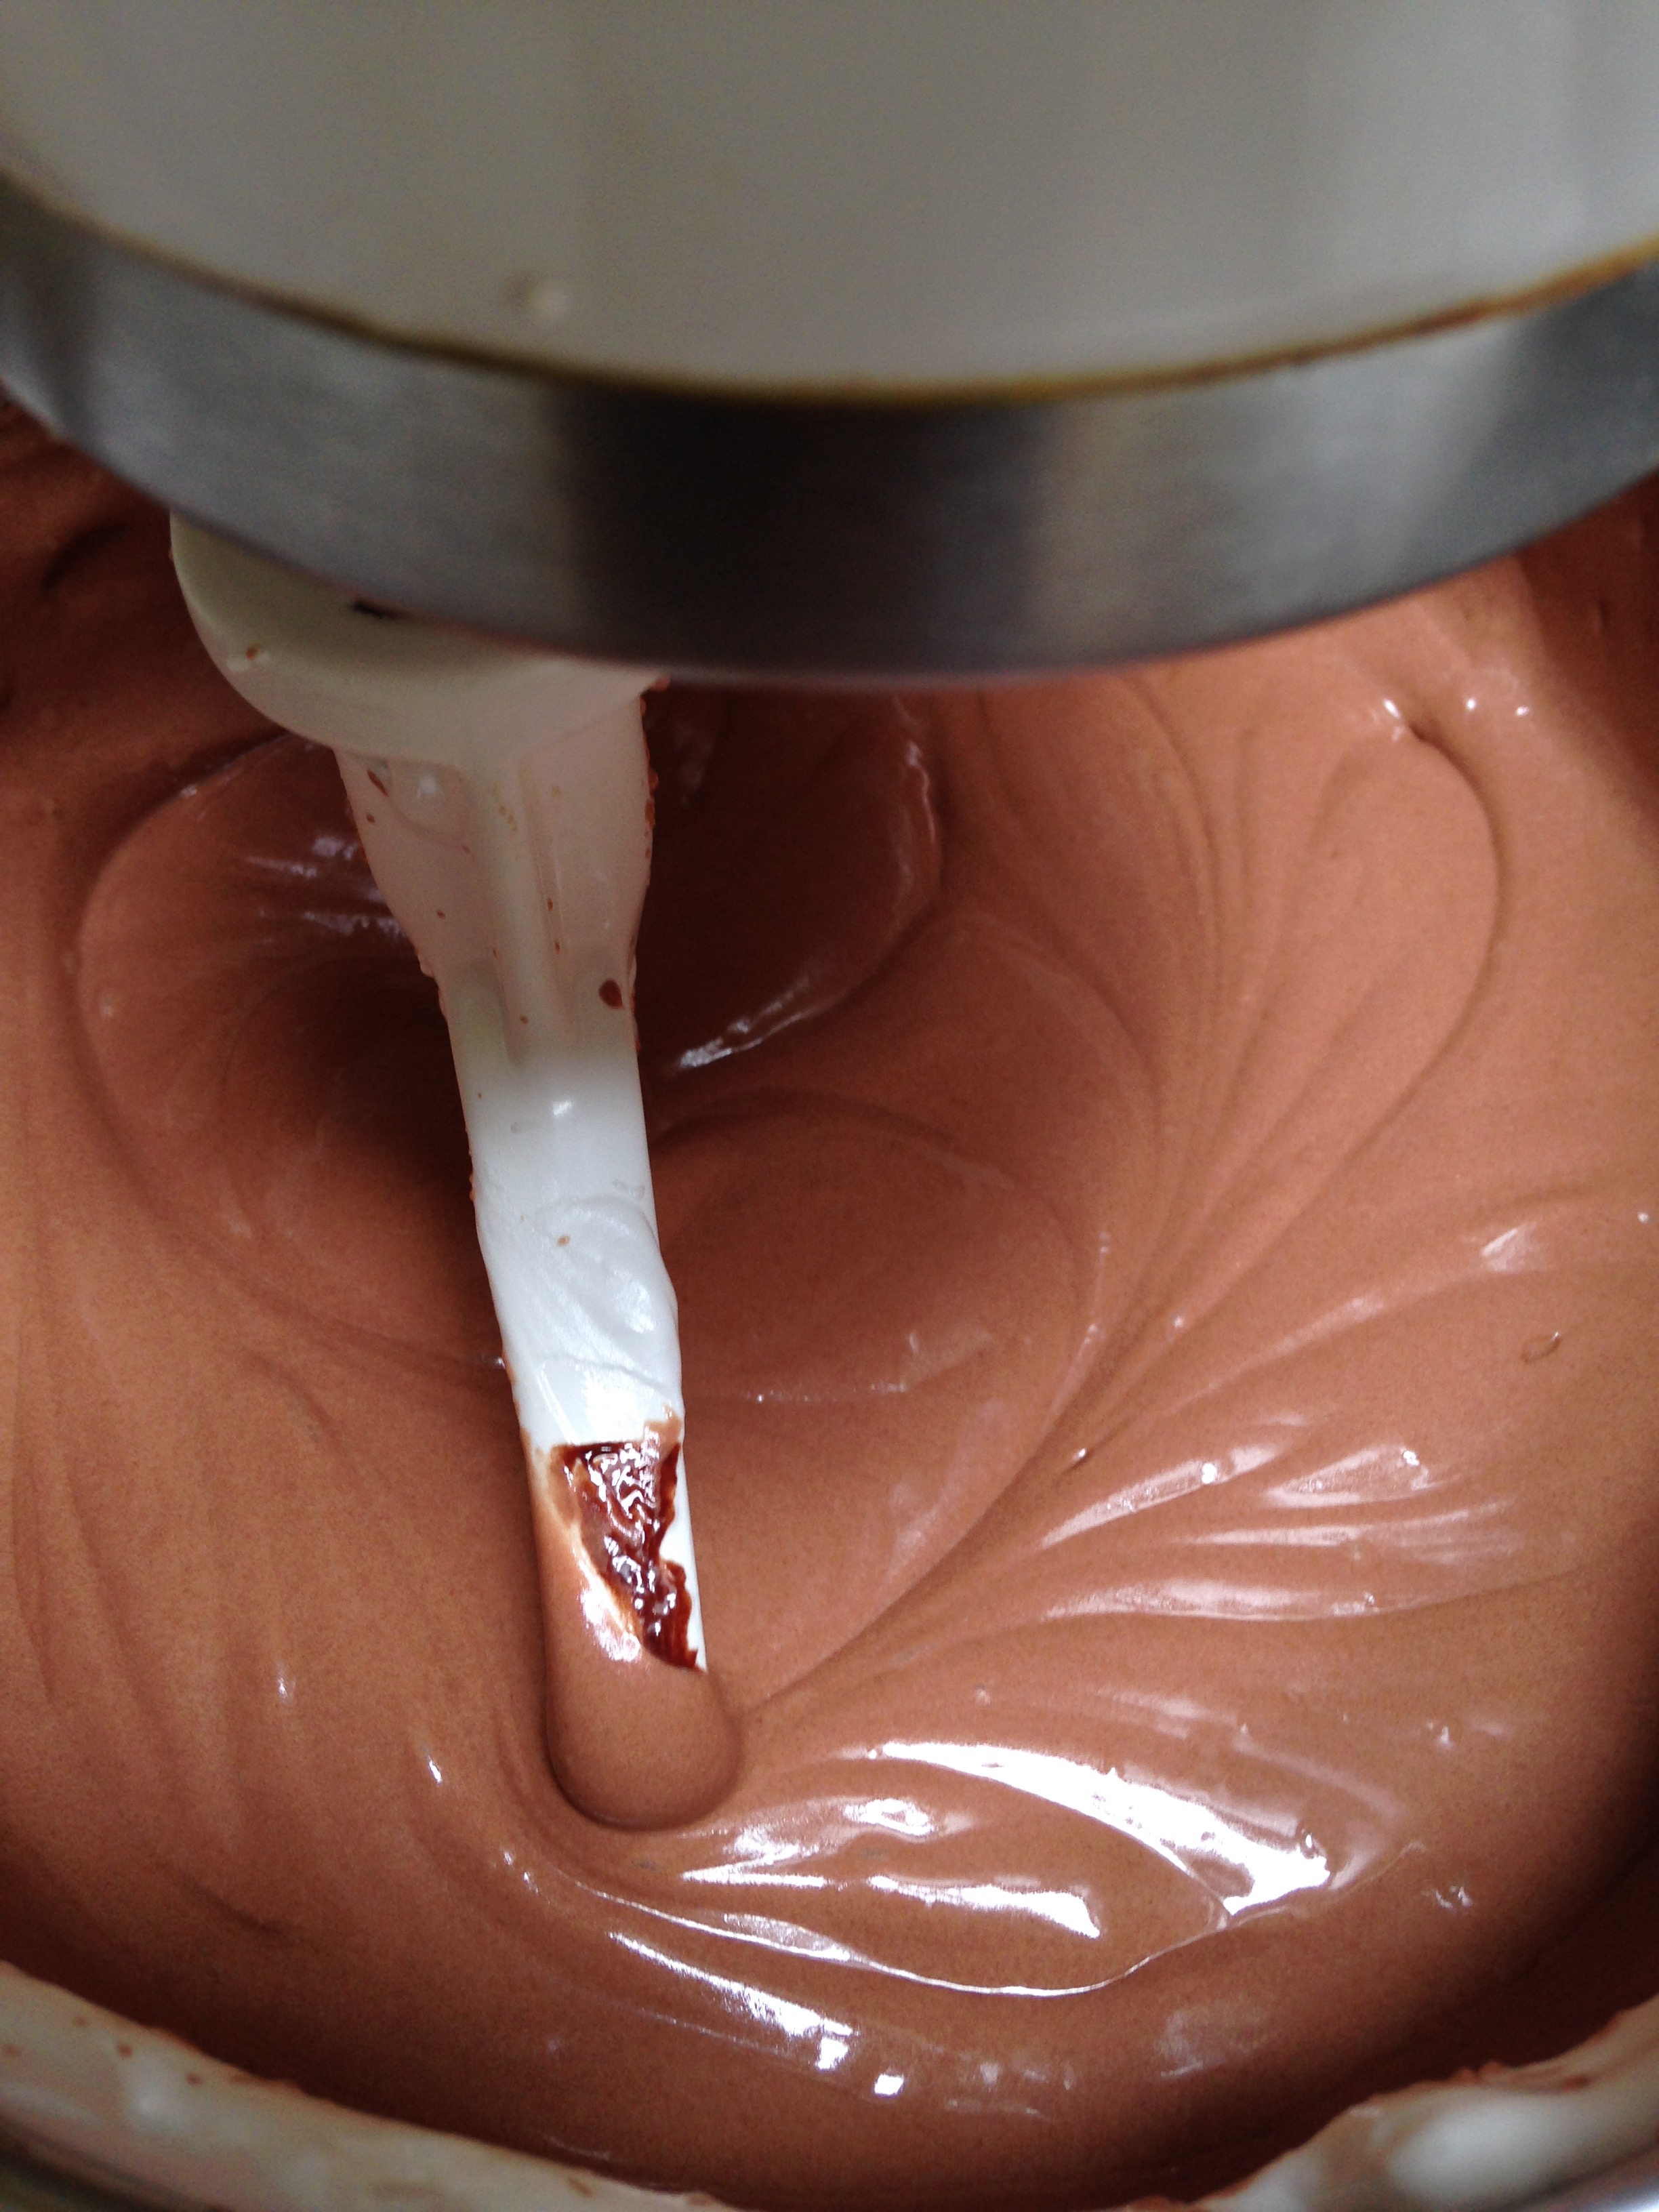
Go back to the meringue and whisk futher, until the meringue has “hard peaks.” It should look like this…
While you continue to whisk, pour the hot syrup down the side of the bowl. Be careful not to get any syrup on the whisk or it might crystalize. With the mixture still fairly hot, switch the wisk out fo the paddle attachment.
Then add in 2 sticks of cubed butter (16 tbsp)–one cube at a time. The heat of the mixture will melt the butter and the mixture will become a bit wet looking. This is fine. As it cools the Italian meringue will thicken. If you are impatient you can pop it back into the fridge or freezer for a minute or two.
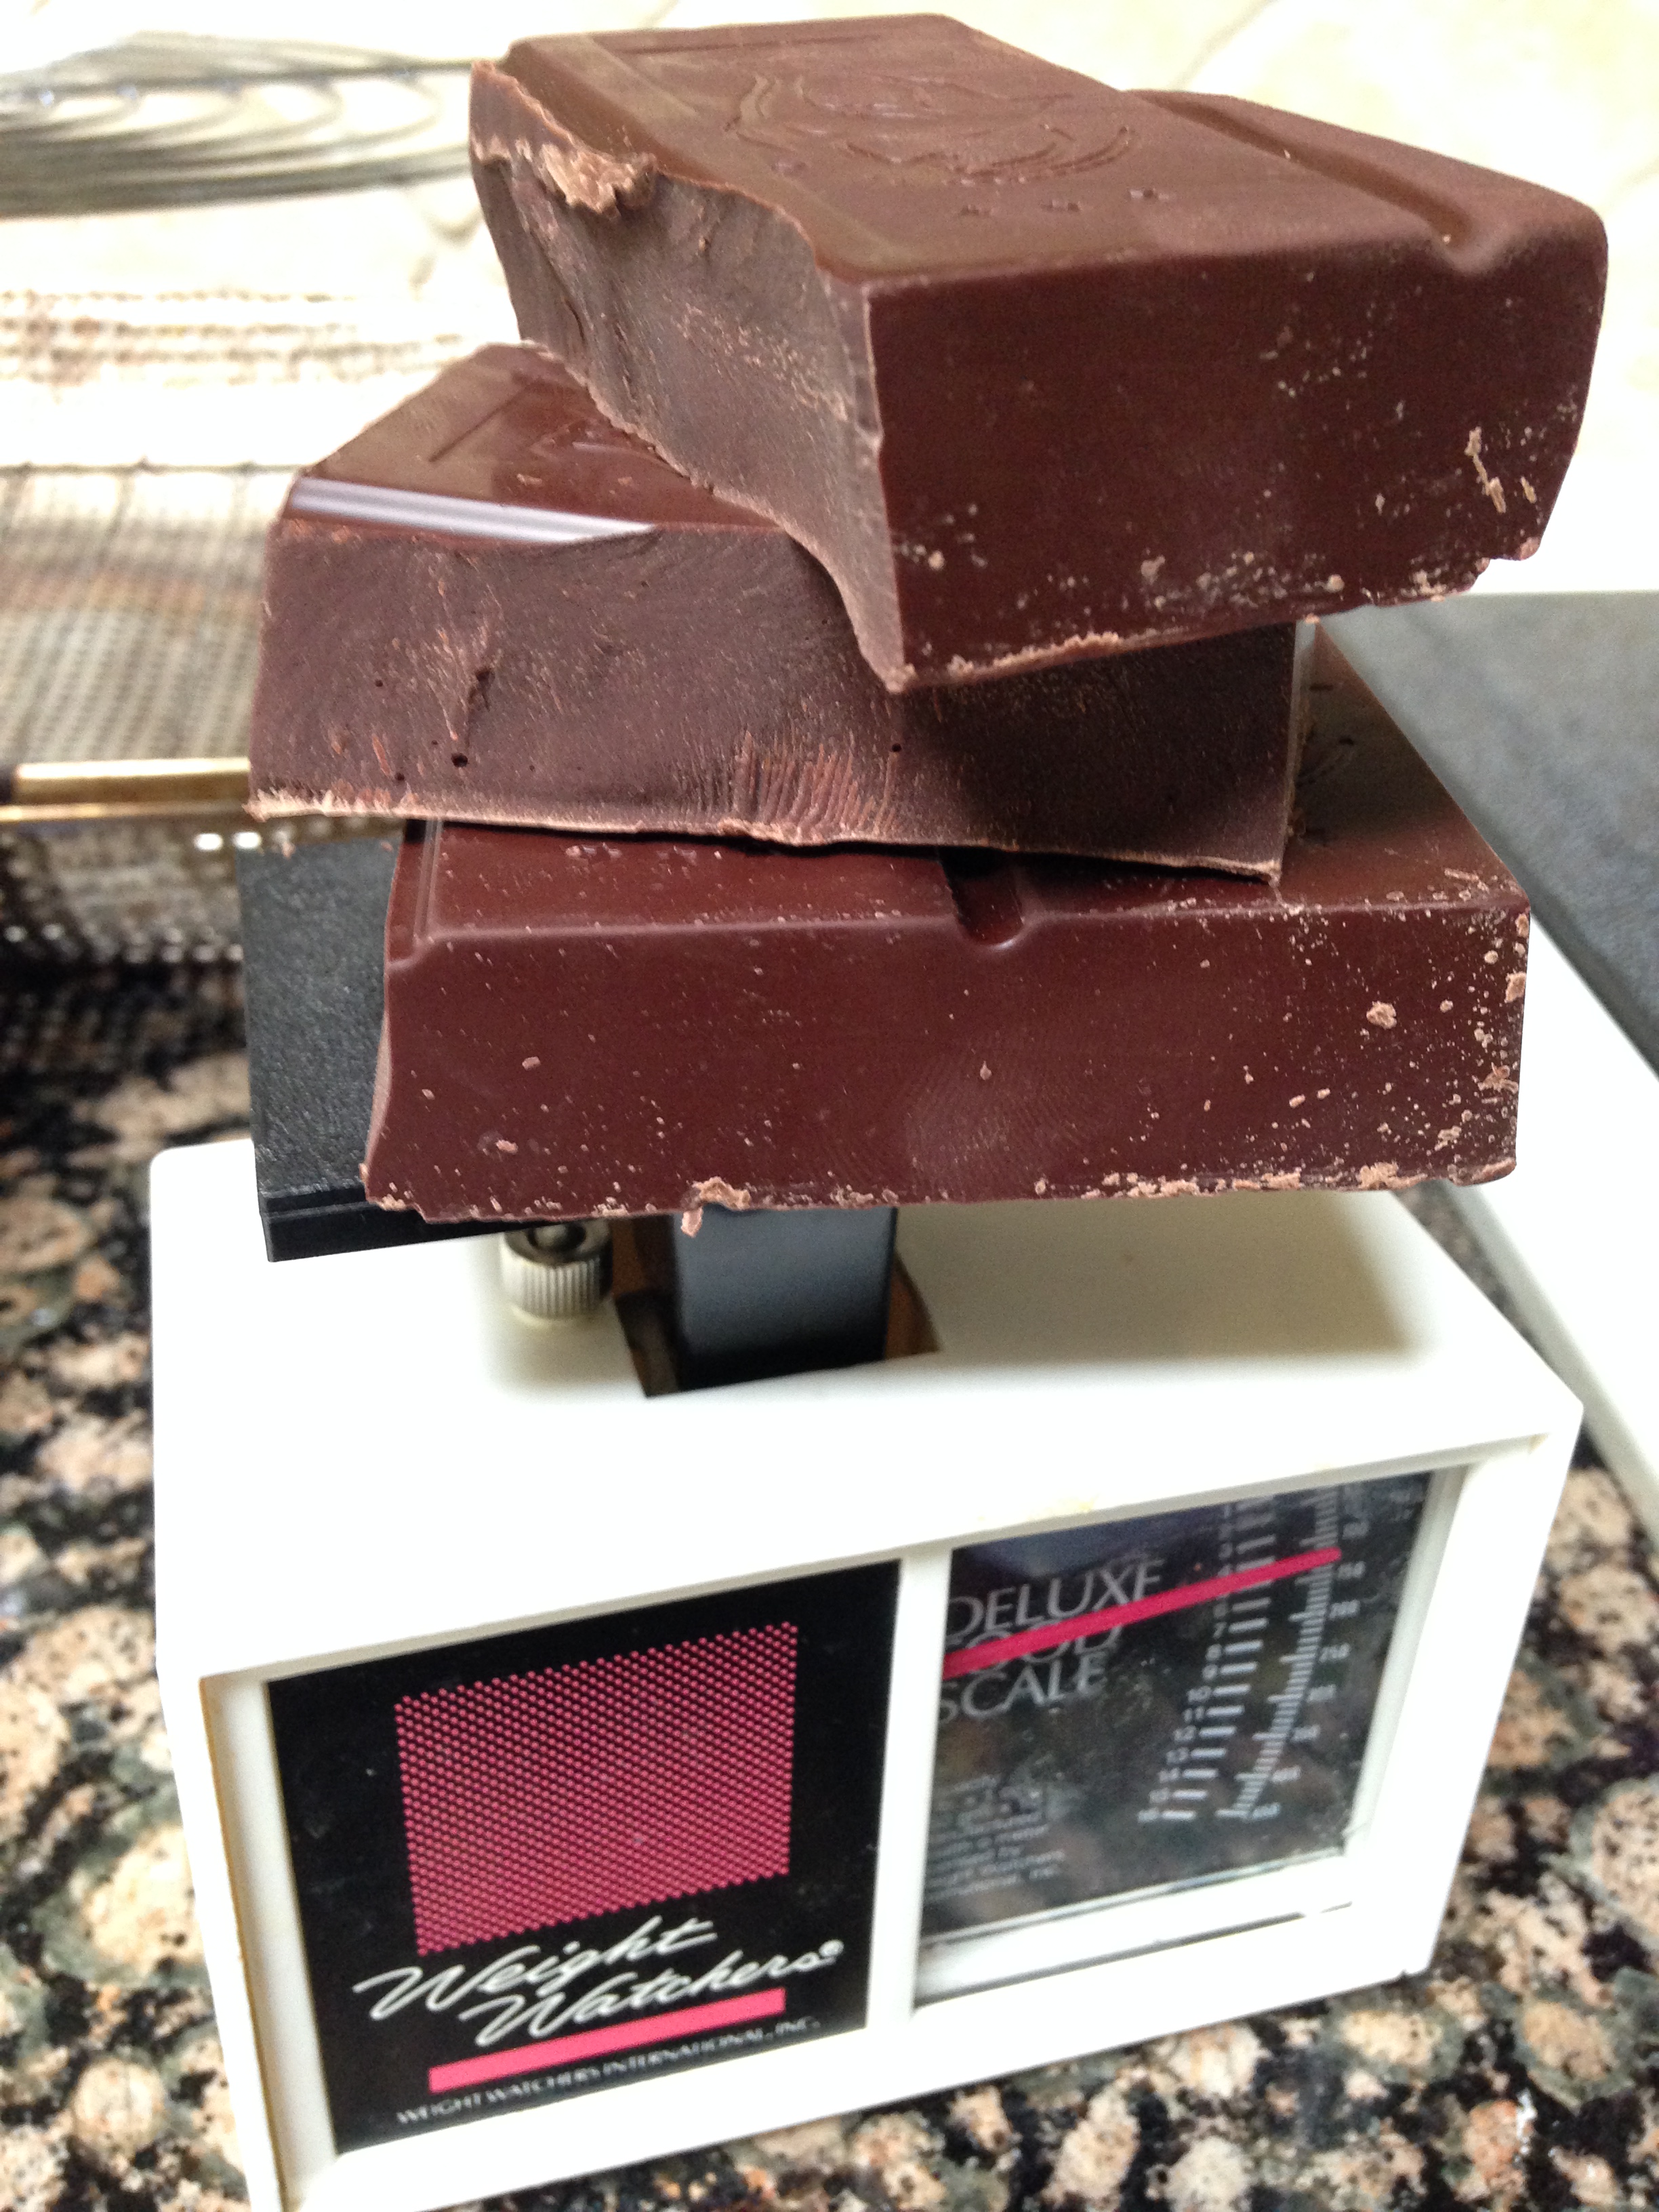
Meanwhile, melt about 5-6 ounces of good quality dark chocolate (70%).
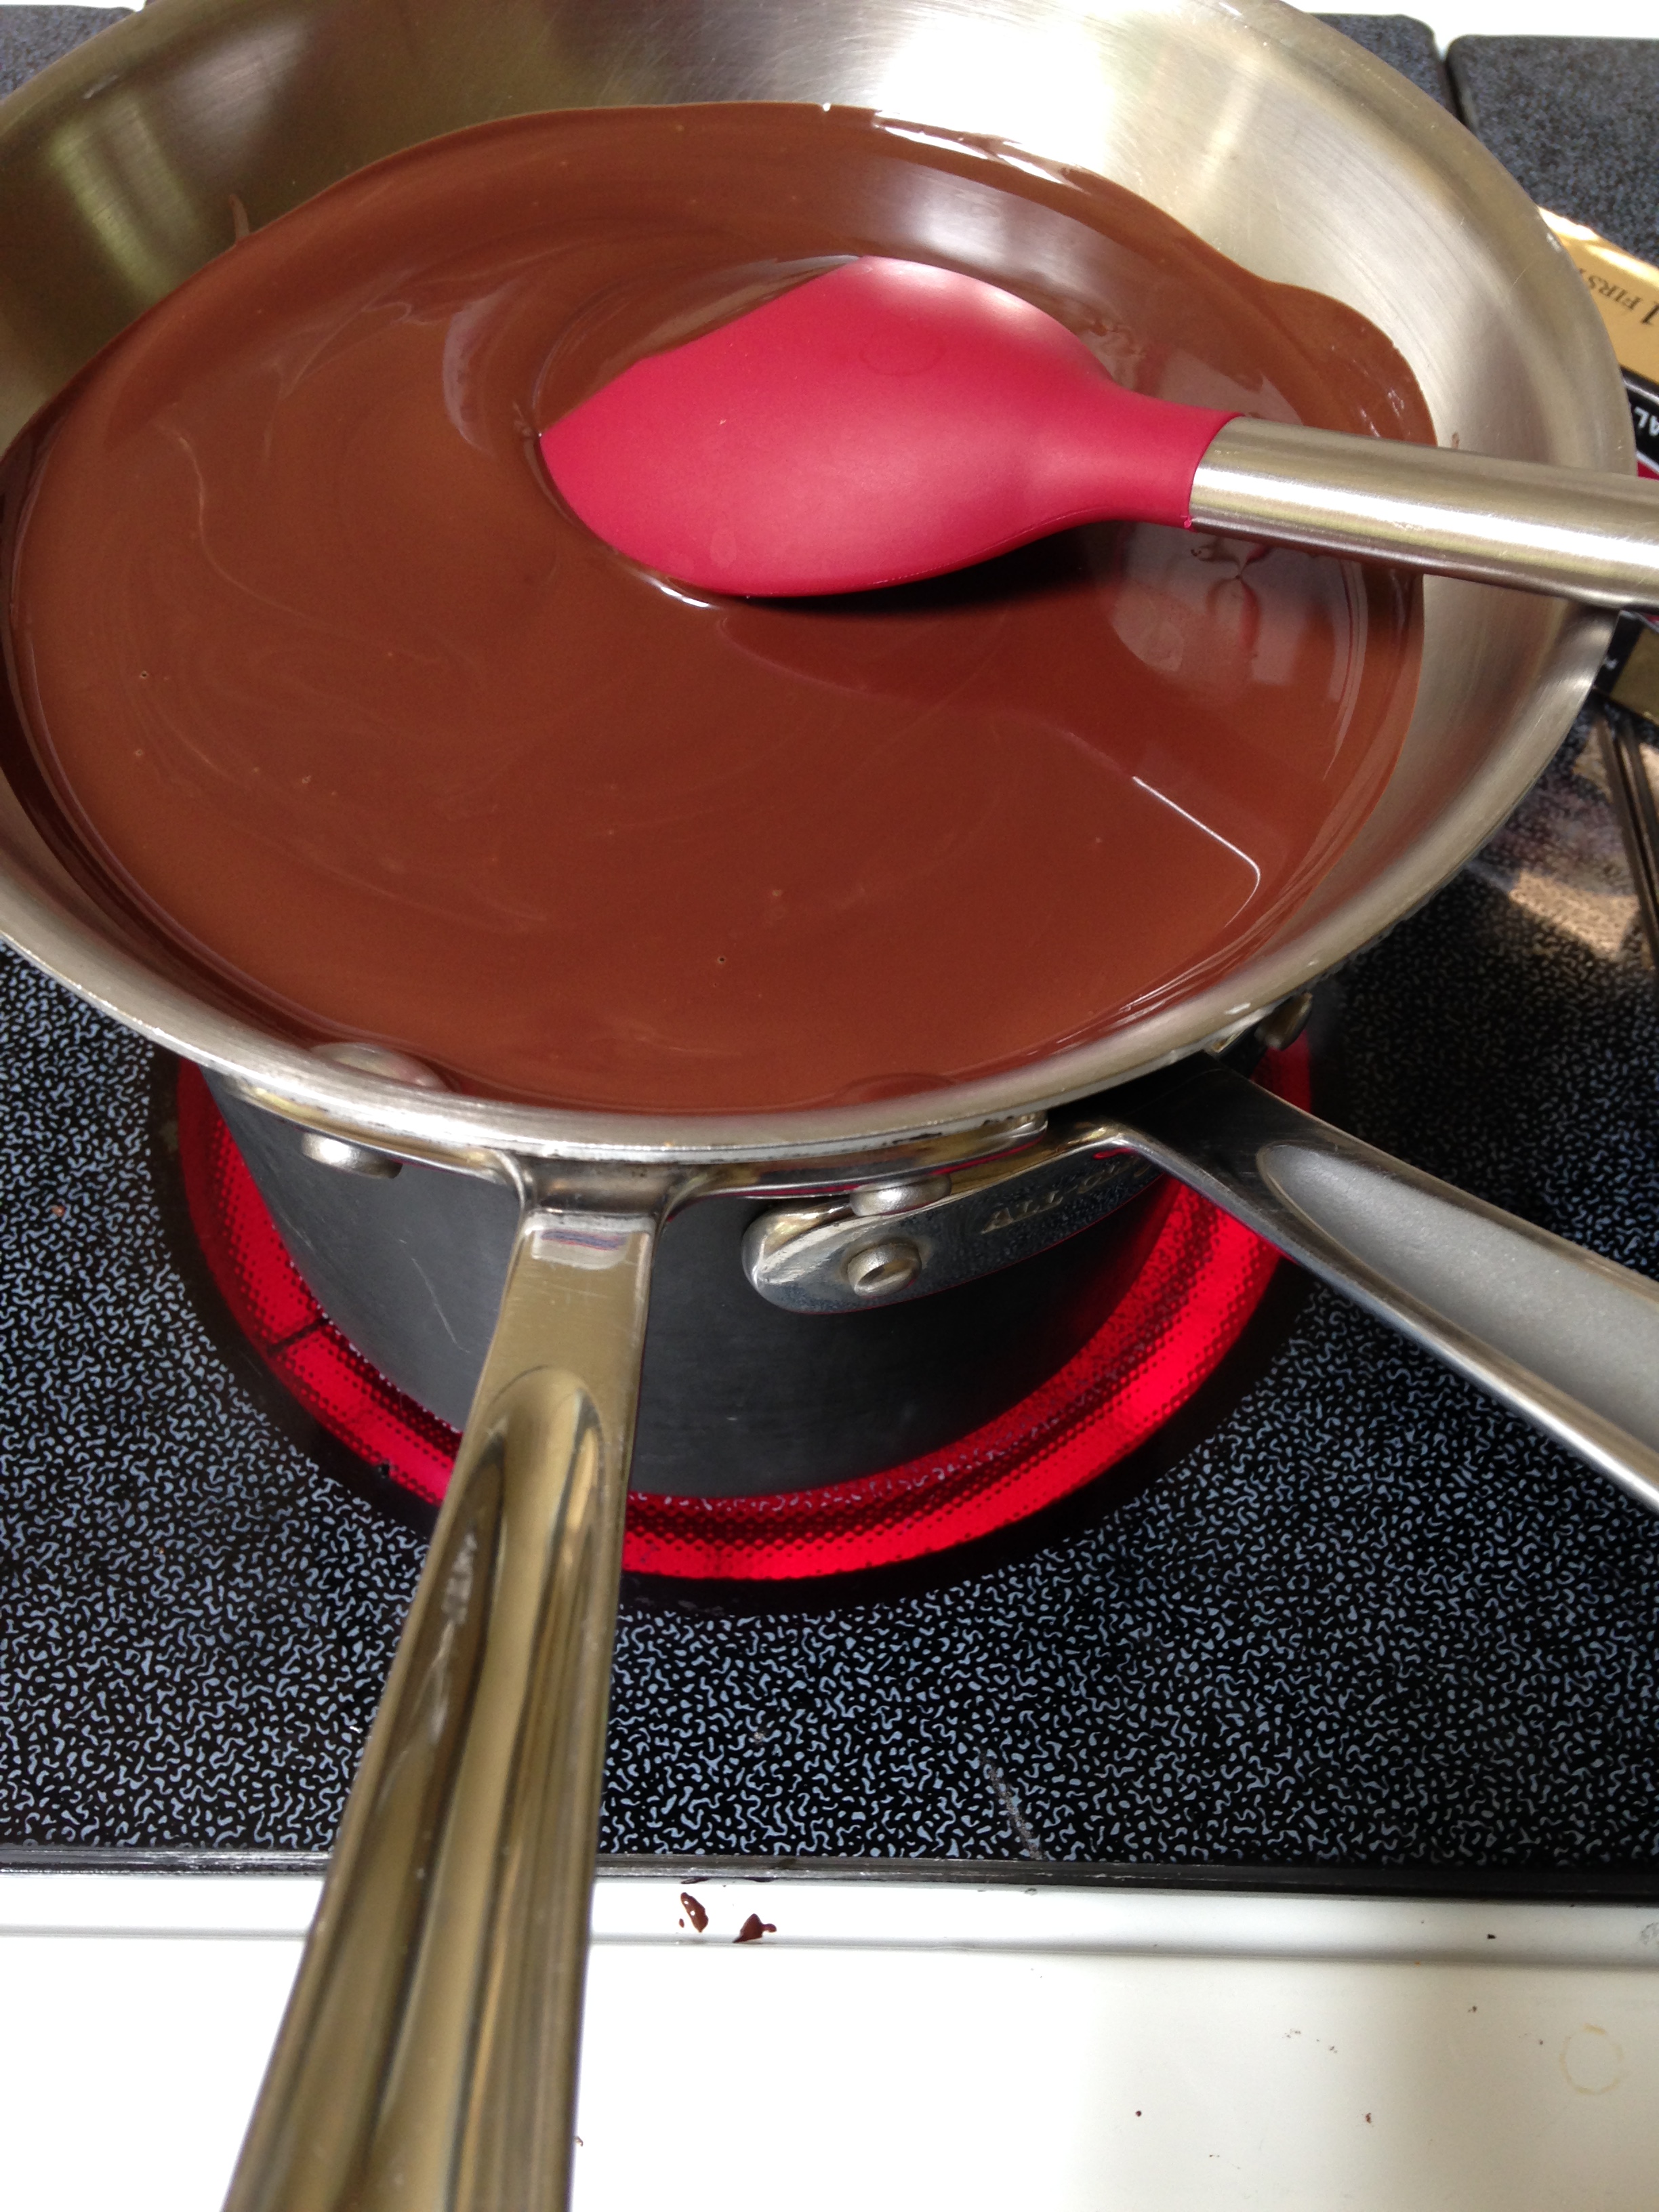
You can do this in a double boiler, or by placing it onto a sauce pan sitting on top of a smaller pot of boiling water.
Once the chocolate is melted. Begin to whisk together the Italian meringue once again and slowly pour in the melted chocolate until the mixture looks like wet icing. When you are done, place it into the fridge to cool slightly before assembling your cake.
THE ASSEMBLY
Remove the cake from the freezer and the icing from the fridge and get ready to make a delicious mess.
For my cake, I layered the momofuku-esque cake on the bottom and middle, with the fudgilicious cake as layers 2 and 4 (top). I did this because the Maltese ChocoBomb cake seemed more substantial and better as a base.
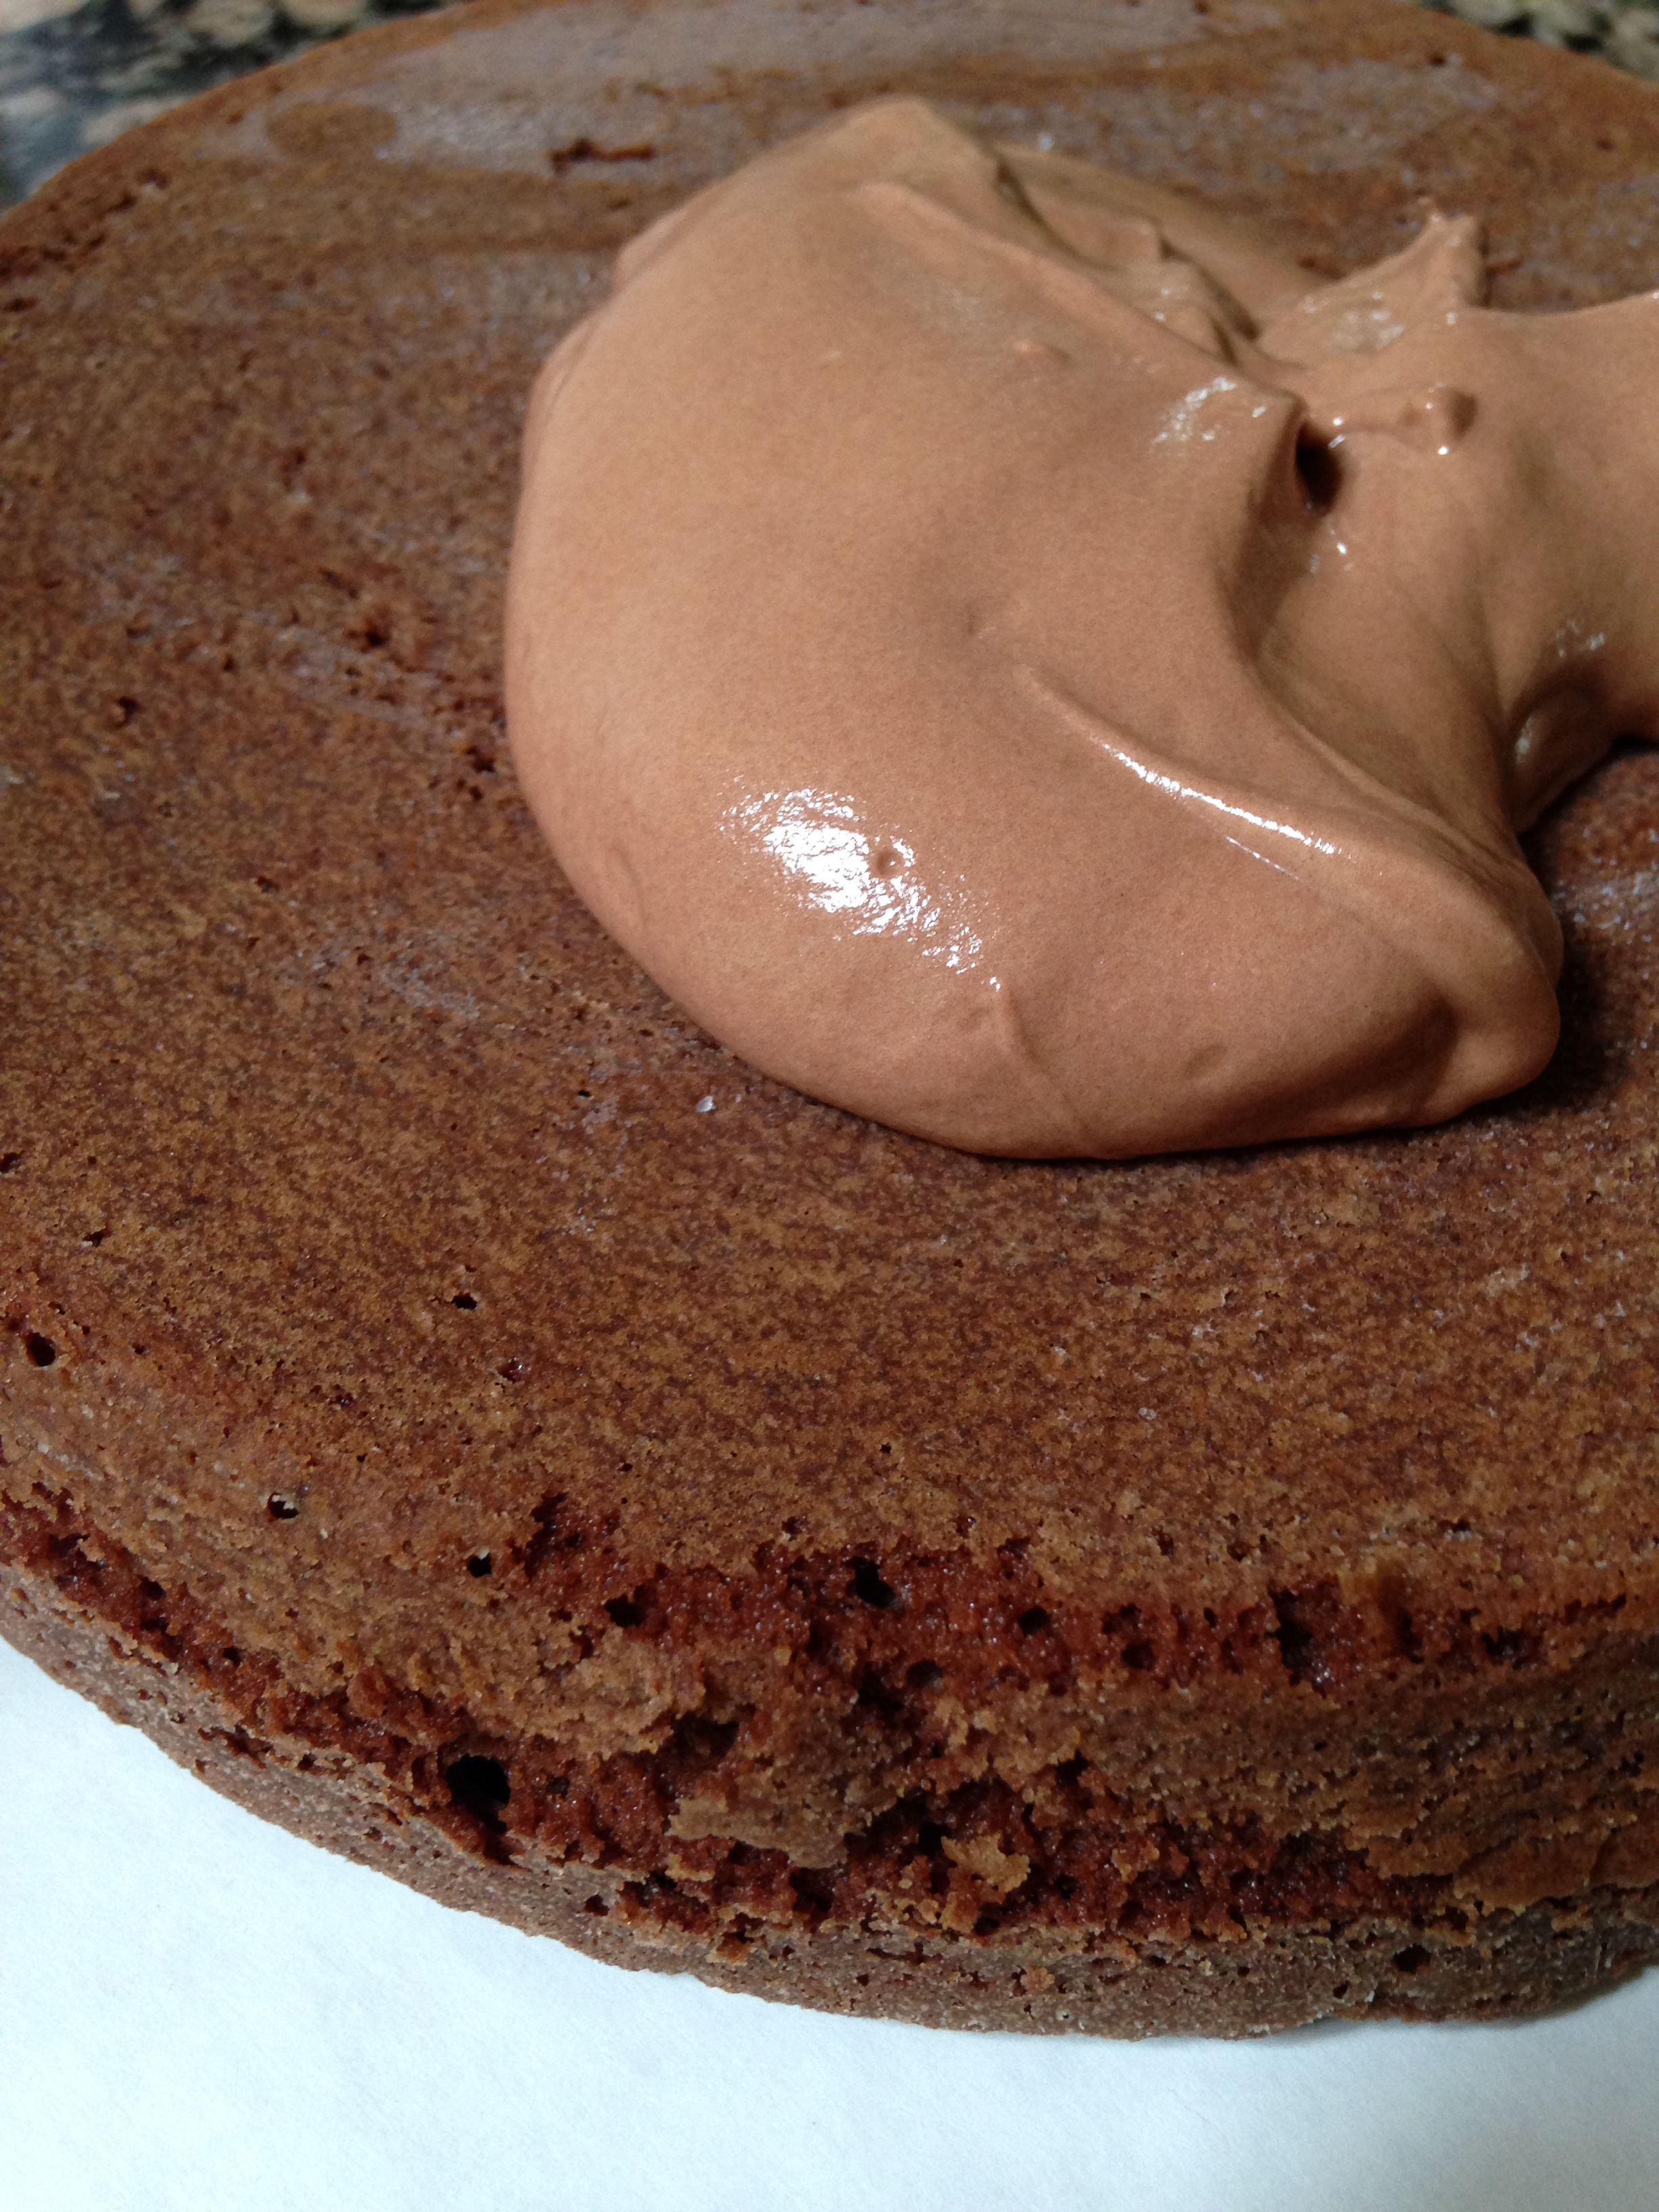
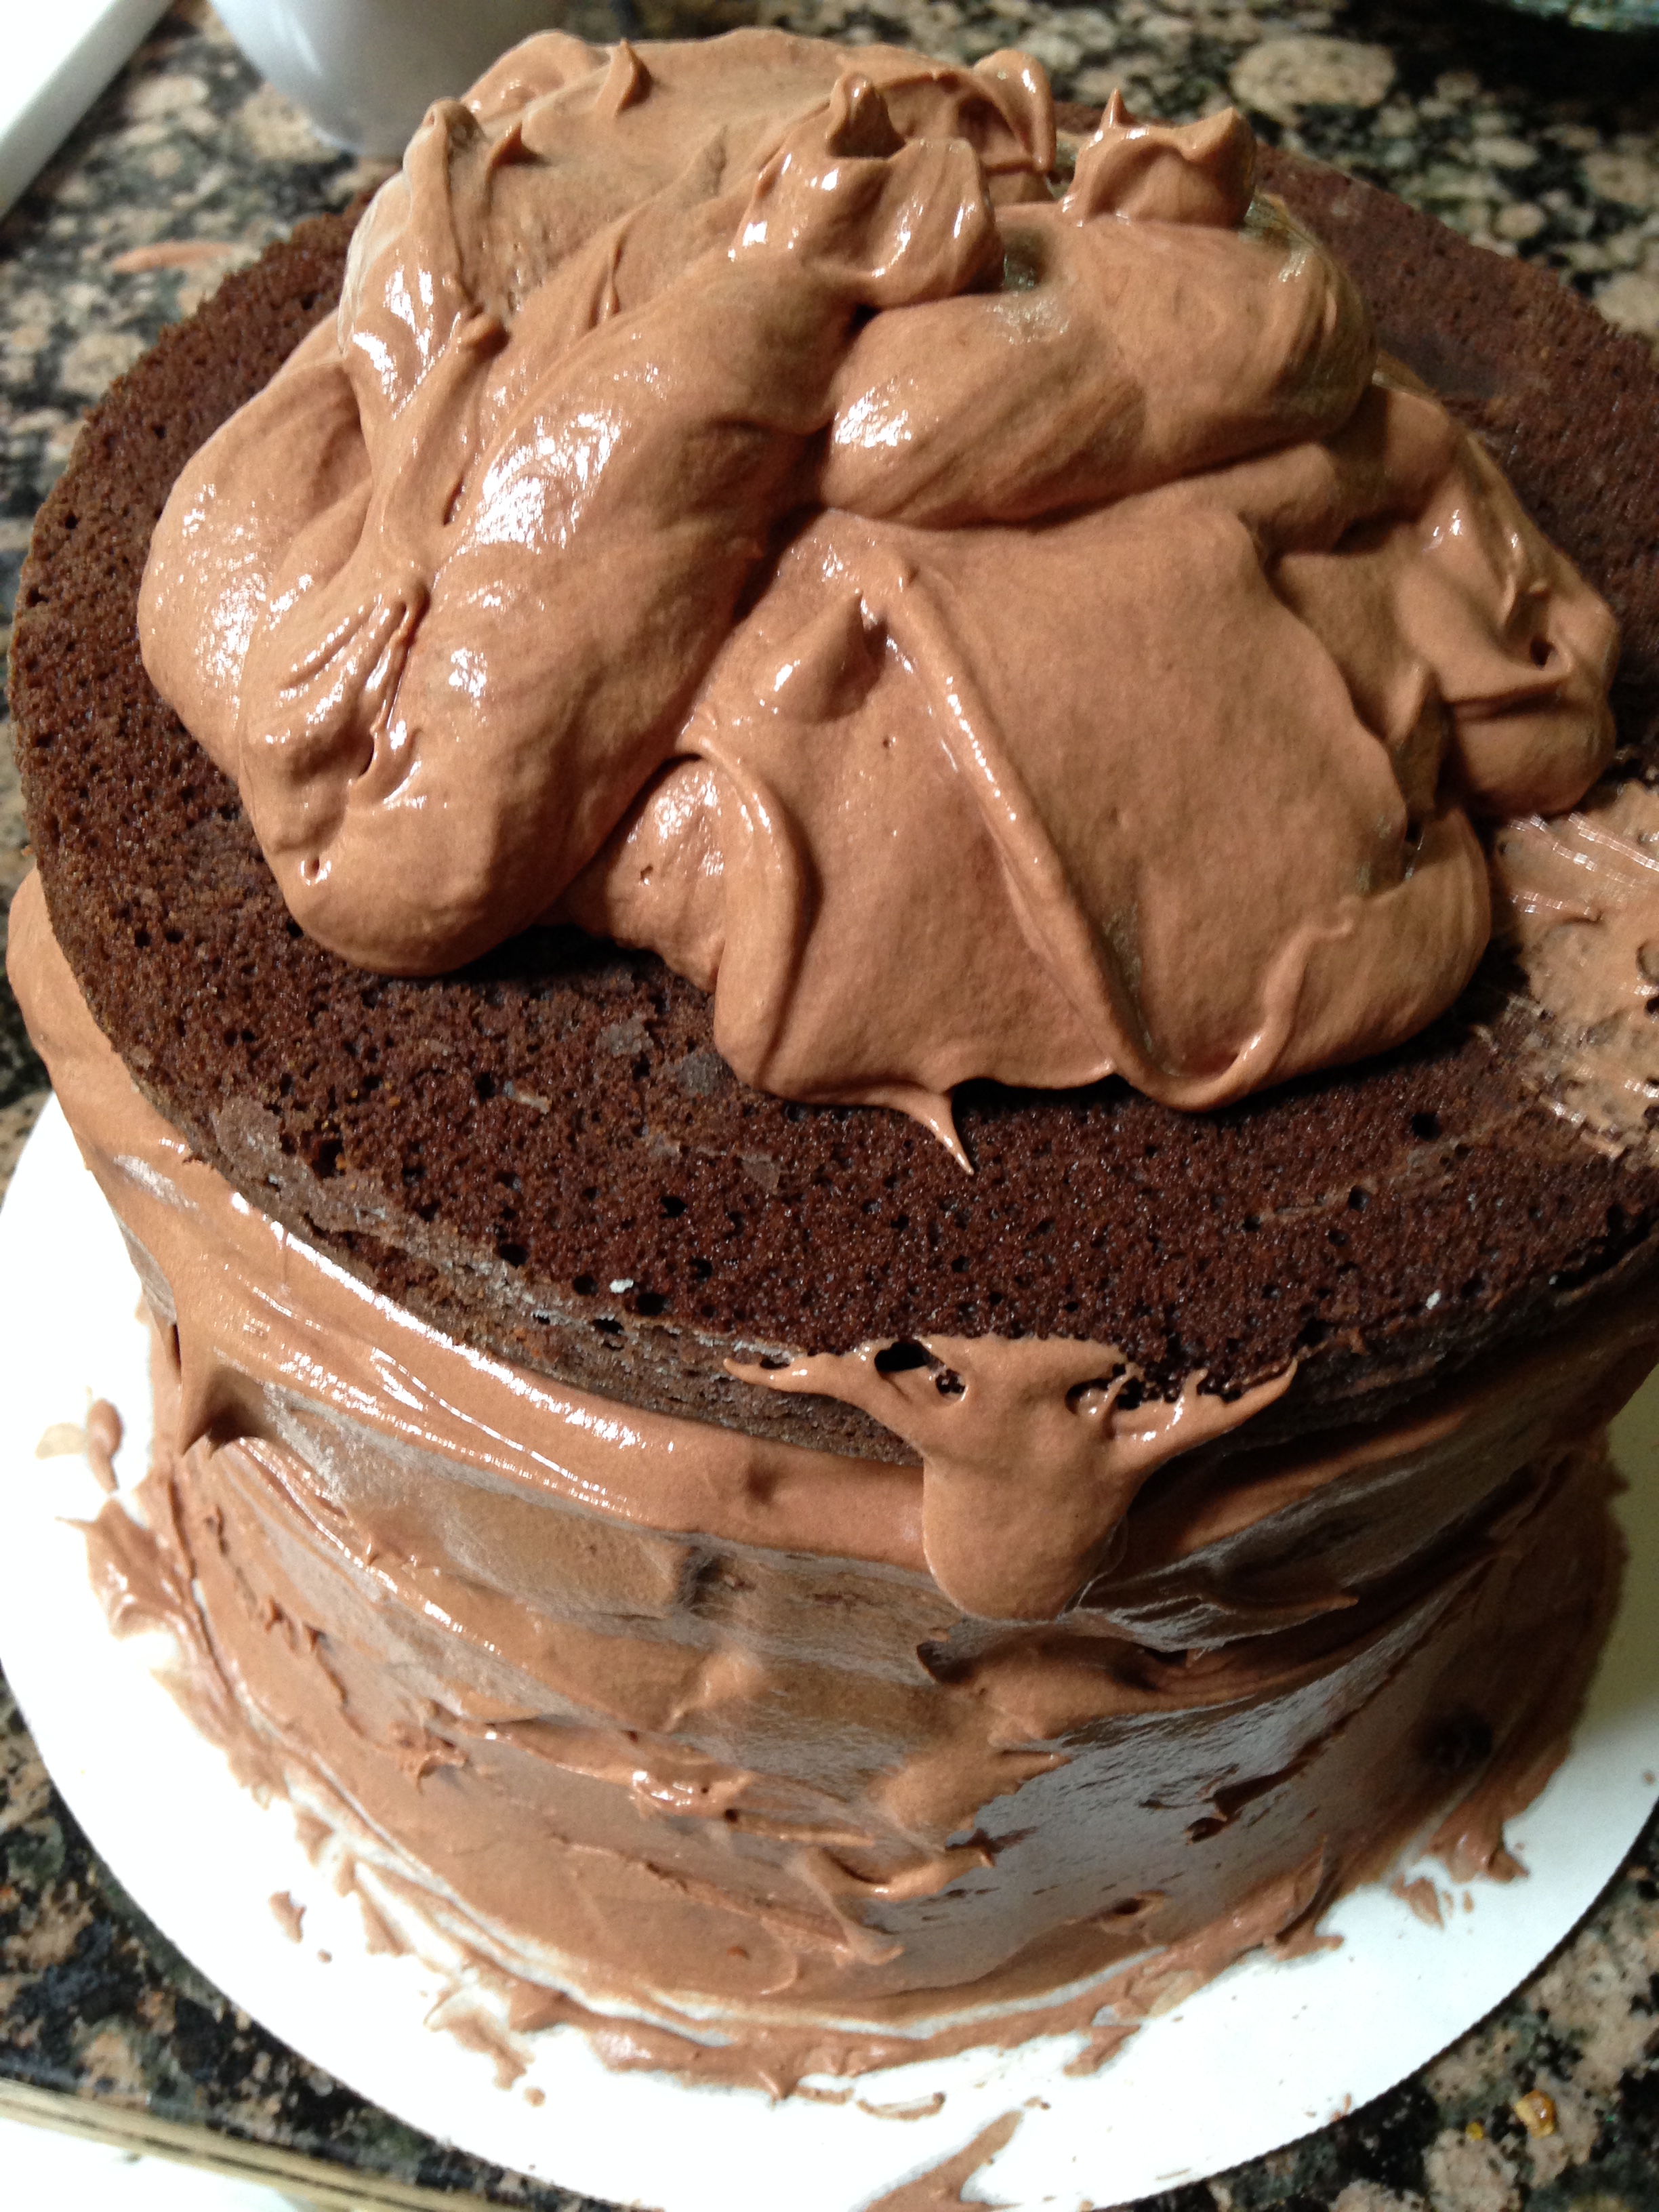
With this on the bottom, I first applied a layer of icing…
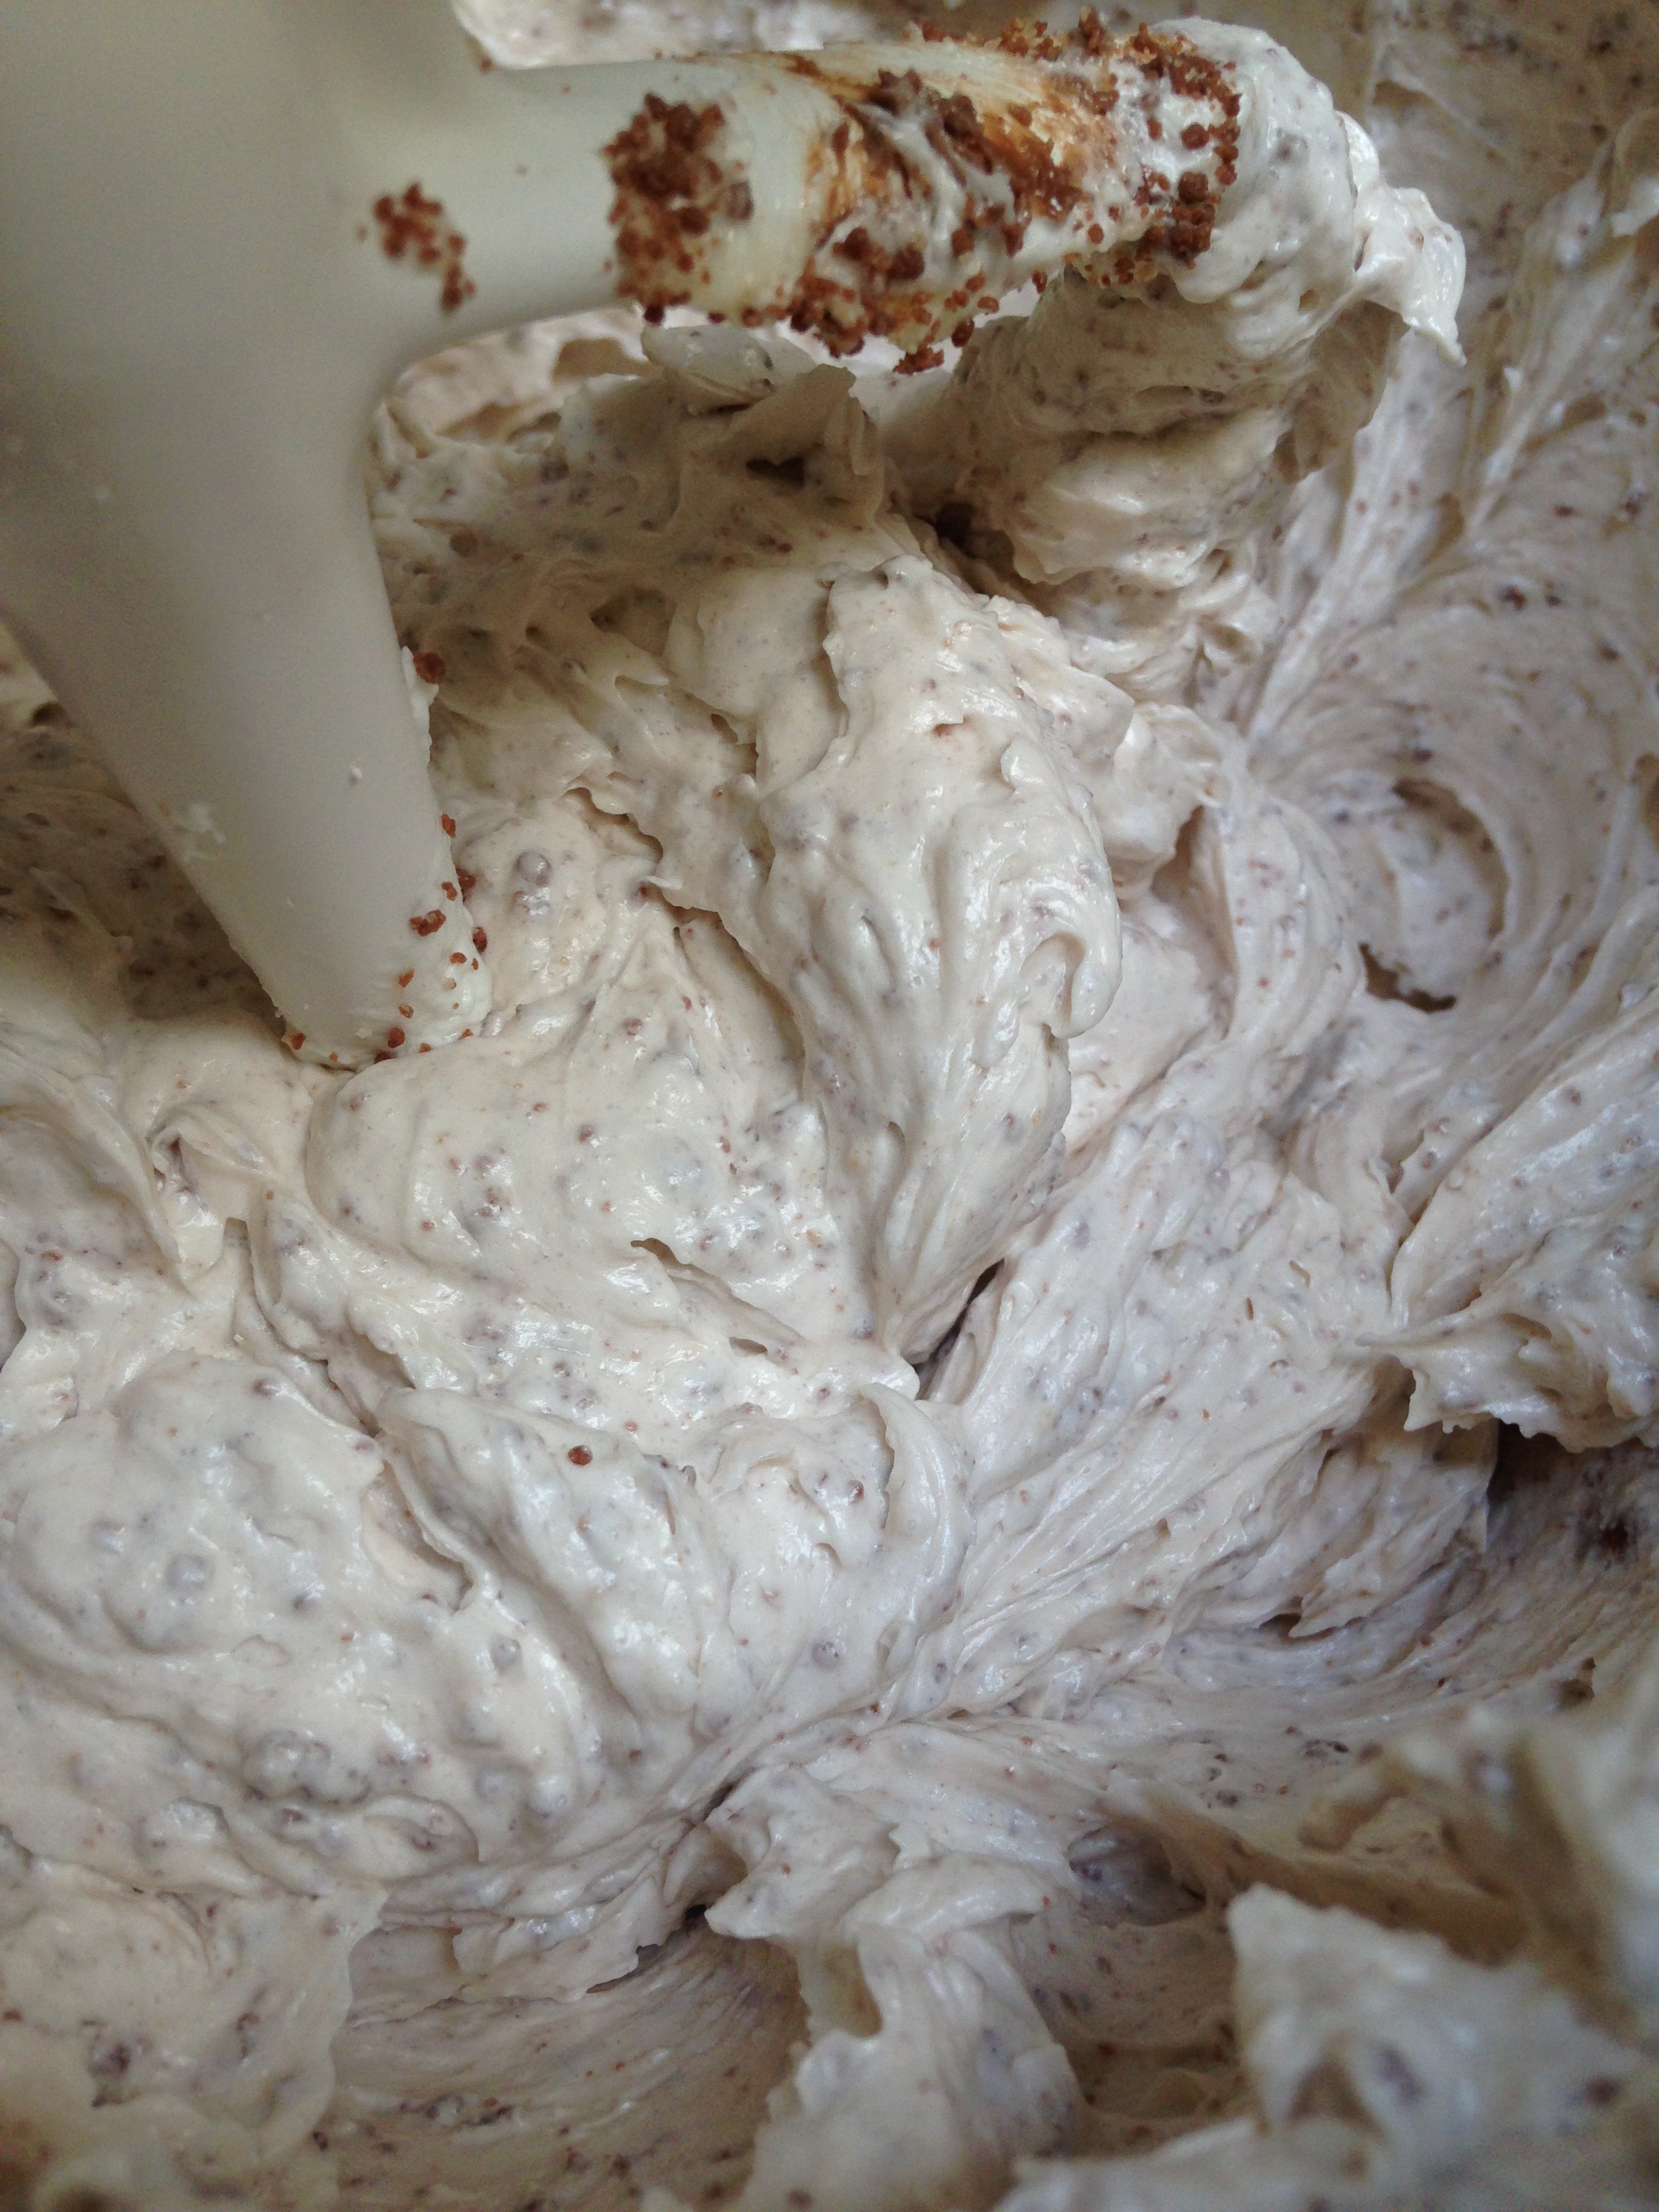
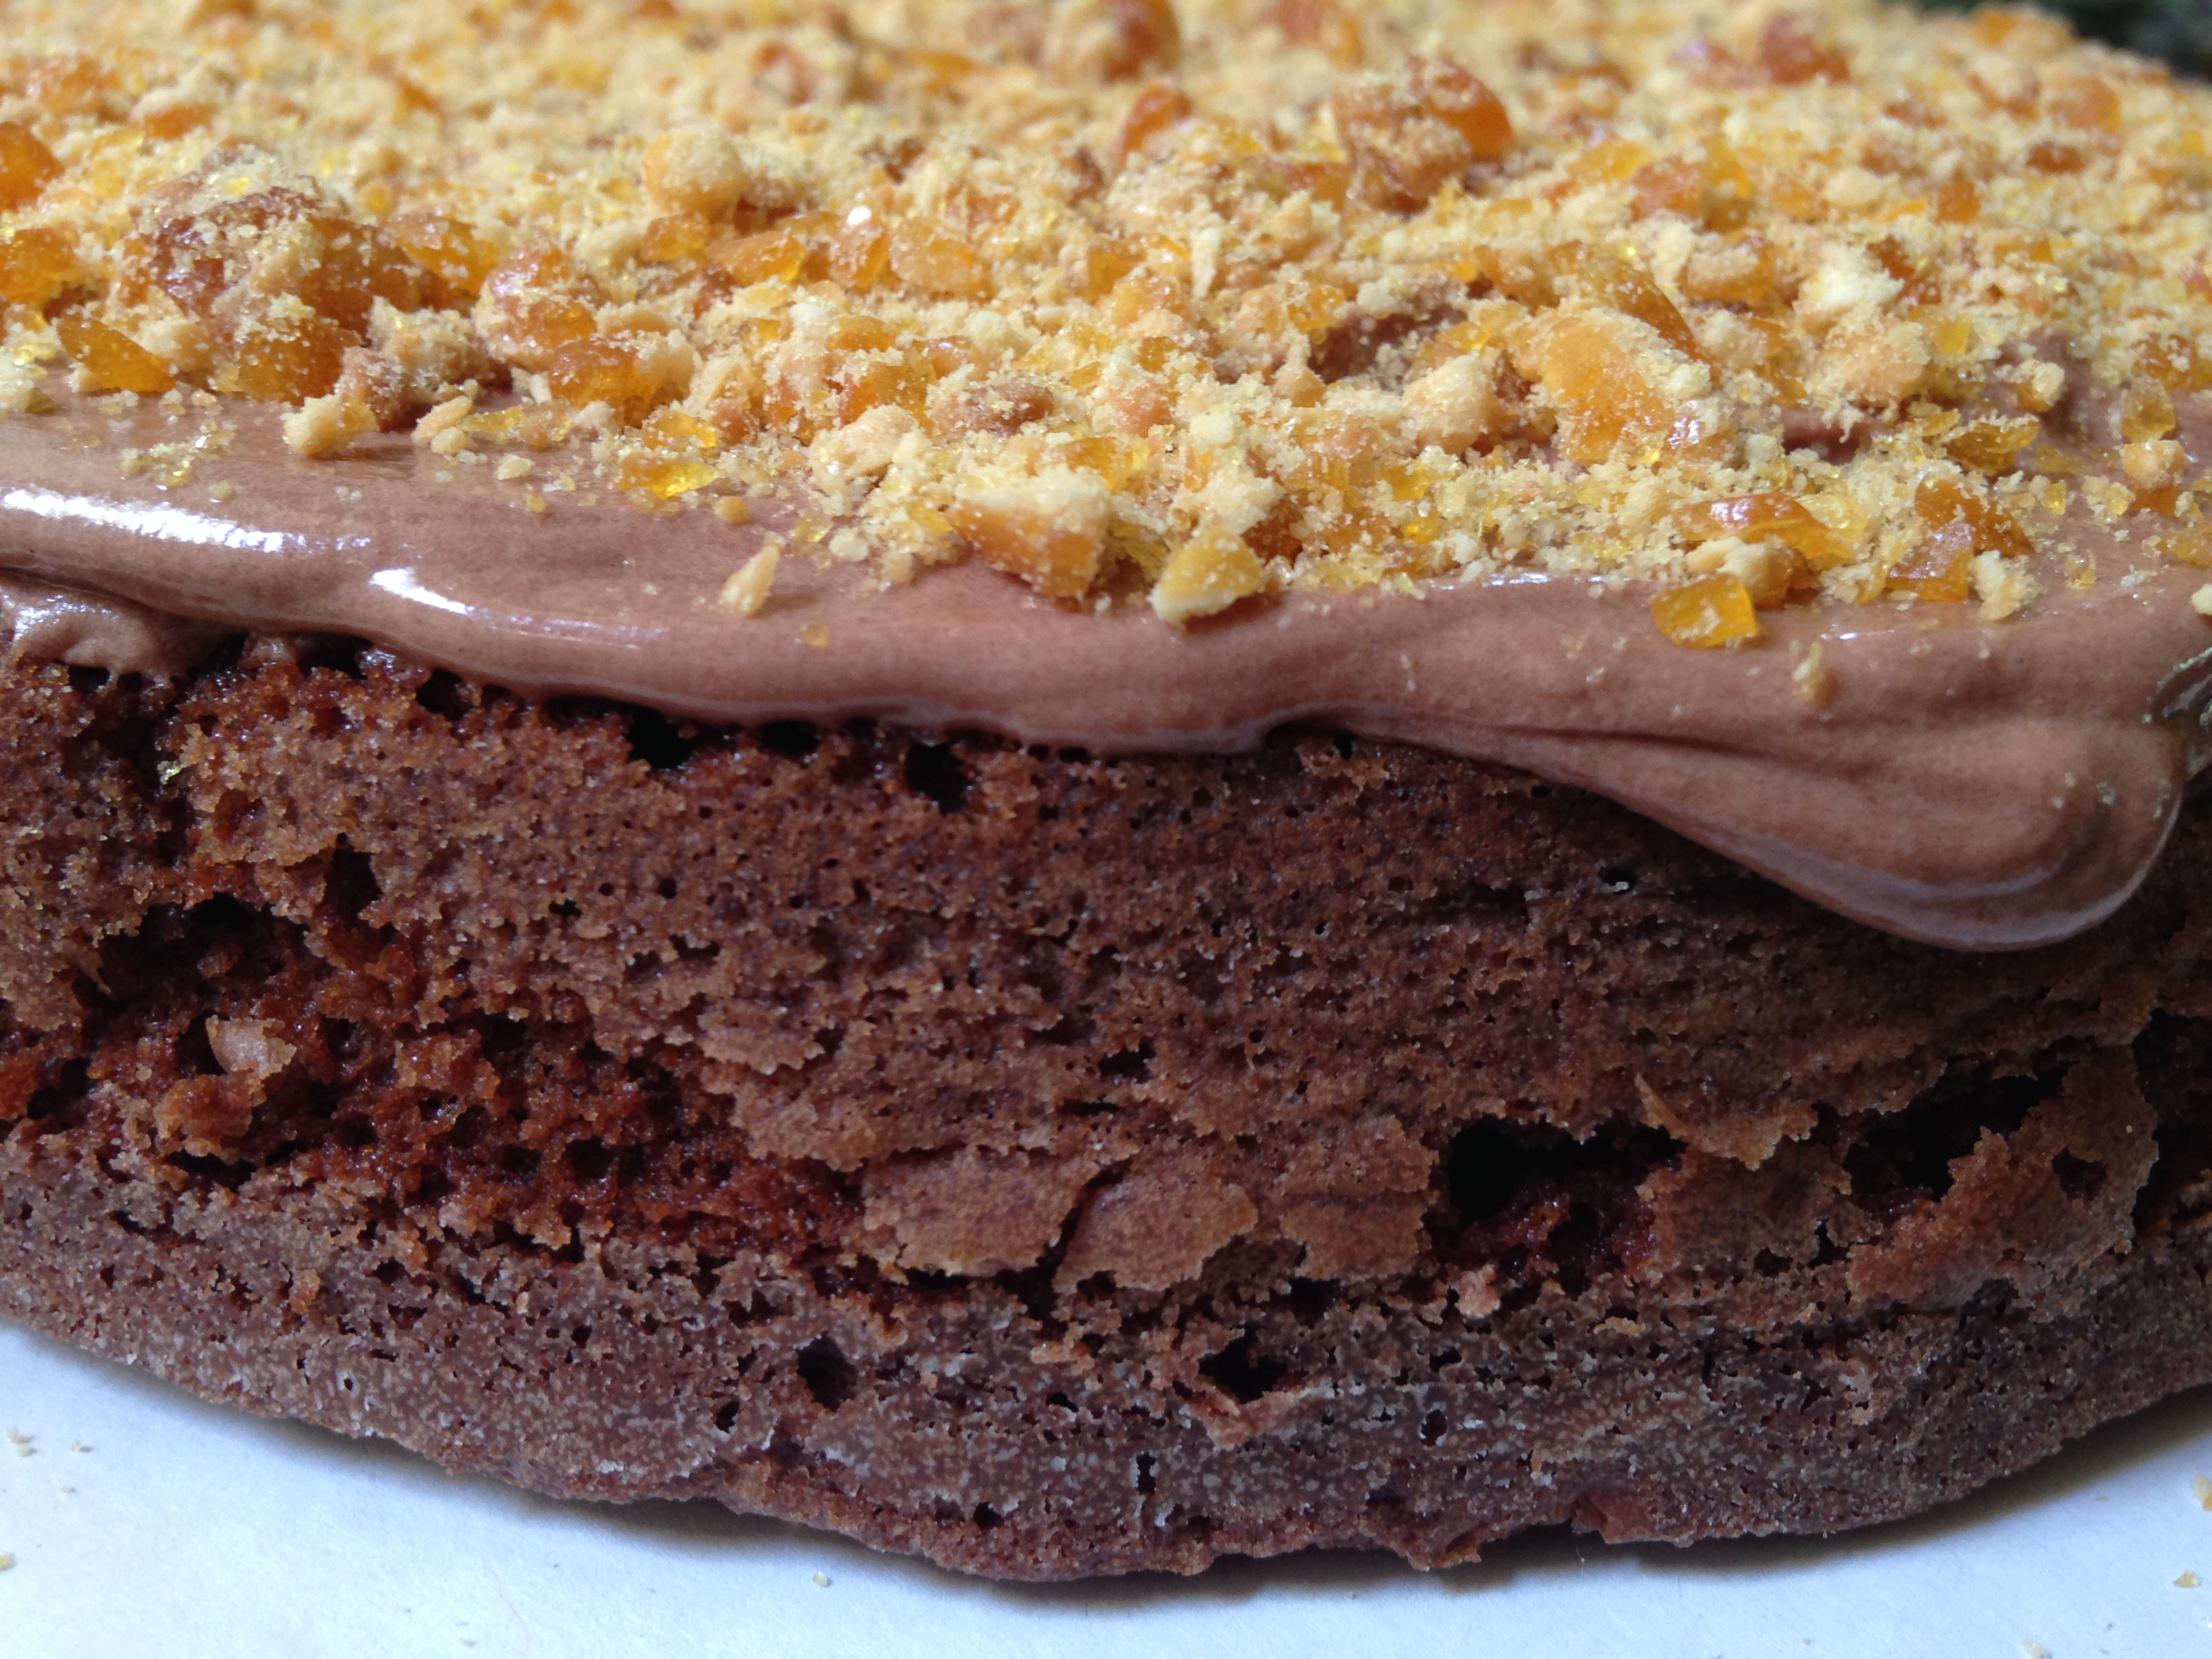
And then I began to experiment! Here, I adding pulverized peanut brittle, left over from a batch of the homemade goodstuff. Heaven.
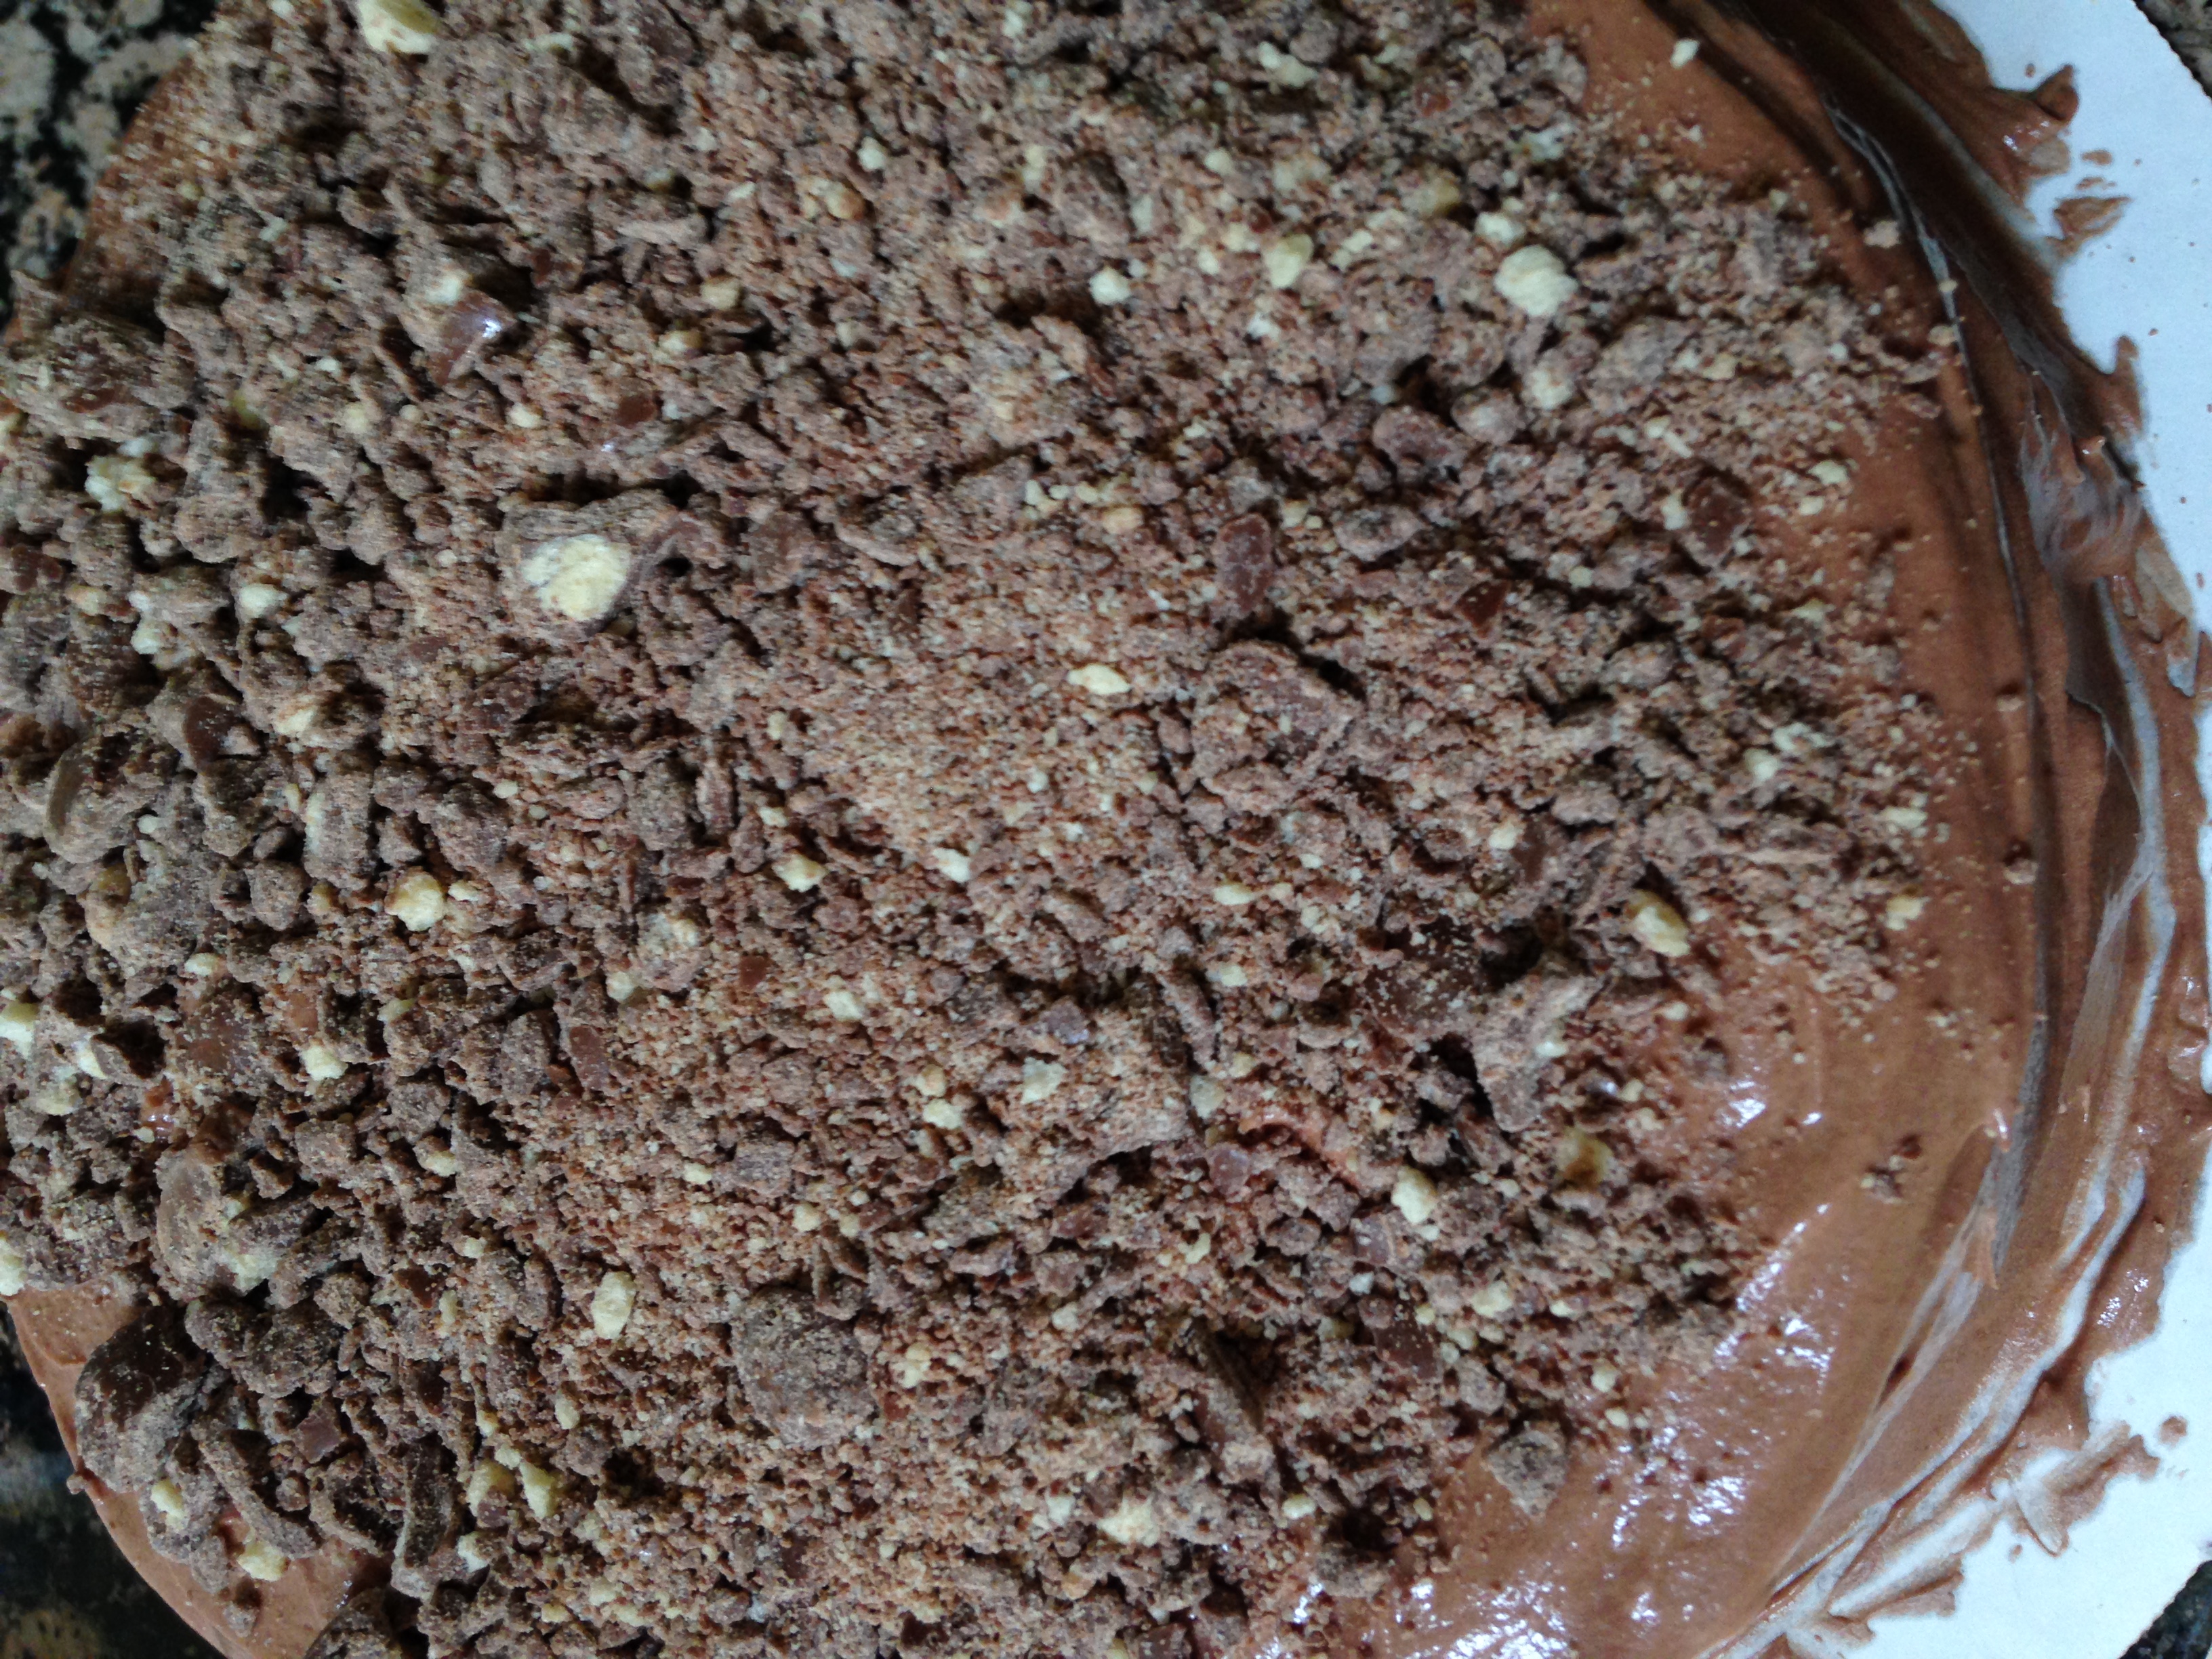
I ended up not only adding pulverized malt balls to the cake batter, but layered crushed malt balls between the layers of cake (between layers 2 & 3).
To do this, first add icing, then malt balls, then another thin layer of icing before placing another cake round on top!
This cake just seemed to grow and grow and grow!
What a delicious mess!
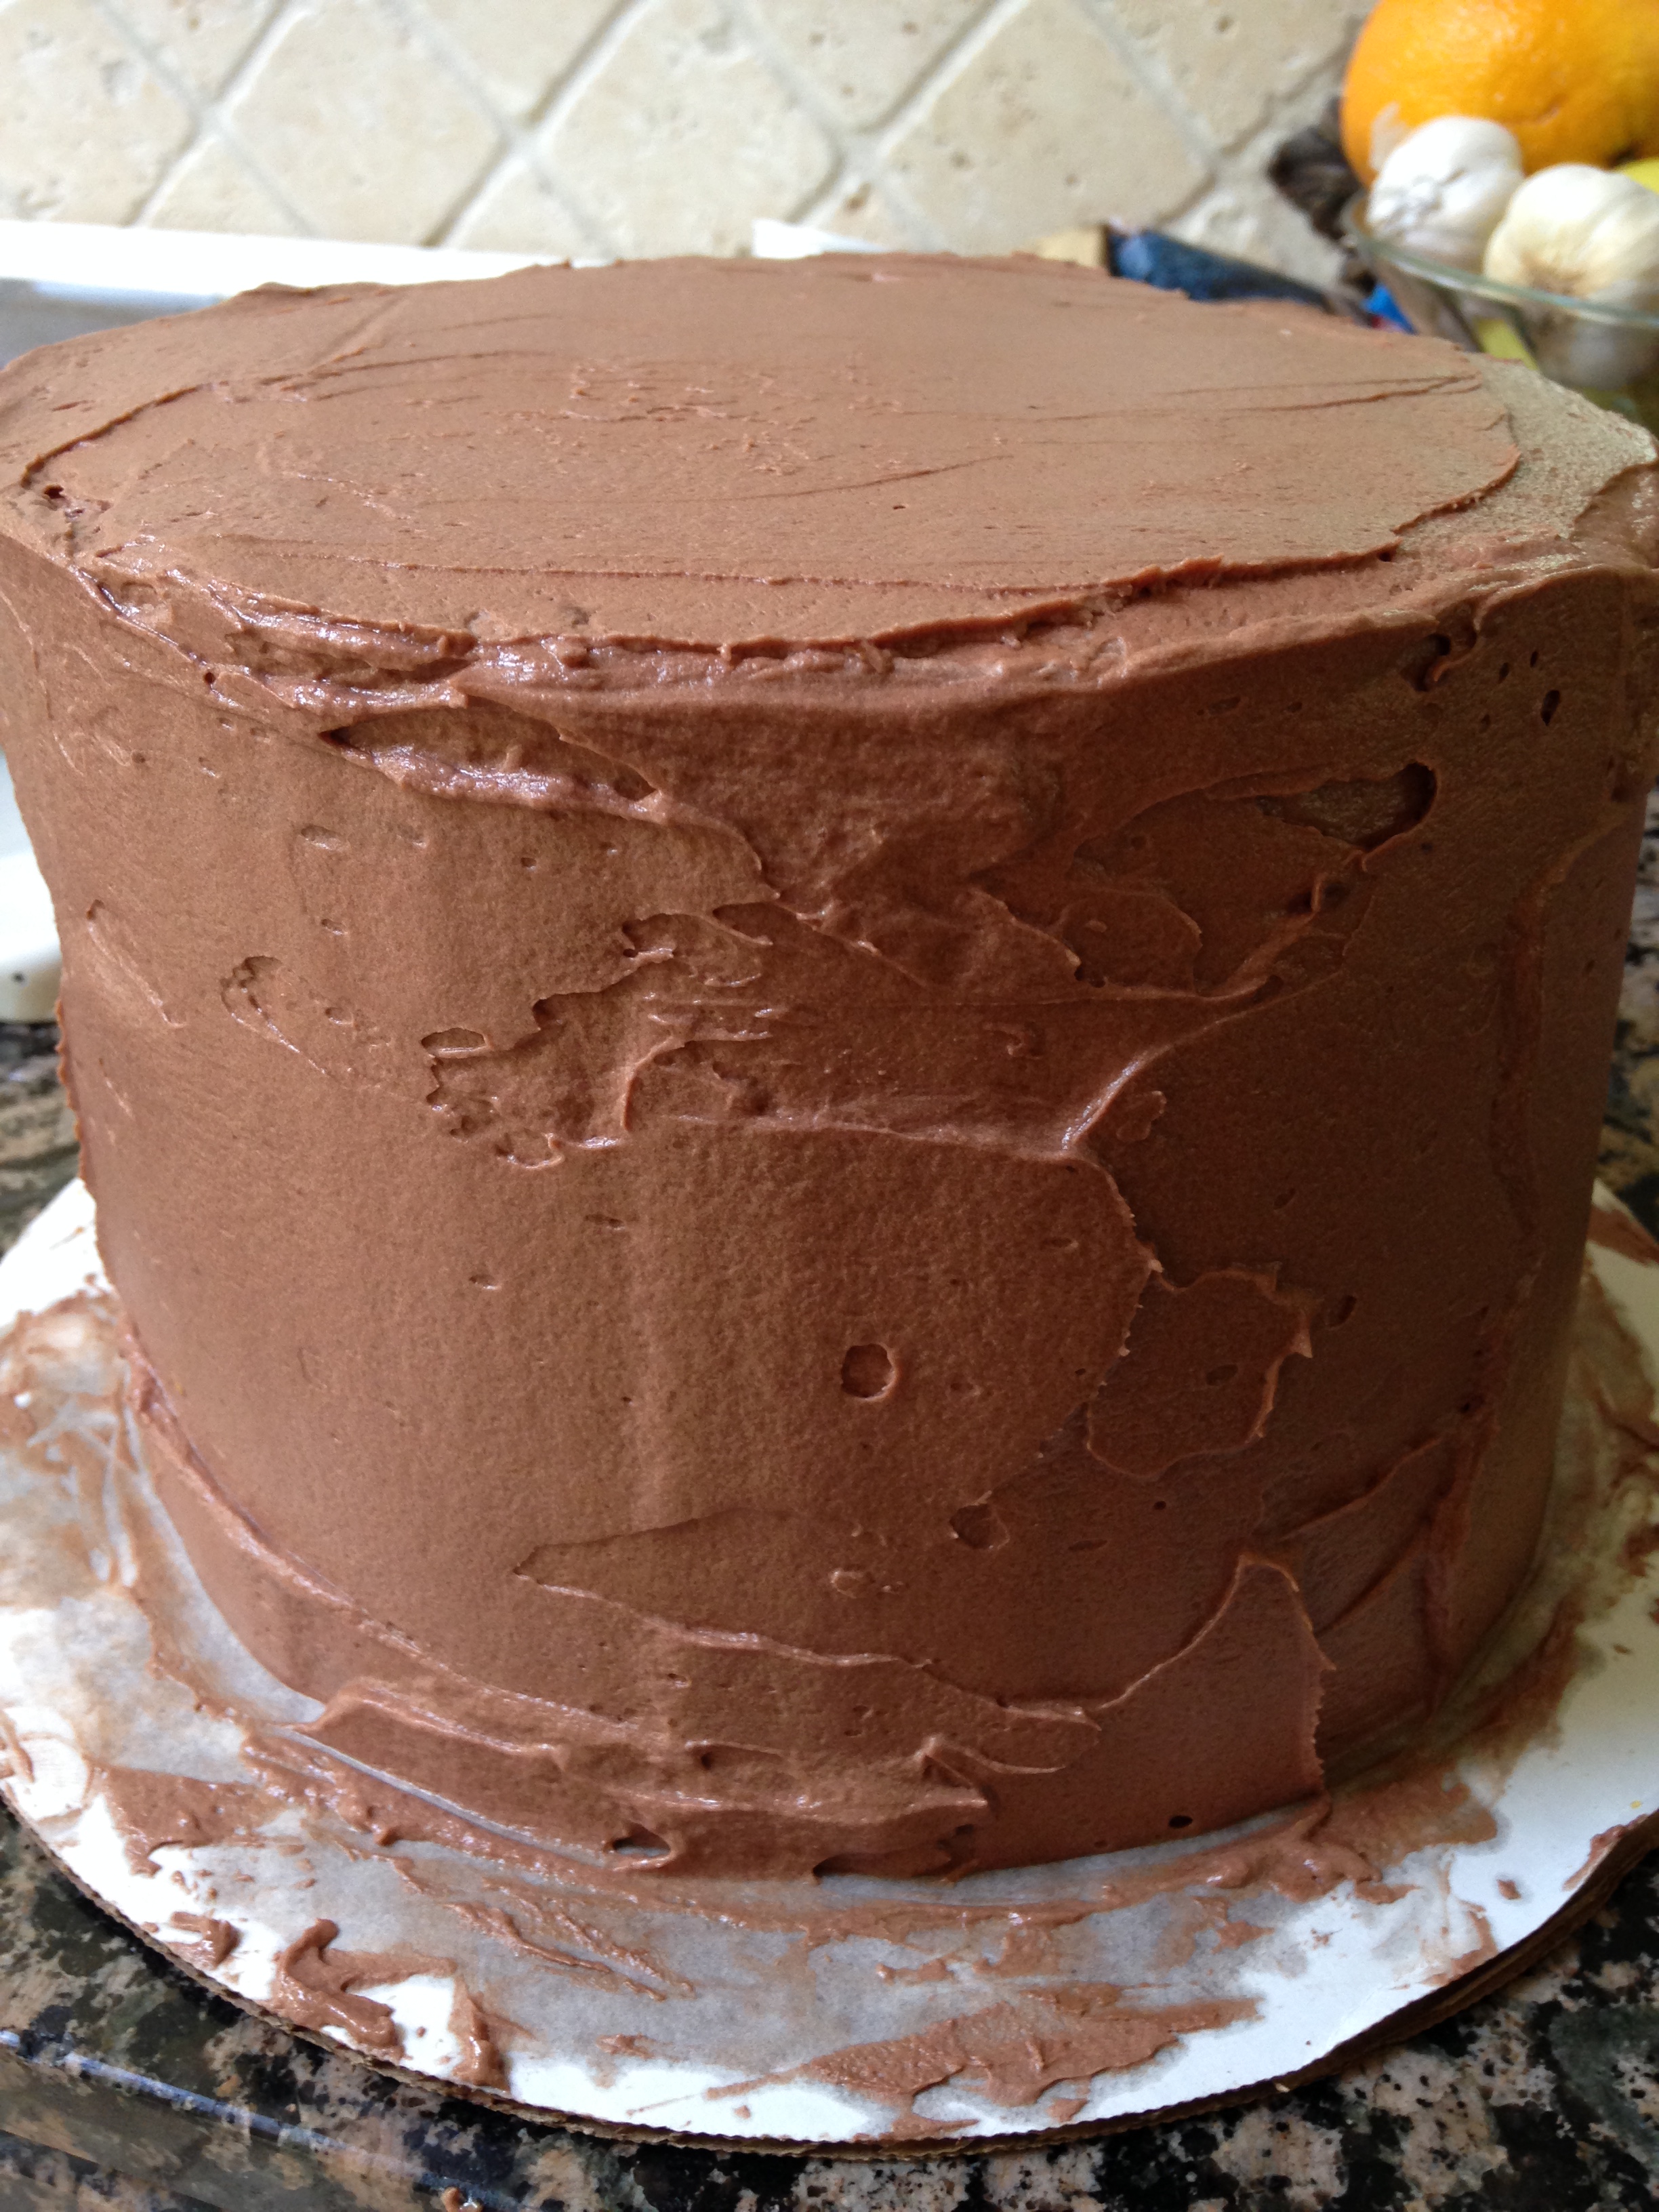
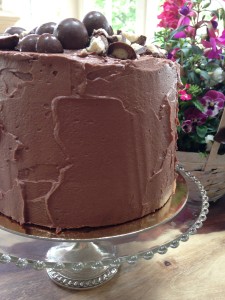
To smooth out the sides, I used an Ateco Spackling knife and went around the sides of the cake until I felt like the icing was smooth and even. I did not use a cake stand, which make this a bit challenging, but if I can do it, so can you. If you are really OCD and don’t like the rustic look to the icing. You can try popping the icing into the fridge to harden it a bit before continuing with your spackling knife.
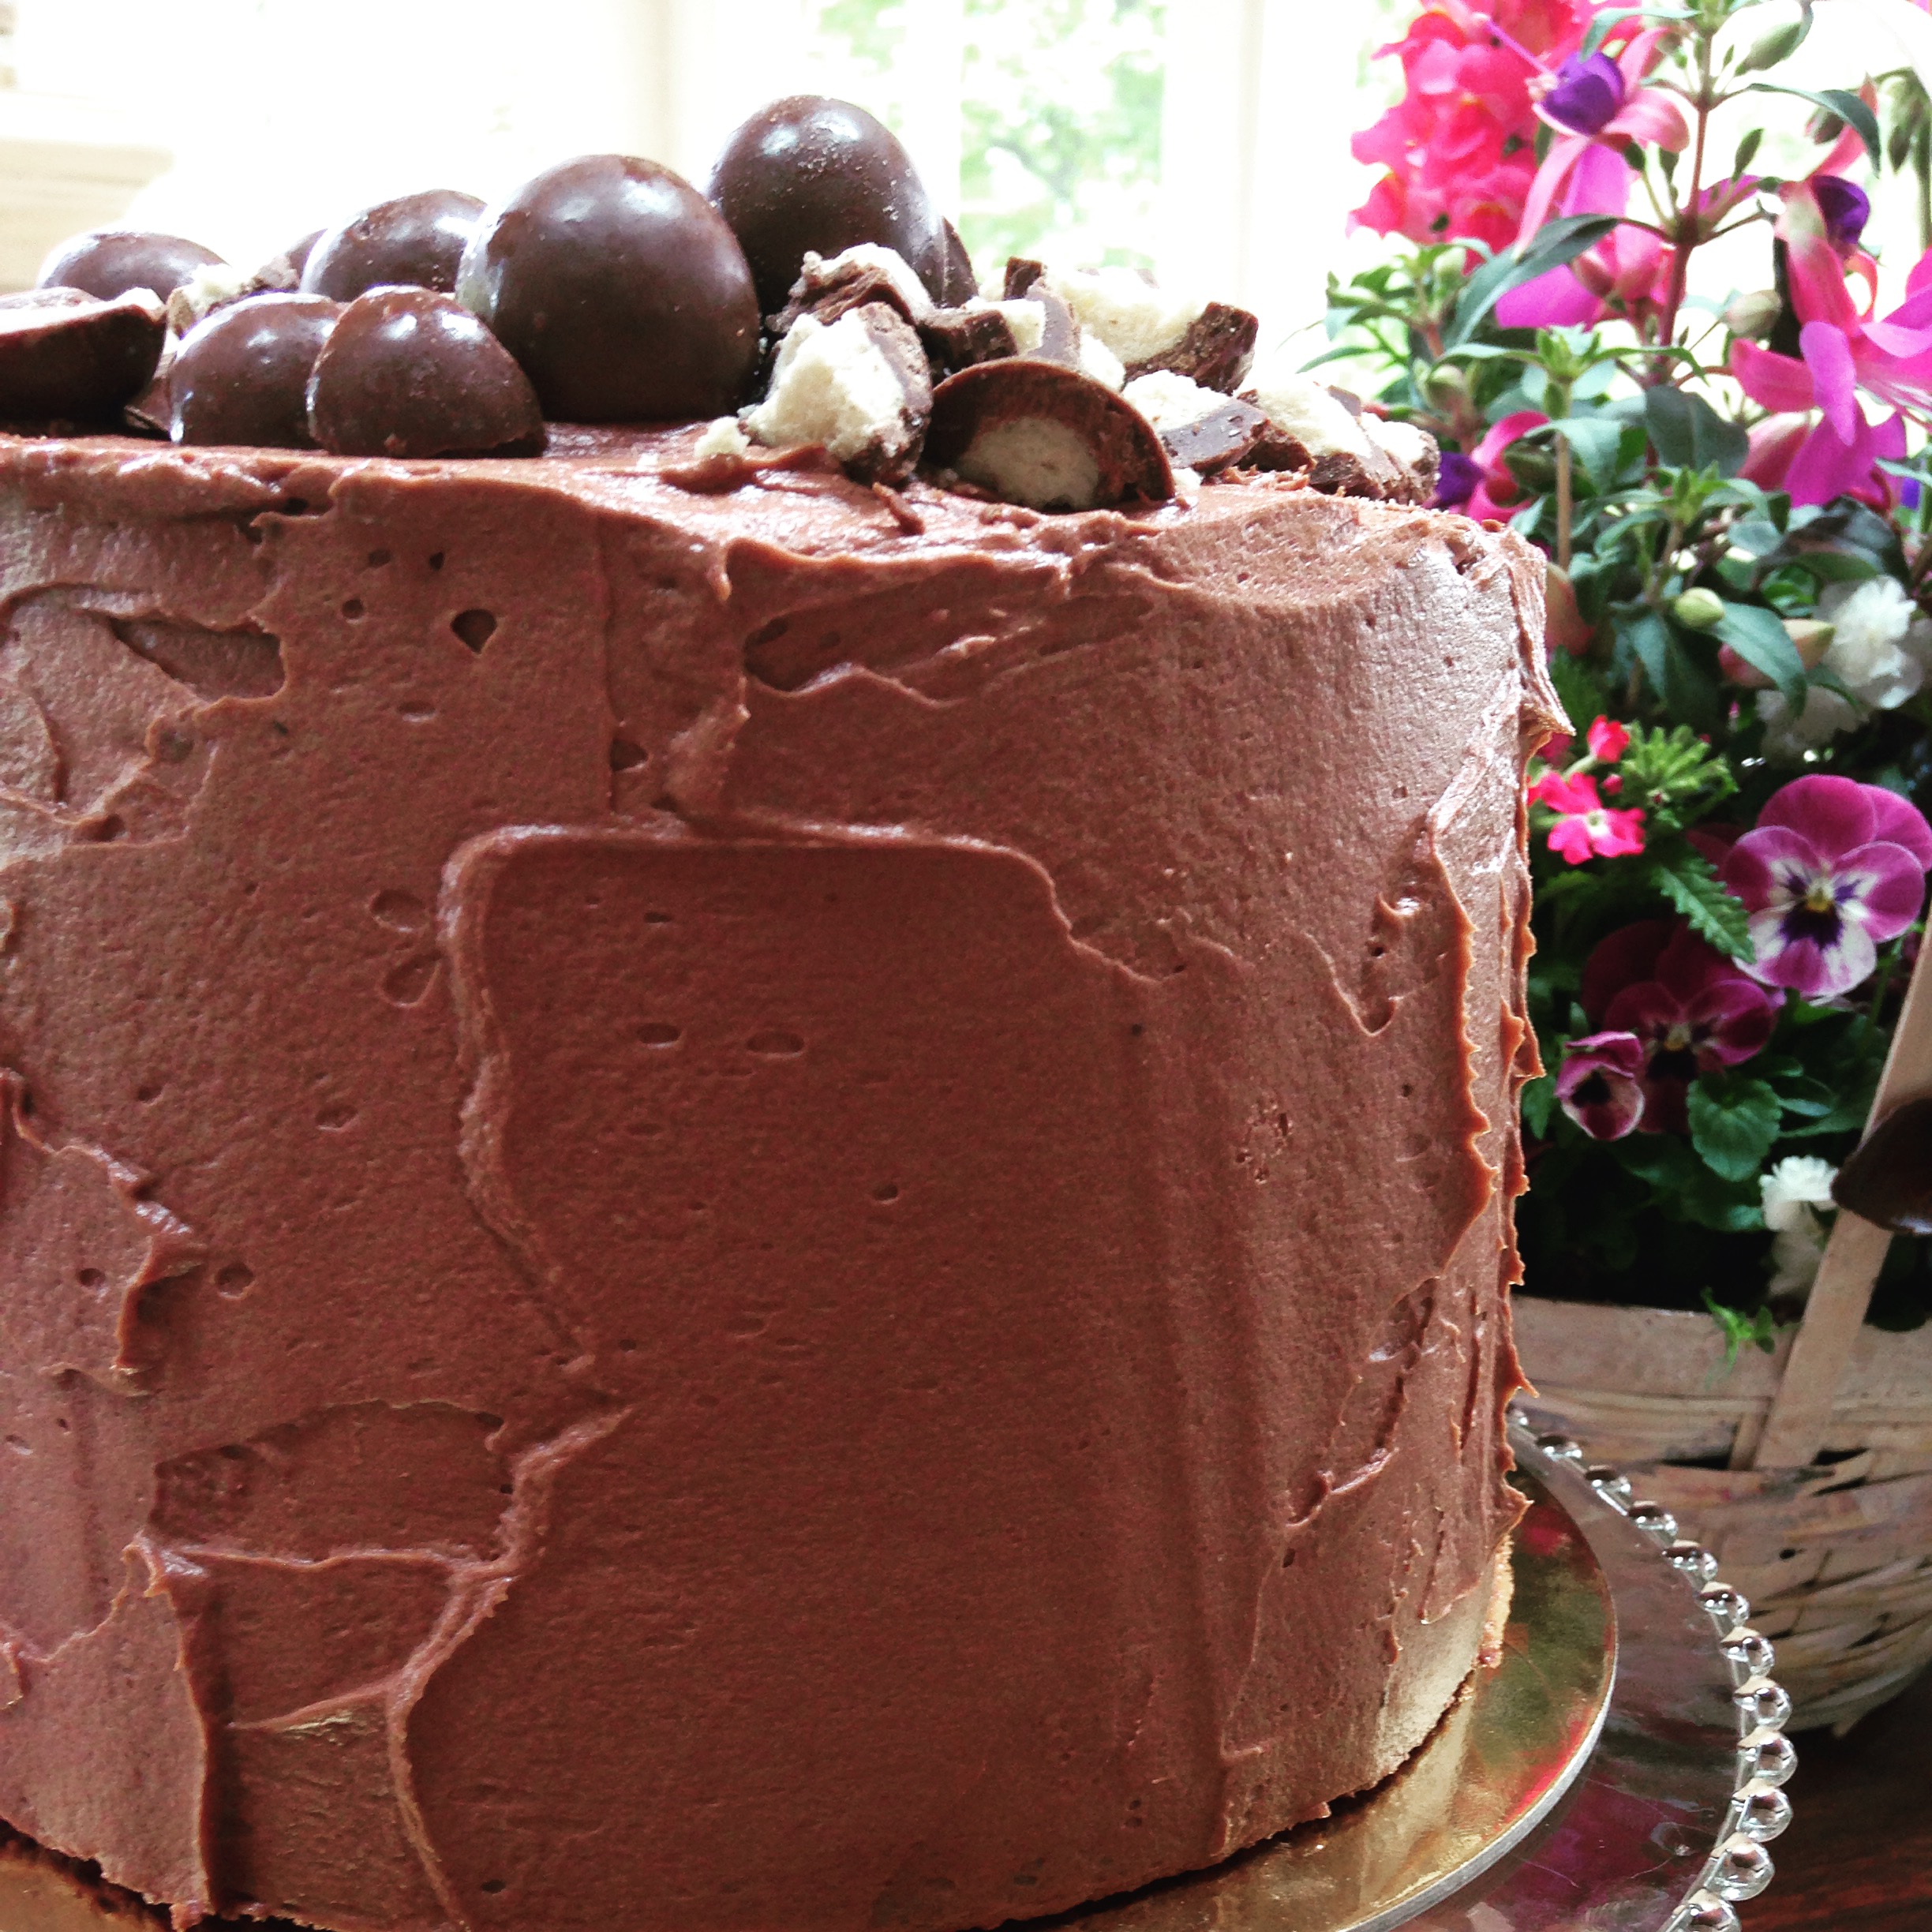
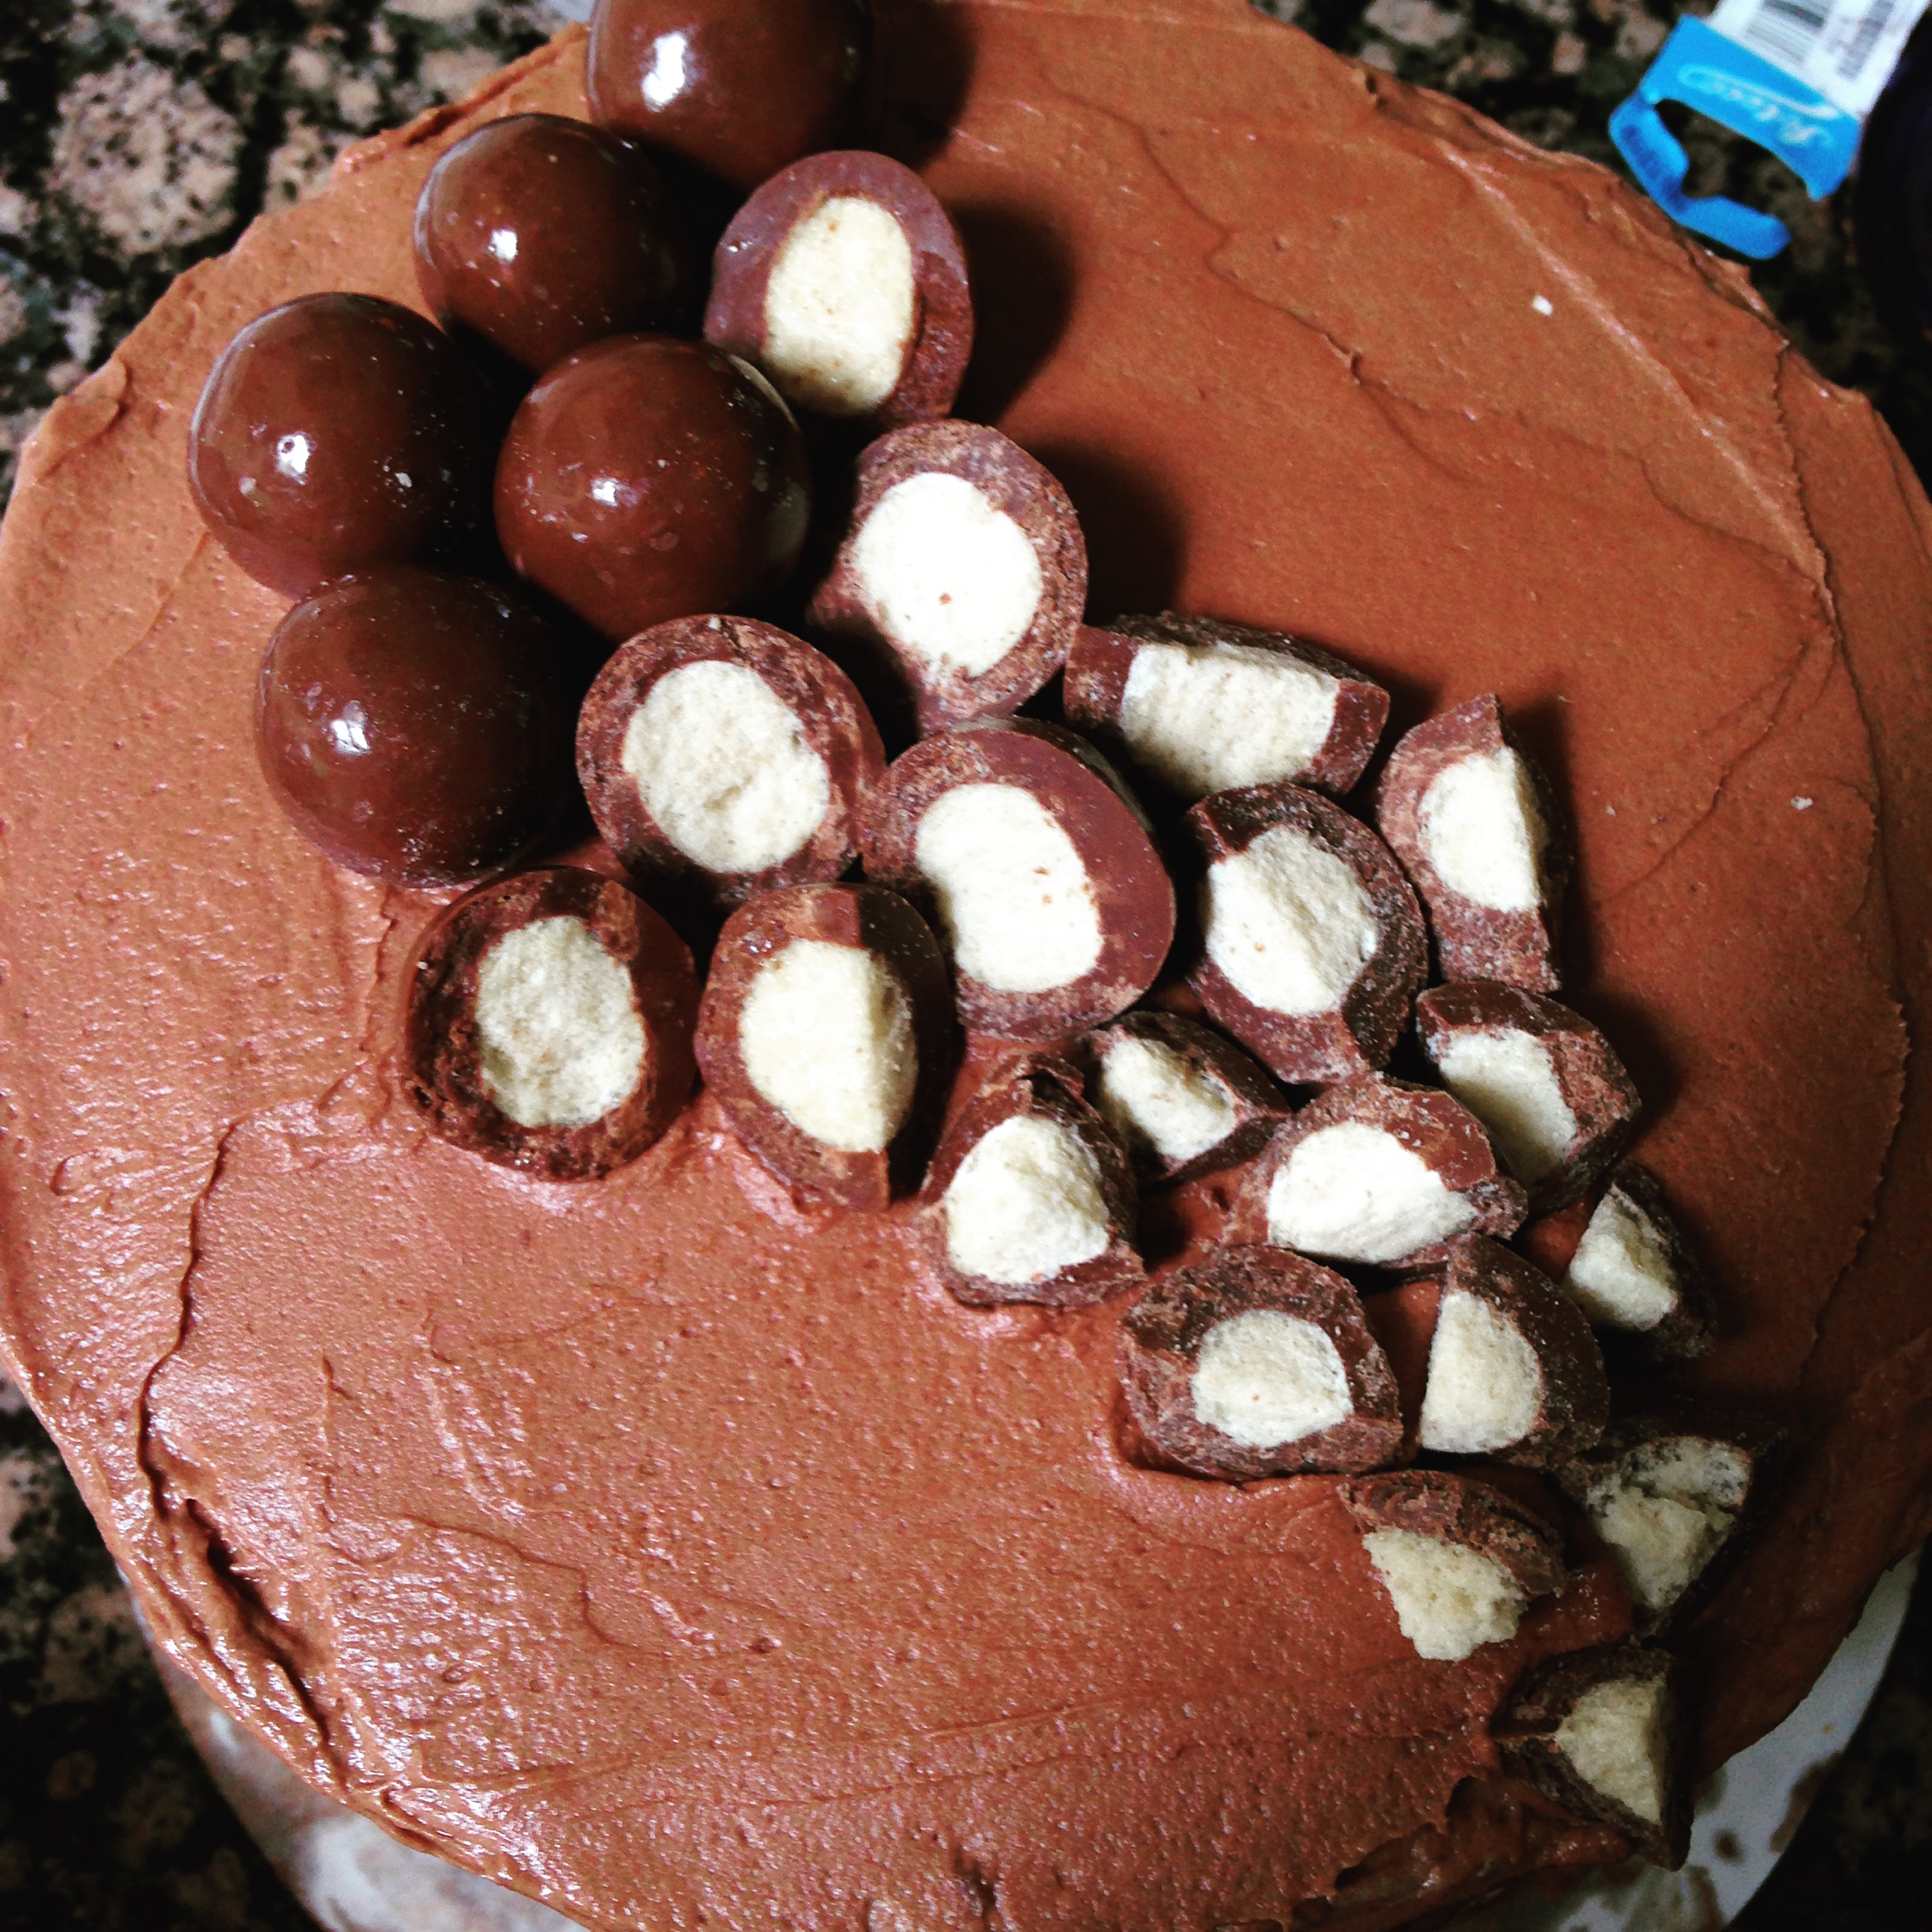
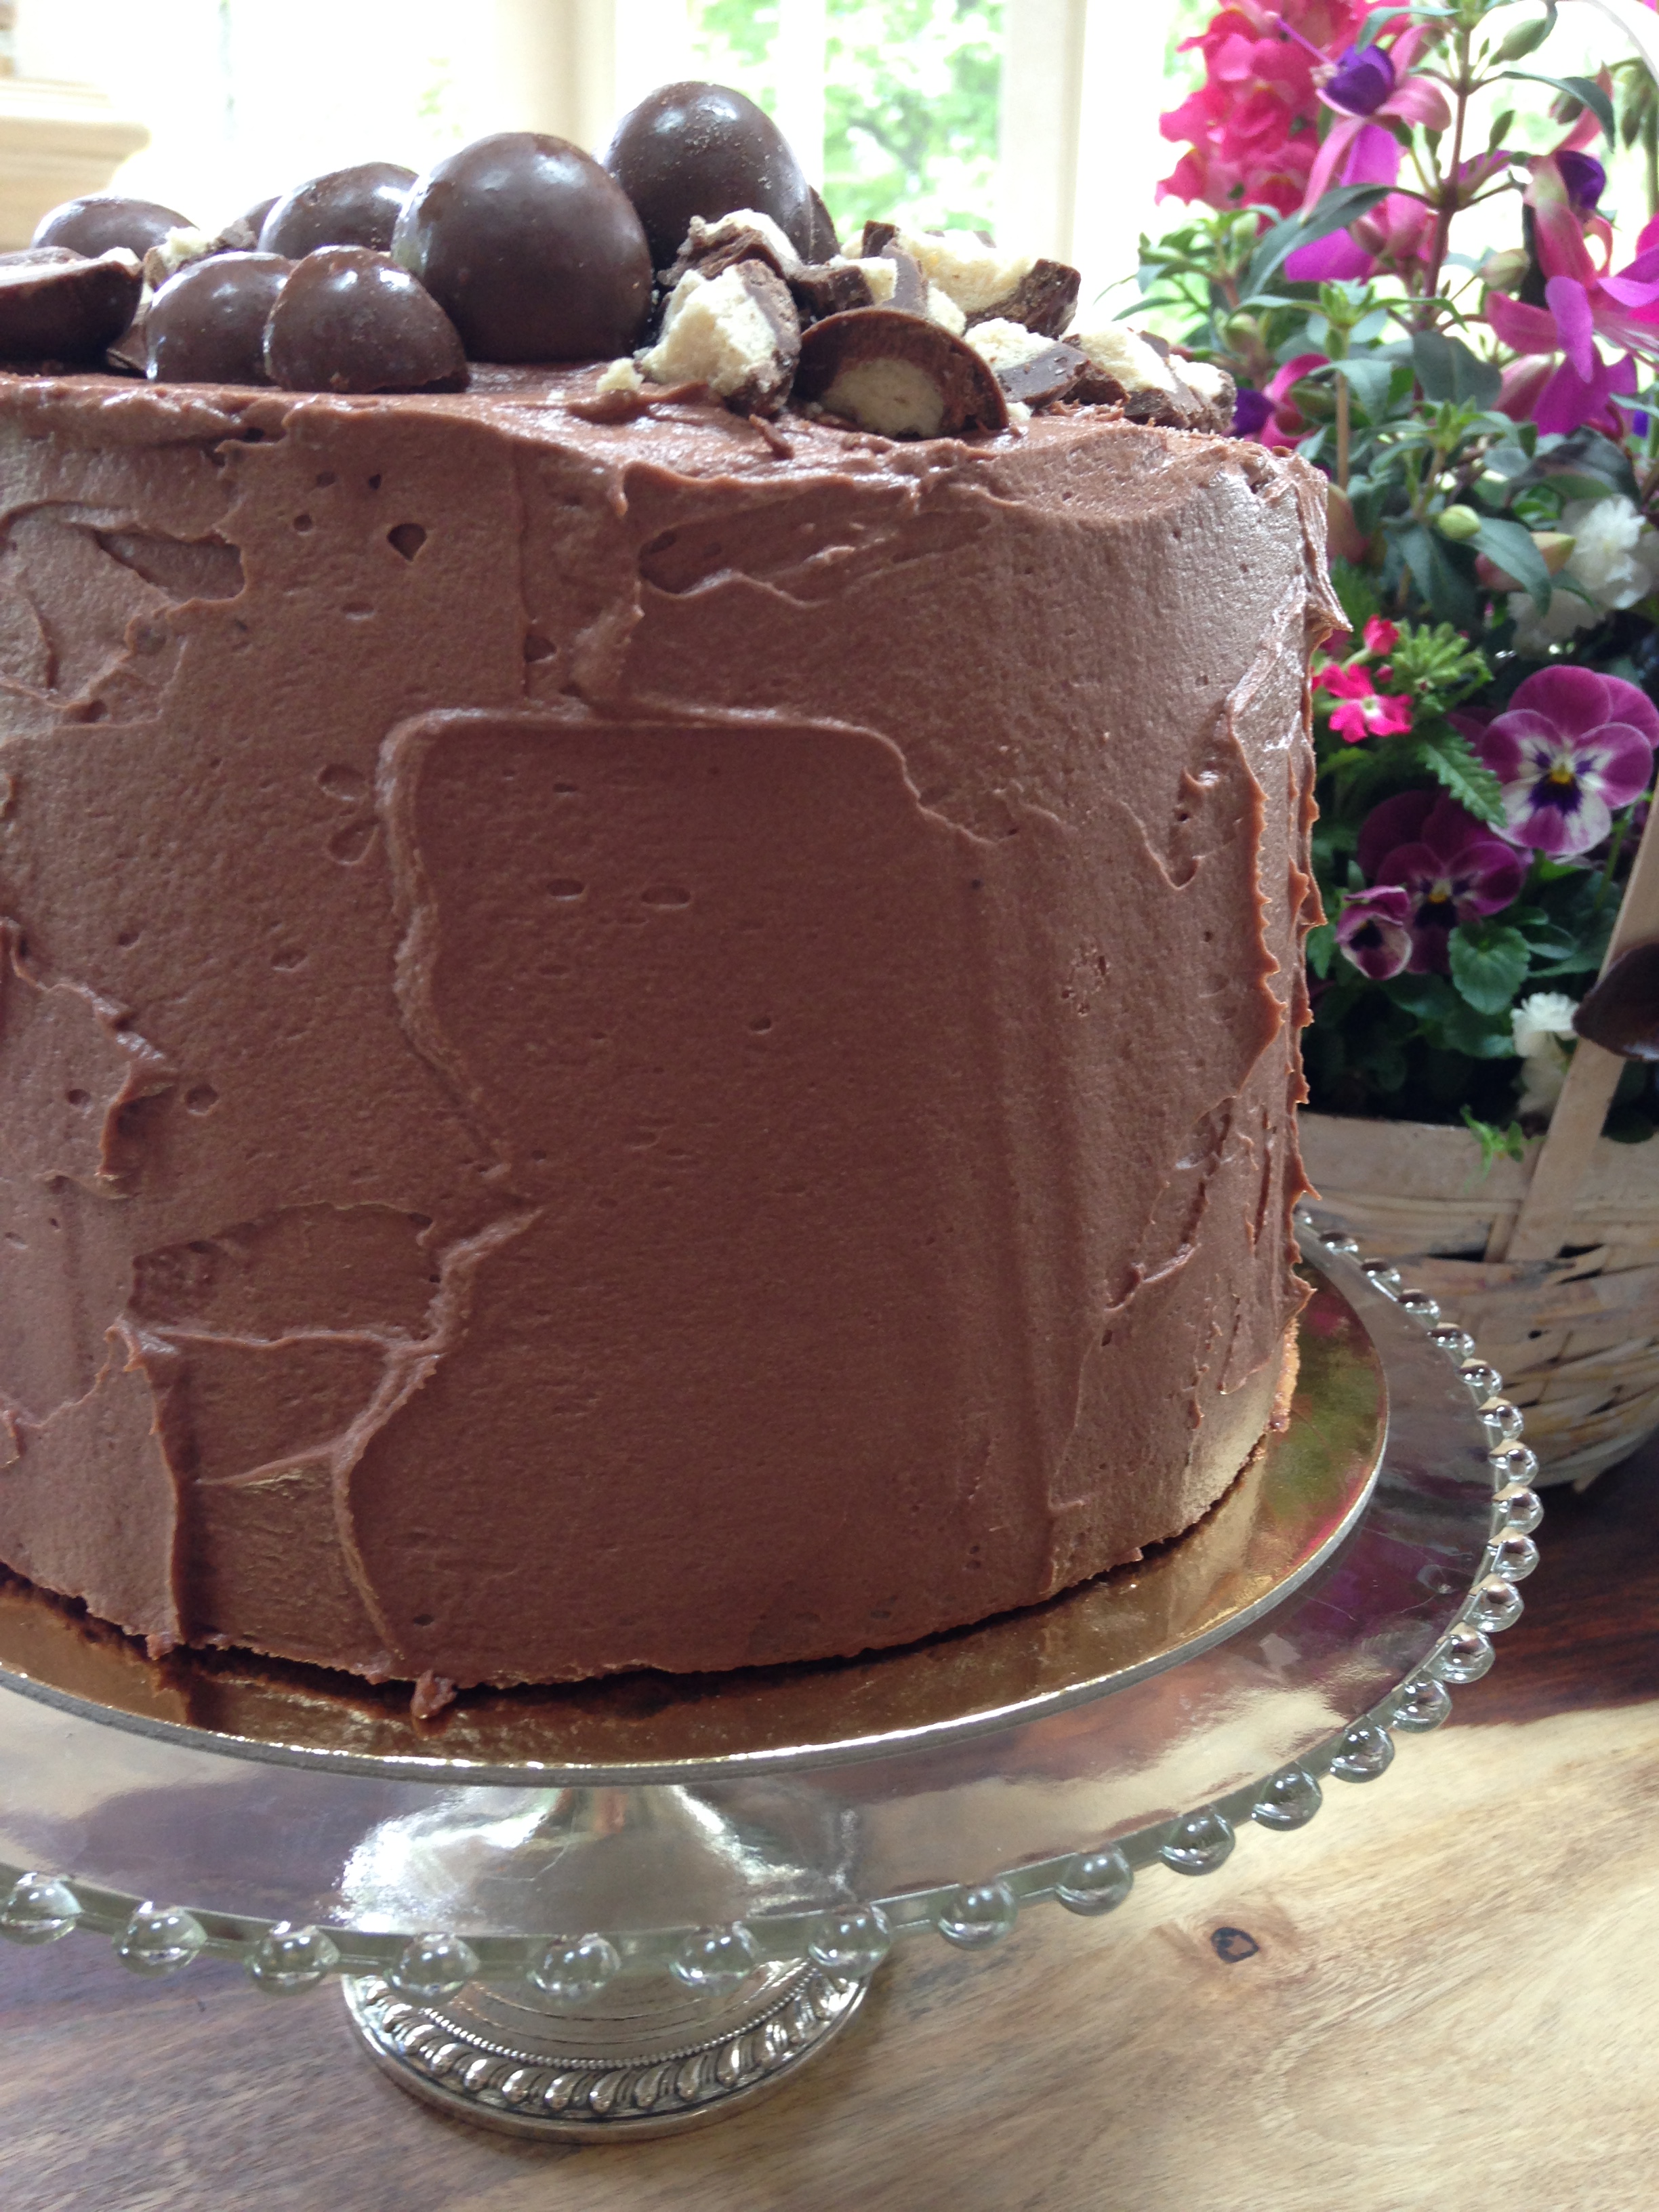
Once I felt like I had had enough icing fun, I experimented with various malt ball designs, before ultimately deciding on the beautiful malty mess with flowers–the easiest and nicest design.
As you can see in the photo, I put the cake together on a 10” plain cardboad cake round, which I bought at Sur La Table for $1.00. After icing the cake, I transfered it to a gold cardboard cake round. I did this alone, but I suggest doing this with a helper in the kitchen. Before you lift and transfer the cake, add a dollop of honey or icing to the center of the gold round. The cake is dense, so theres no need to worry about the cake ripping in two, but it is heavy, so you want to make sure you eally have it steady before transfering. To do it, I slid a long sharp knife under one half of the cake and a large spatula under the other half. I lifted slowly, and placed down onto the gold cardboard round.
To serve this cake, you’ll want to refrigerate it first to make sure the icing sets and the cake does not slide around. Remember that the icing also has egg whites in it, so please don’t leave this cake out for more than a day. I can’t be responsible for your salmonella!
Ready for transport!
Have a great weekend,
—Grumps
- Cake 2 (Da Fudgilicious)
- 1.5 large eggs (1 egg + ½ of another egg whisked up)
- 1½ sticks of butter (12 tbsp)
- ½ cup of cocoa powder
- 1 cup of all purpose flour
- ¾ tsp of baking soda
- ½ tsp of salt
- ¾ cup of buttermilk
- 1¼ cup of confectioners sugar.
- Cake 1 (Maltese Chocobomb)
- 1 stick of butter
- 1½ cups of granulated sugar
- 3 eggs
- ½ cup of buttermilk
- ¼ cup of canola oil
- 1 tsp vanilla extract
- 4 tbps of pulverized malt balls (in the food processor)
- ½ cup of cocoa powder
- 1¼ cup all purpose flour
- 1½ tsp baking powder
- 1 tsp kosher salt.
- Icing
- 1¼ cup granulated sugar
- ⅔ cup water
- 5-6 oz dark (70%) chocolate
- 5 egg whites
- ⅓ cup granulated sugar
- 2 sticks butter (16 tbsp) cubed
- Please see above. Read carefully. Very very carefully. 😉




My birthday is in October, I’d like to go ahead and reserve one of the beauties NOW! Drooling over here…!
Can we make the cake and the icing/frosting and refridgerate seperately a day before and assemble them the next day ??
Want to make for my son’s bday tomorrow. But won’t have enough time to do everything tomorrow.
Thank you
Hi Shikha- Did you make the cake? I hope it turned out well. I’m sorry I missed this comment. The answer to your question is yes. Cake really should be refrigerated several hours to up to a date before you frost it. I usually do that with the cake and then make the frosting the day of. The icing should be room temperature when you do it, but the cake can be cold, and in fact, icing it is always much easier that way! I hope he loved the cake!