A few weeks ago I decided to expand my blog slightly in the name of imparting solid lessons on learning to cook. Of course, I will continue to scour the interwebs, experiment with recipes, and relay my learnings, but I decided that the best way to learn to cook like a pro, is to corral the pros and trick them into teaching me (and you). Shh… it’s working!
I am starting with local foodmakers from my home state of Maryland and will work my way out into the great wide world. Surprisingly, Baltimore has a whole lot more than a harbor! Over the past five years, the city has really transformed. I would even go so far as to say there is a hot little food scene. B-more may be a few years late to the party, but the town has definitely taken a seat at the (farm-to-)table. Last week, Chef Steve Monnier, opened Aromes, having formerly worked at the Michelin two-star Carre des Feuillants in Paris and the iconic haute-francais L’Orangerie in Los Angeles. Good mooooooorning Baaaaaltimore. This is the quality coming to town.
Of course, I don’t mess around with my cooking and my blog, so I’ve set up a cooking class and interview with Chef Steve in the coming weeks. Stay tuned. If you have a request for something French you’d like me to learn how to make or a technique you’d like to learn, let me know.
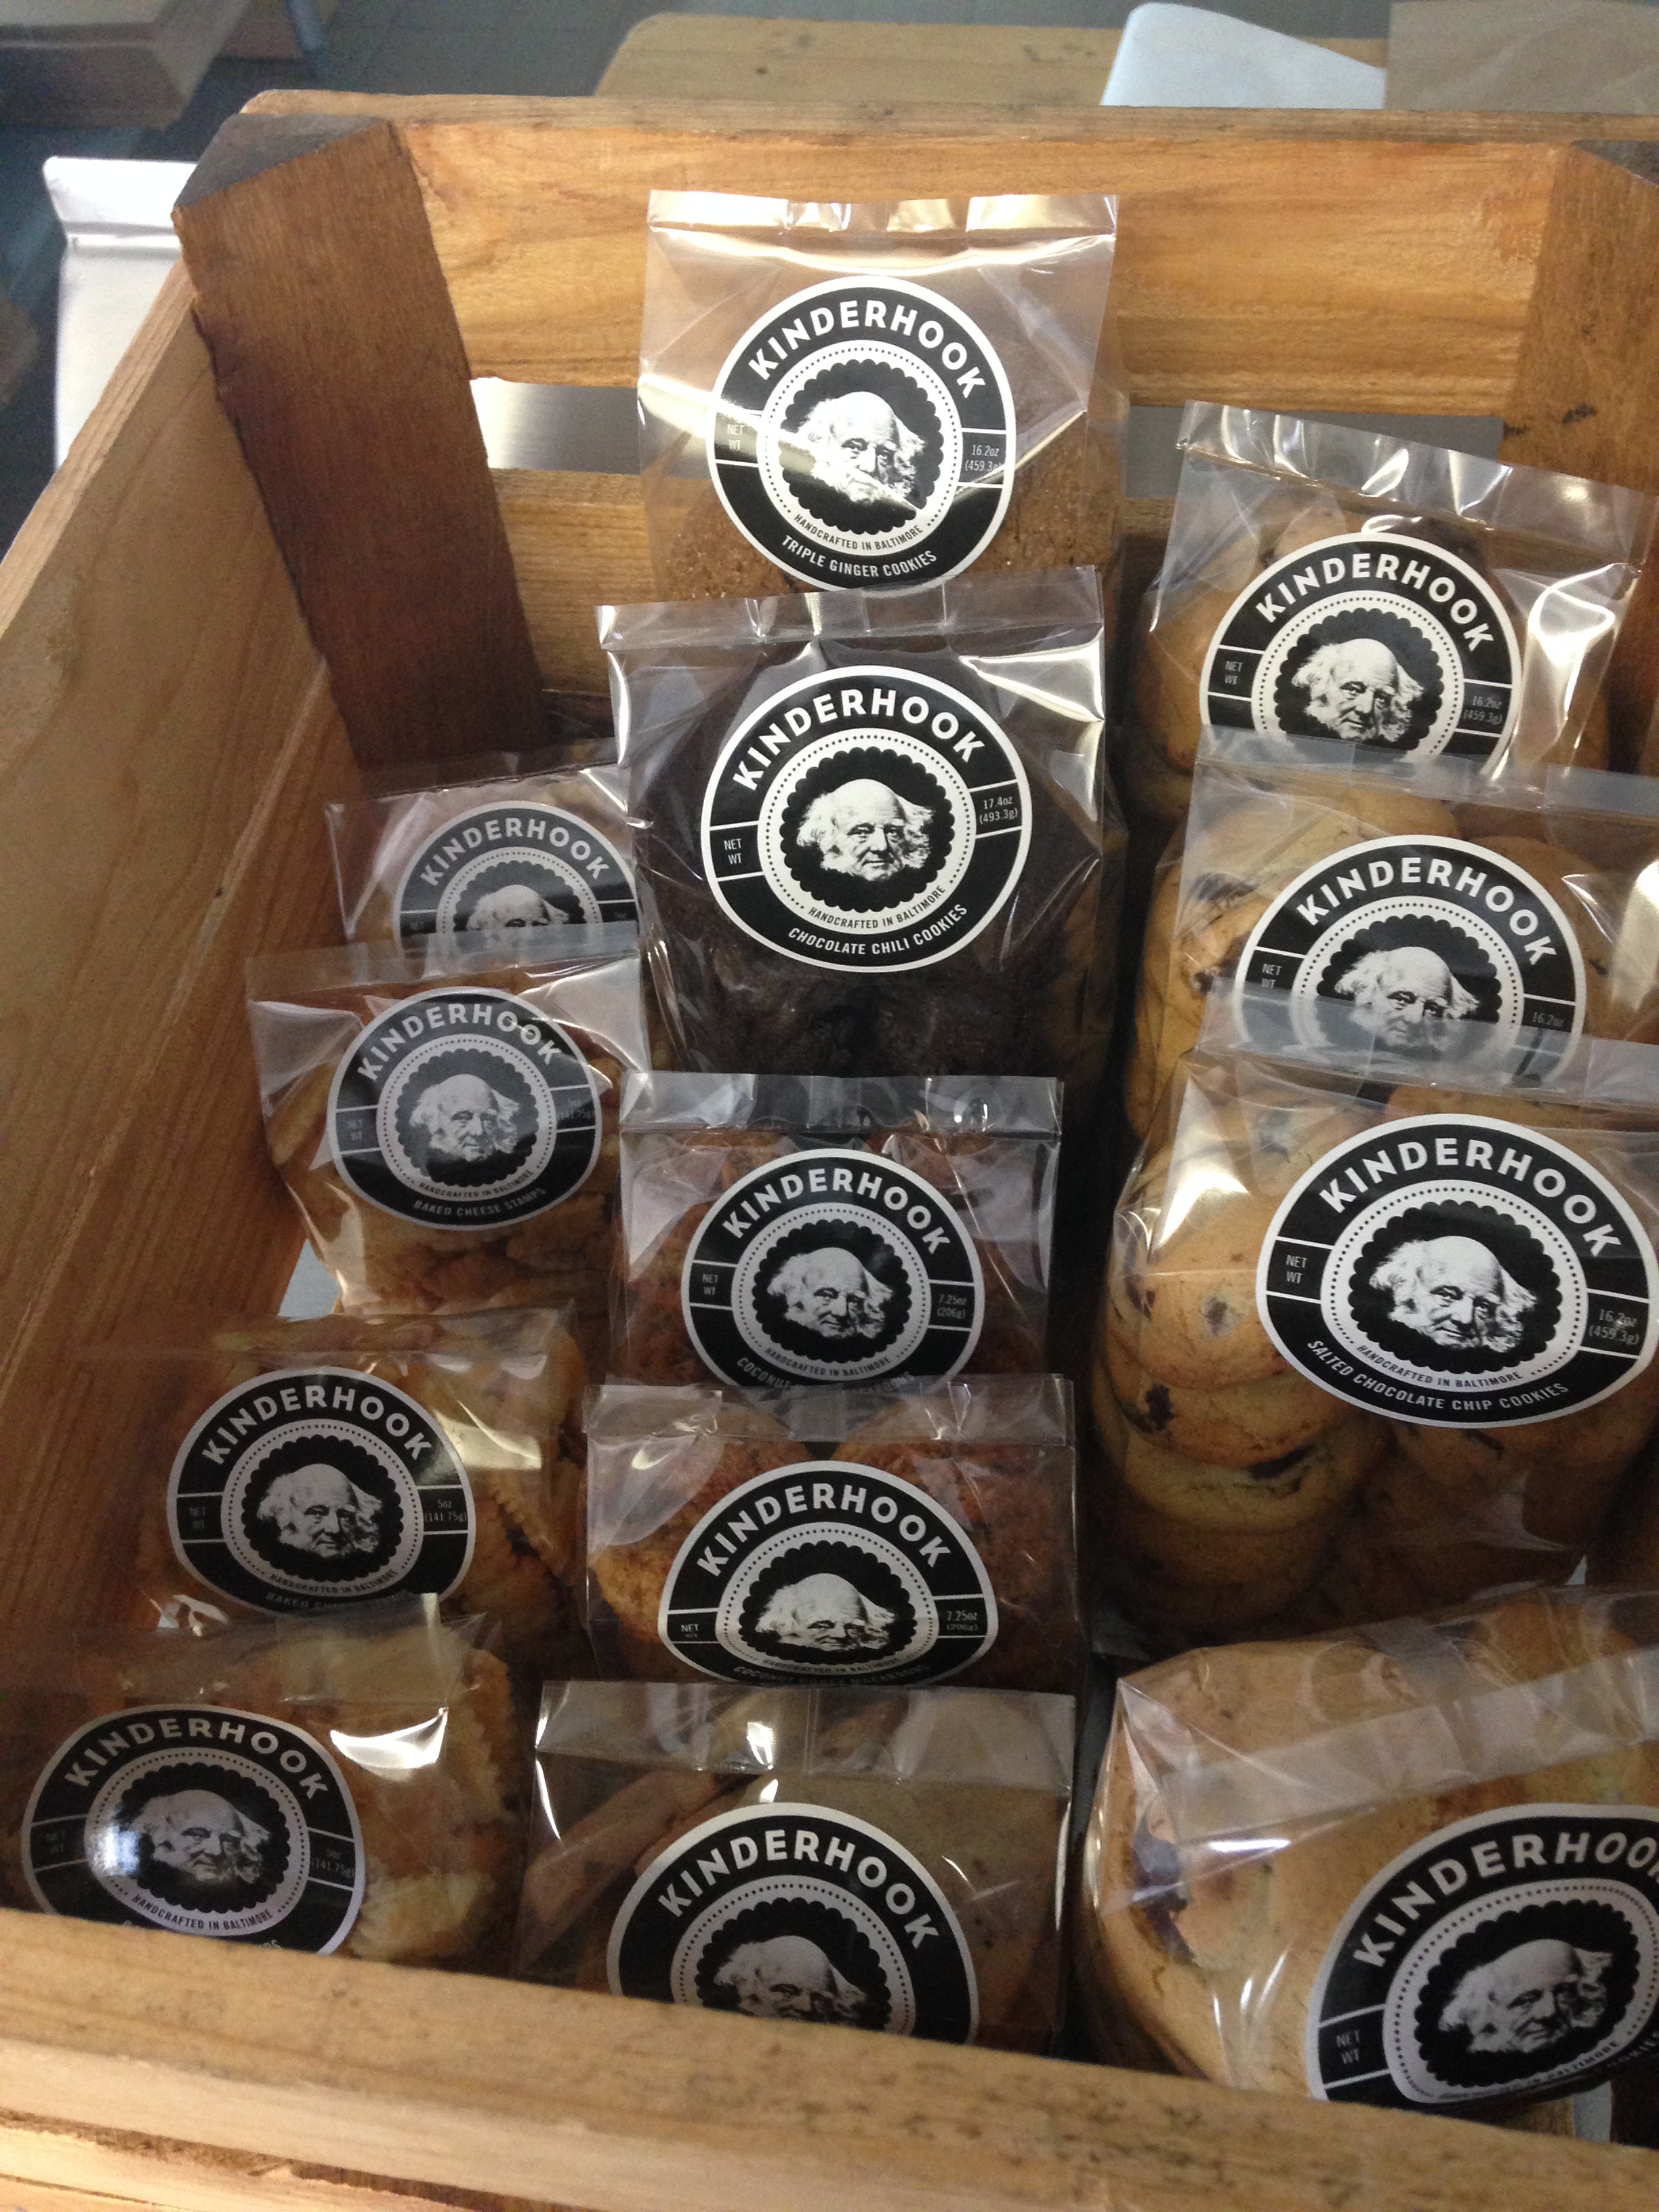
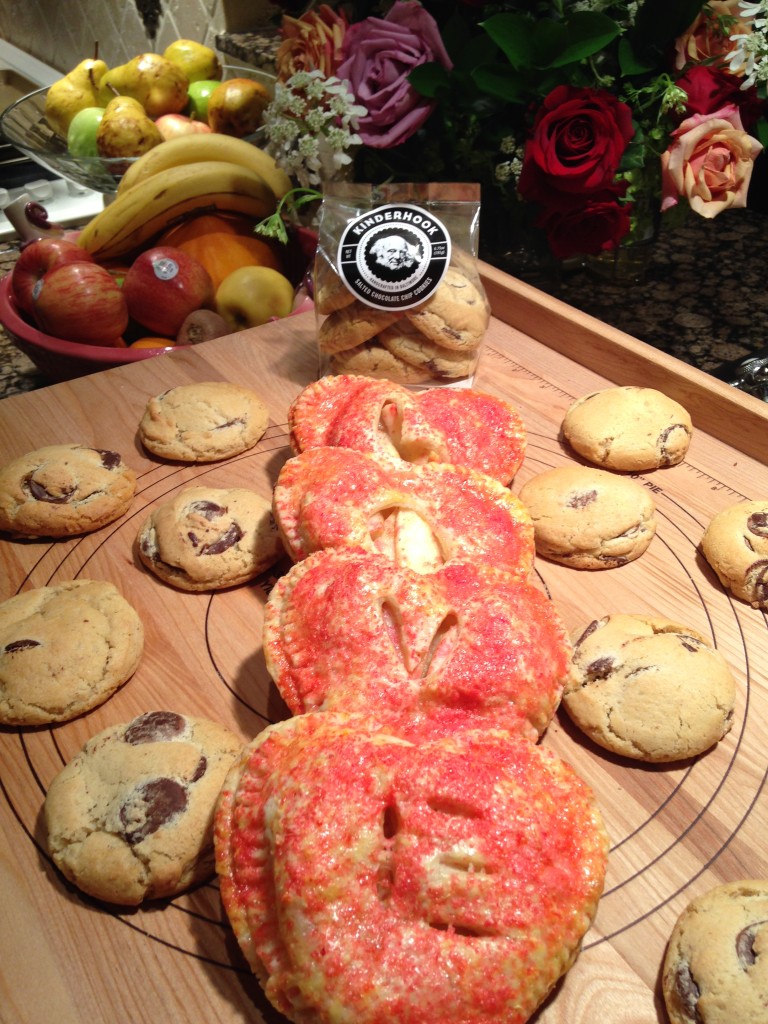
The interview with Steve won’t be the first in my local-maker series. I decided two weeks ago to start my local-maker interviews with my heart–cookies. Baltimore is the home of several top notch chocolate cookies–the chocolate top, the locally famous Berger cookie (which, if you haven’t had you are definitely missing out), and the Kinderhook salted chocolate chip cookie, a recent newcomer from three-year old Kinderhook Snacks.
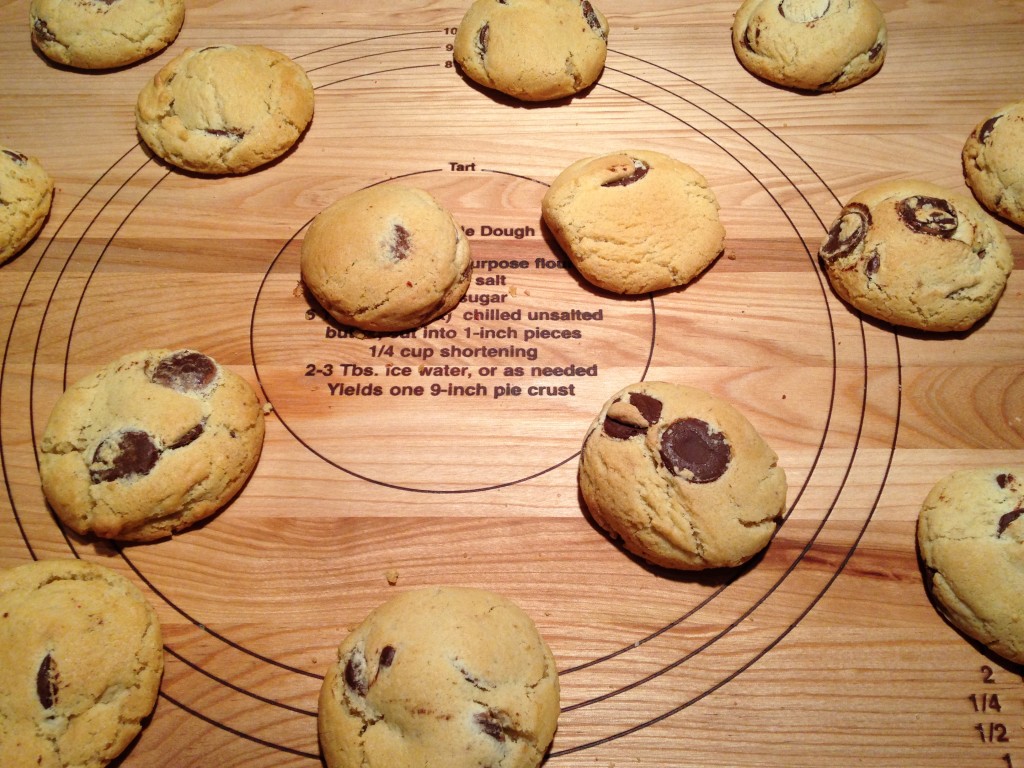
I can’t say Kinderhook has replaced Berger Cookies in Baltimore’s heart, but the two are definitely both vying for first place with Kinderhook leading in the underdog category. As you can see, the Kinderhook cookie uses large flat chocolate discs (instead of toll-house chips) and large coarse salt. The cookies are simple and always soft–so dangerously delicious. Last week, I tried to hack the Kinderhook cookie recipe at home. I failed. It was a huge disappointment, so I did what any ballsy blogger would do. I consulted the source.
Last week, I arranged to meet with the chef’s behind Kinderhook, Marie Stratton and Katie Horn, to hear their foodpreneur story and crack the cookie code. Marie and Katie, took me in for a morning of baking at their small but bumping kitchen in the Remington area of Baltimore. The two mentioned to me that they “aren’t very fond of overly sweet sweets, so Kinderhook snacks and cookies are more savory.” Tricky ladies. More savory, more in the belly! I tried hard to get these two to teach me the Kinderhook ways, explaining my addiction–that I often drive out of my way for them or hop from store to store in a search. Would they pretty please give me the Kinderhook recipe for the blog? TheGrumpyGourmand doesn’t steal recipes, he disseminates truth. He builds movements!
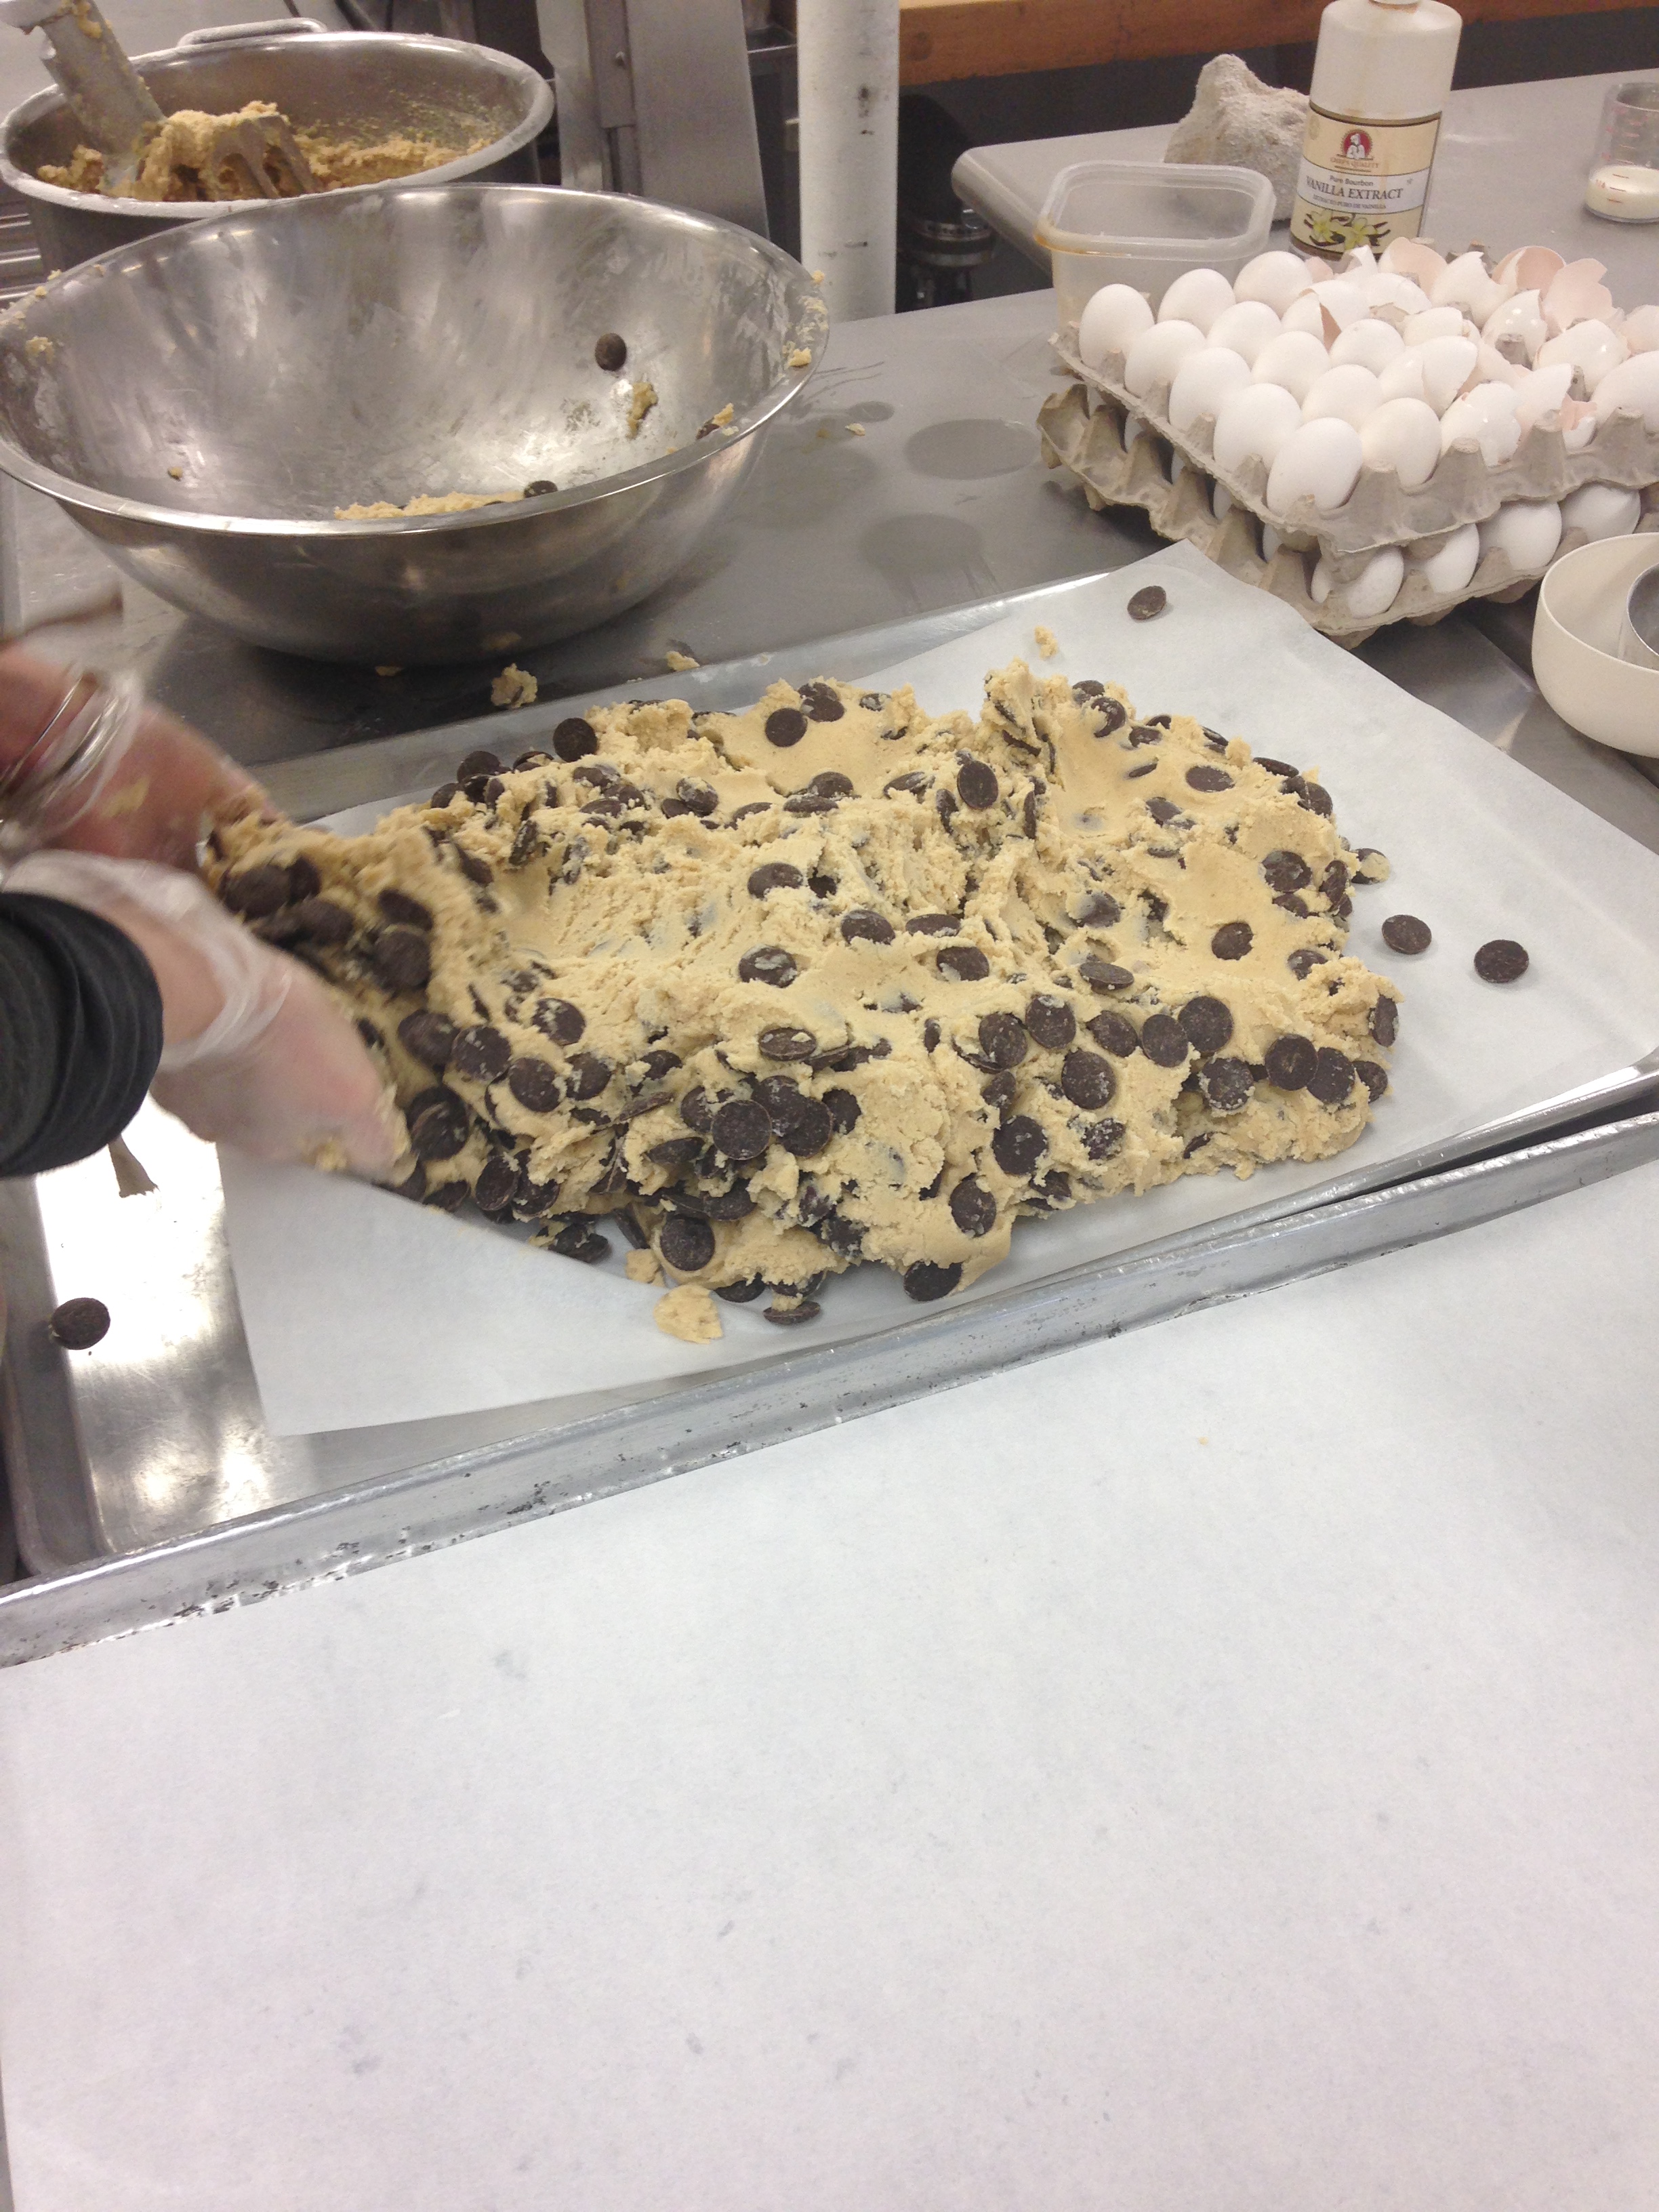
Look at this giant slab of goodness!
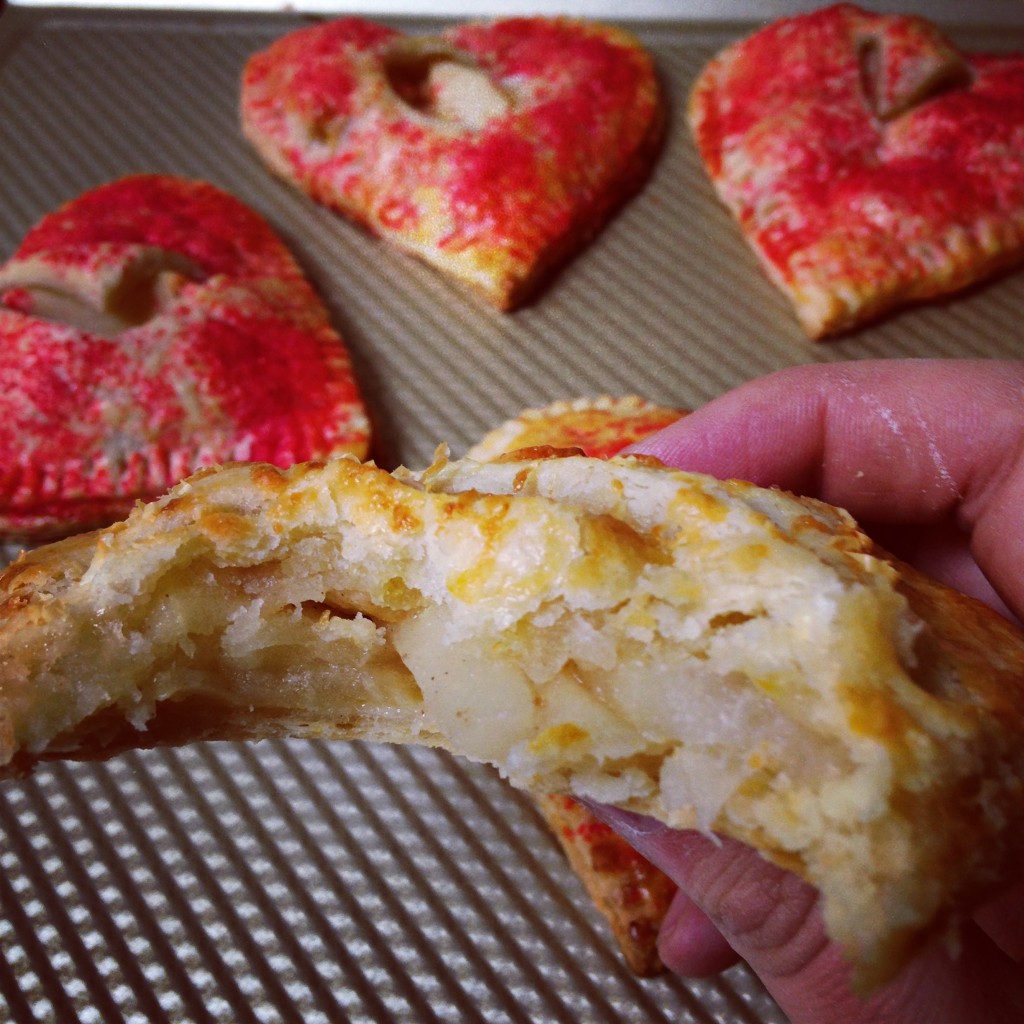
Marie and Katie invited me to a cookie scooping party, let me watch the cookies being made in a giant batch of 400, but the chocolate chip cookie recipe is still in a lock box. I suppose this makes sense, these ladies are on a roll. With a recent expansion to DC, a solid corporate snacking business, and a subscription snack box for $47.00 a month, I suppose I can’t expect them to hand over their secret. As consolation, they taught me to make some delicious Apple Cheddar Hand Pies, which I perfected at home for Valentine’s day and am sharing with you here. I hope you enjoy them!
A little Valentine’s day love for Kinderhook
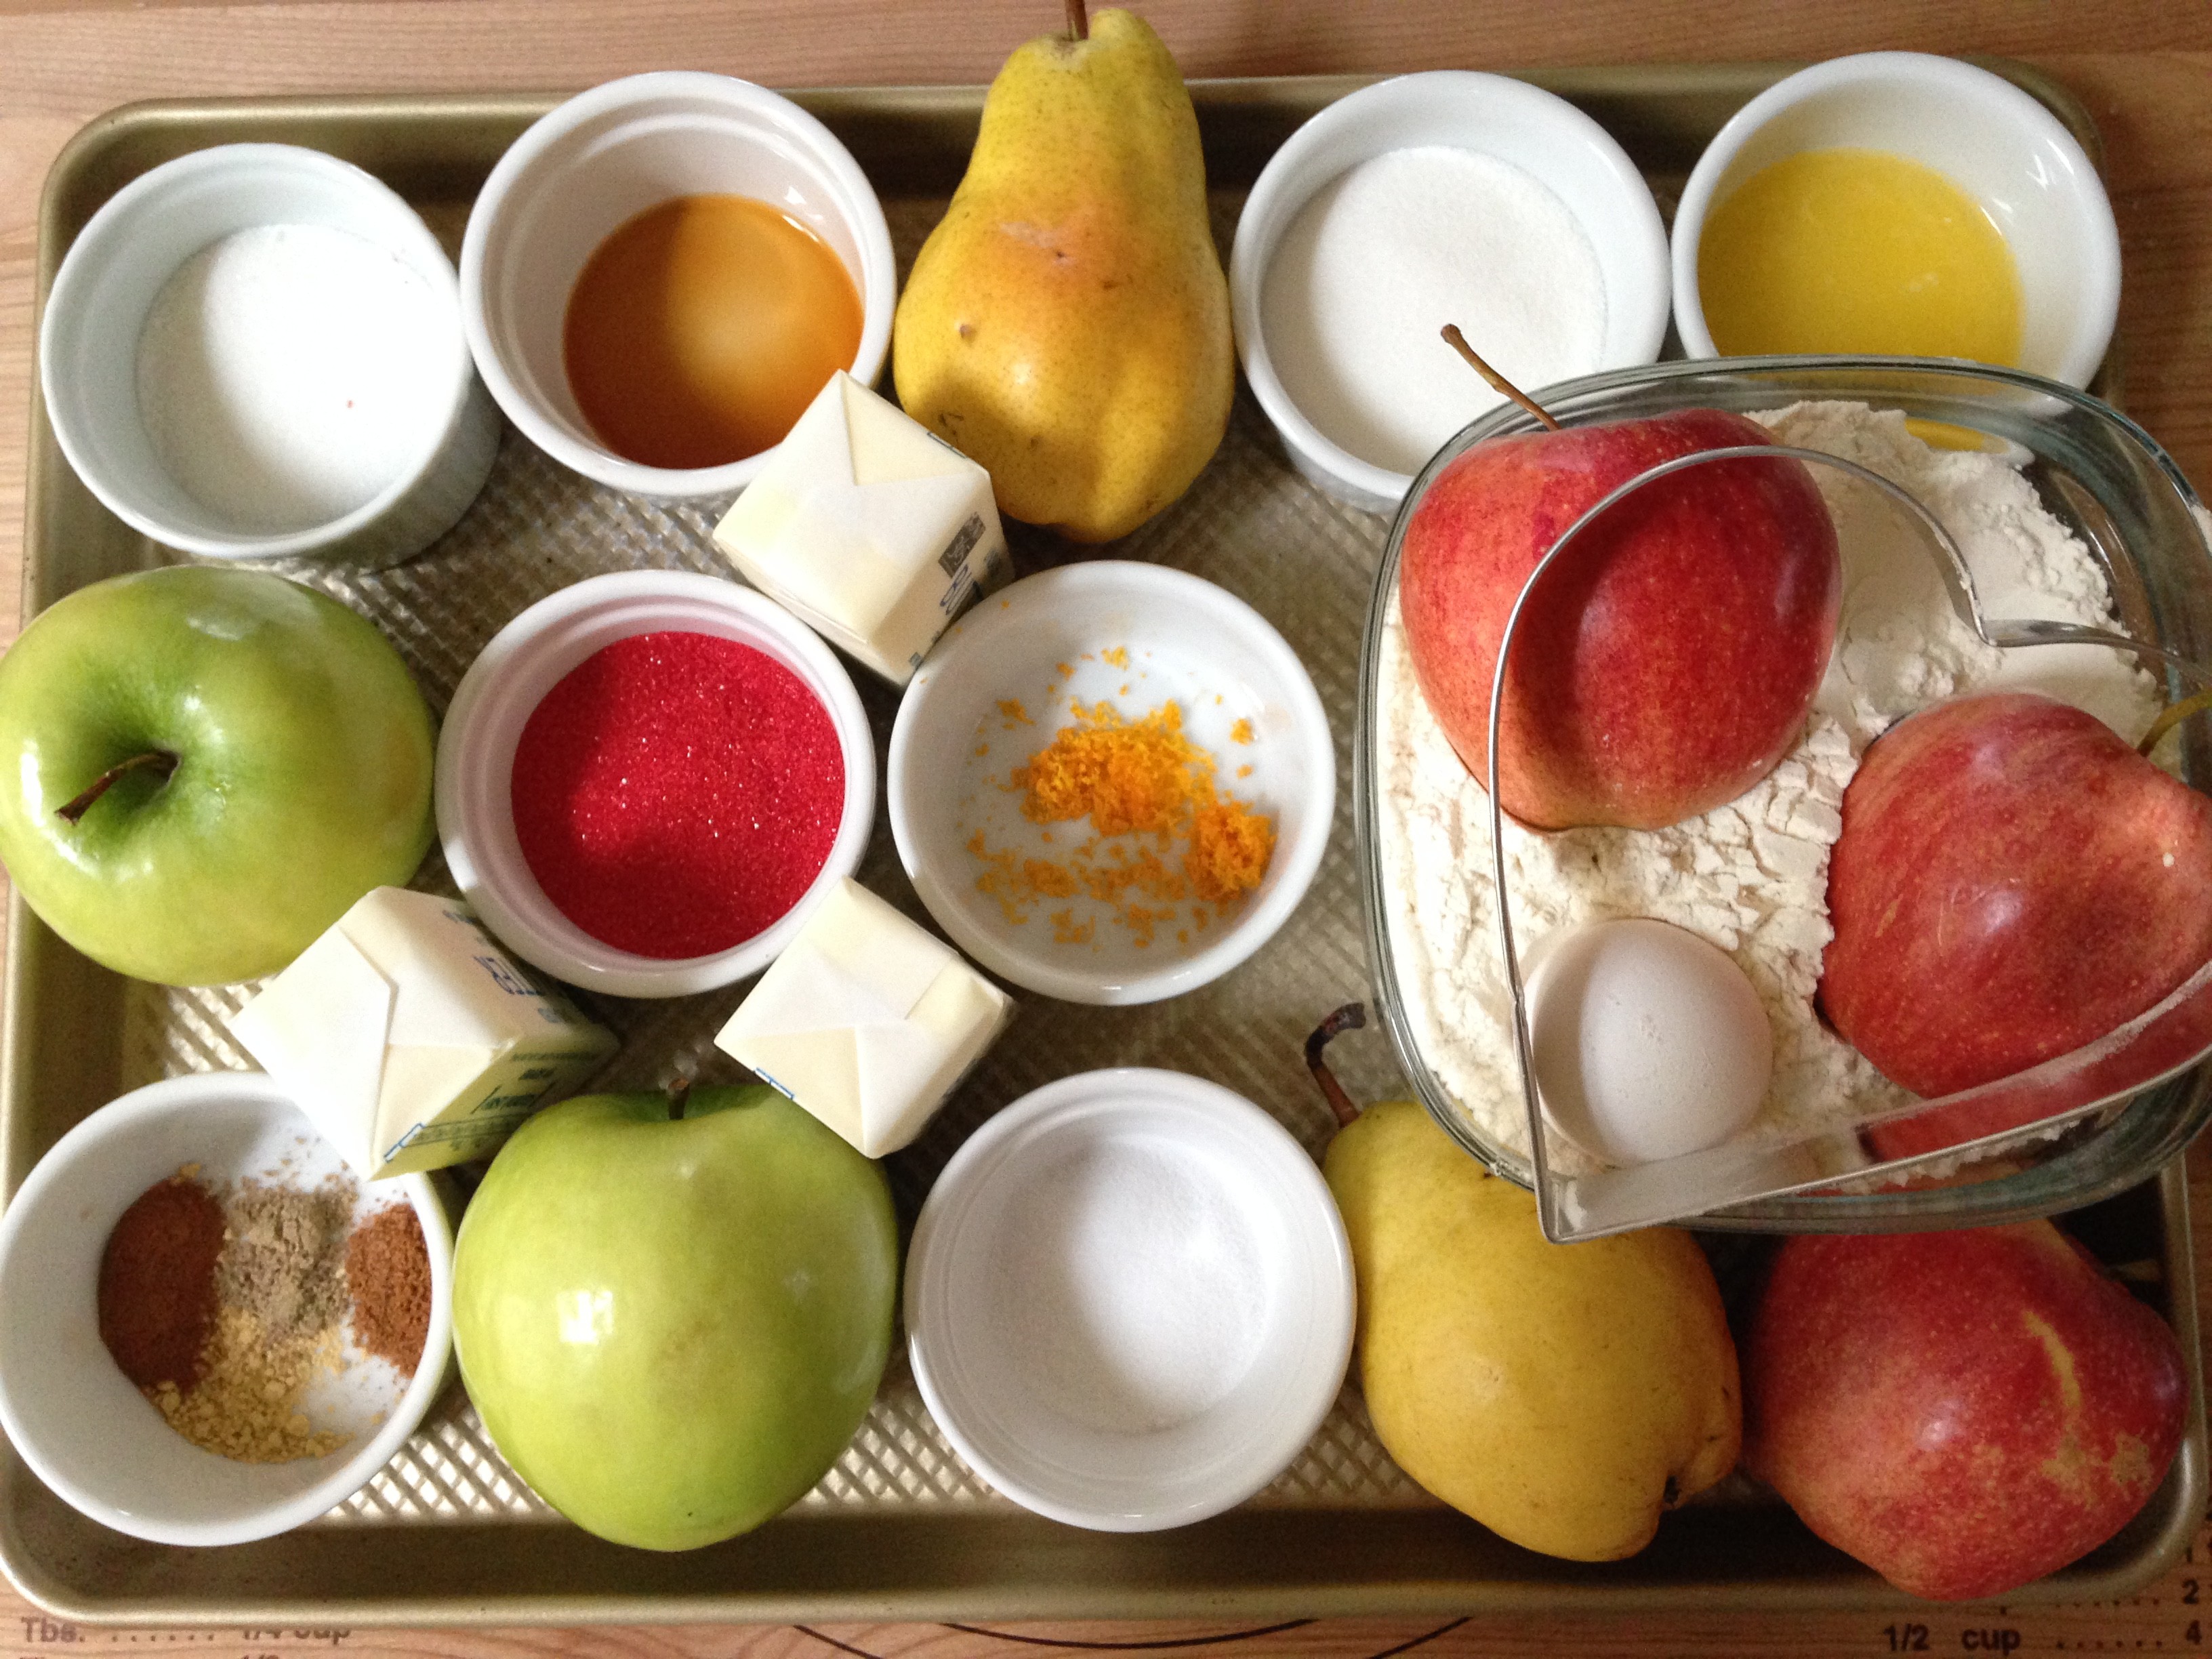
To make these hand pies, first gather all of your ingredients. This is a multi step process between the dough and the filling, so doing this will keep you on track. Here are my ingredients all organized.
First, make the pie dough by combining the flour, sugar, orange zest, and salt into a large Tupperware container or bowl. Cut 12 ounces of butter into small cubes and set aside temporarily in the fridge. Remove 1/3 of the butter cubes and place into the flour.
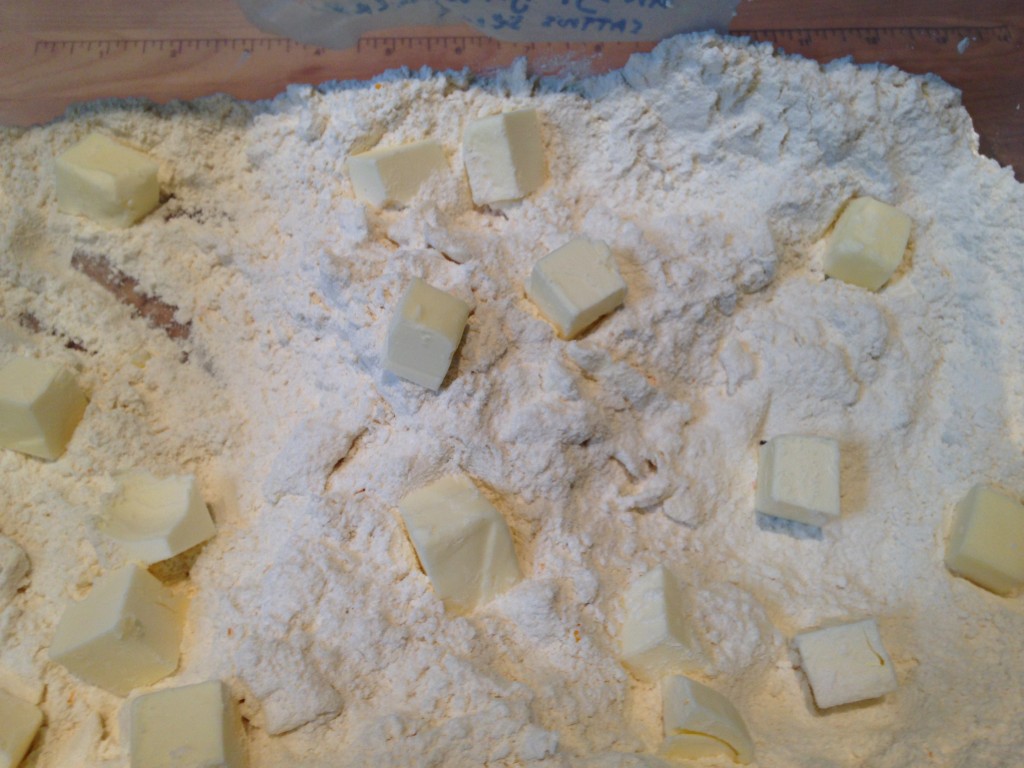
Cover the cubes with flour, and, with your thumbs and fore-fingers, smush the butter cubes into the flour, so that the butter is reshaped into smaller thin pieces. Once the butter is combined, add the next 1/3. Repeat until all the butter is combined.
Next, add the cream 1/4 cup at a time. Cover the cream with the flour mixture and knead the mixture until the flour, butter, and cream form dough. If you need more liquid, add an additional 1/4 cup of water. The amount of liquid you will need, will depend on the time of year and the climate in which you live. For me, I used 3/4 cup of cream and 1/2 cup of water. The dough, when I was finished, was still fairly dry and barely stuck together. This is how you want it to be. It should not be wet like cookie dough.
See the lighter colored pieces? That’s not white chocolate. It’s butter, and a sign that this dough is on point!
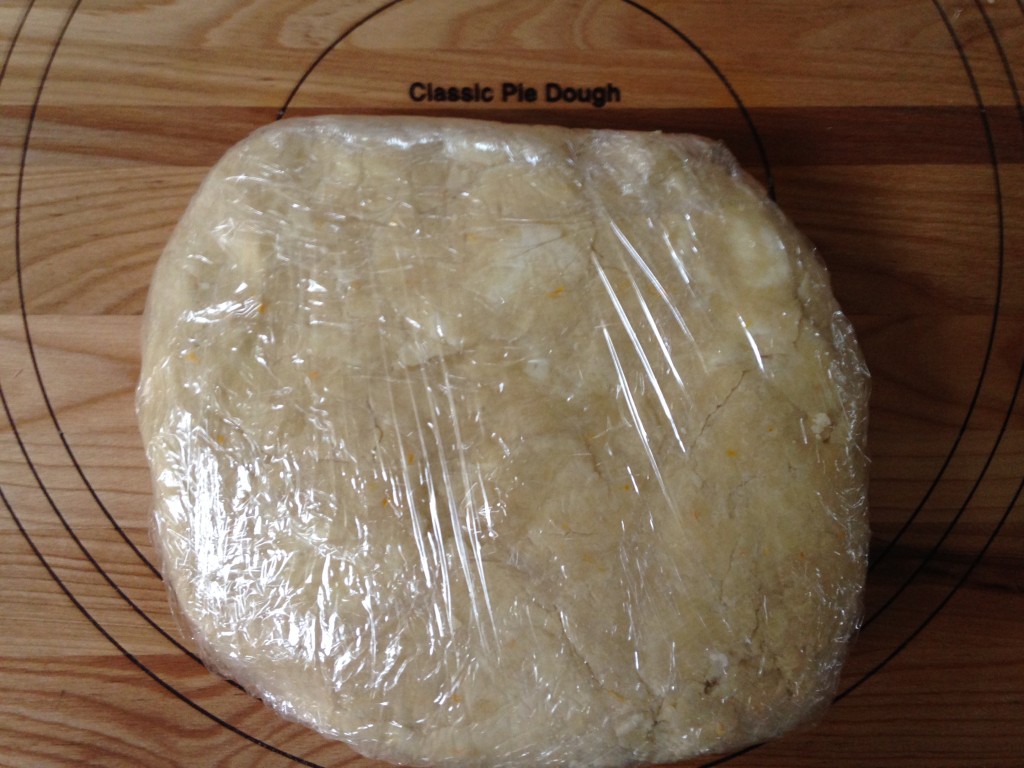
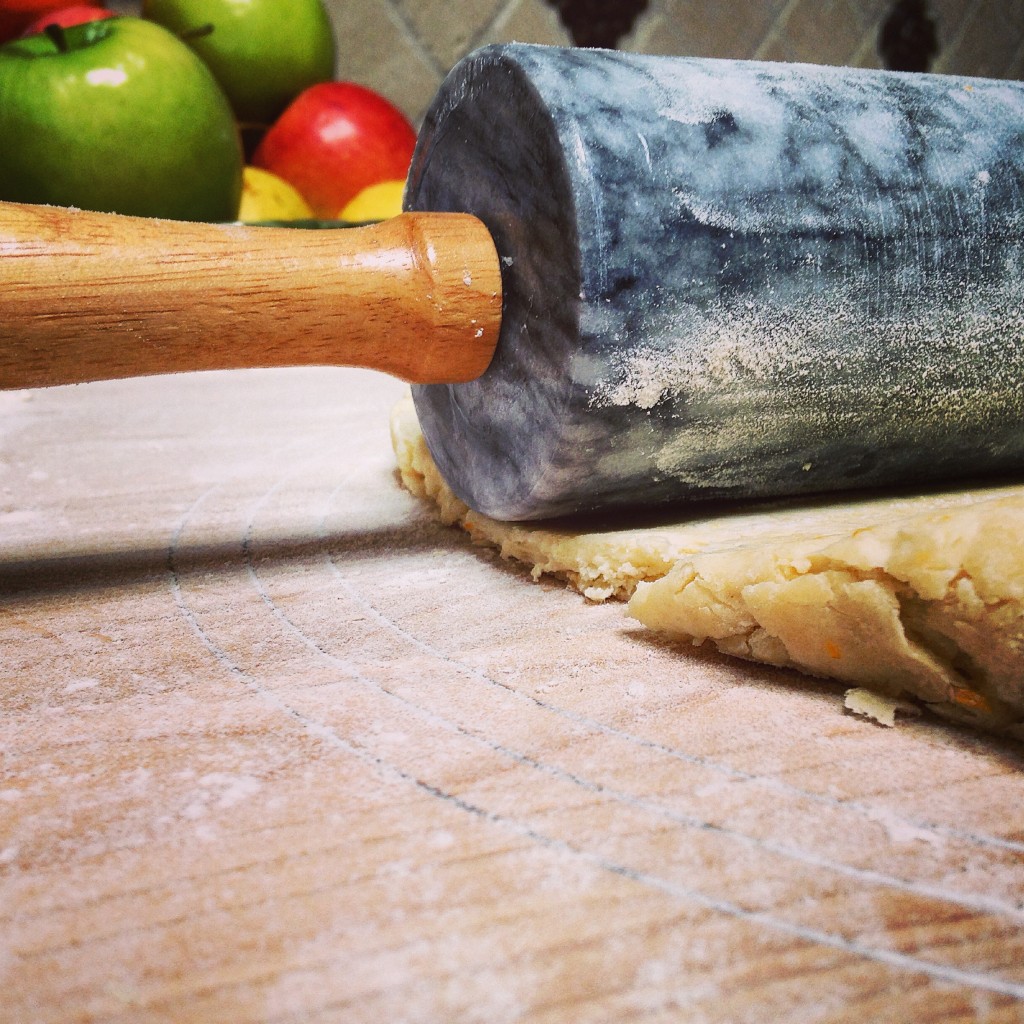
Bring the dough together and place onto a well-floured surface and form into a flat disc. Wrap the dough in plastic wrap and place into the refrigerator for 1 1/2 to 2 hours. If you have a marble rolling pin, pop it into the fridge or freezer as well to get nice and cold. I recently invested one of these from surlatable, and it made a huge difference in rolling out my dough without melting the butter pieces. Not bad for $24.99.
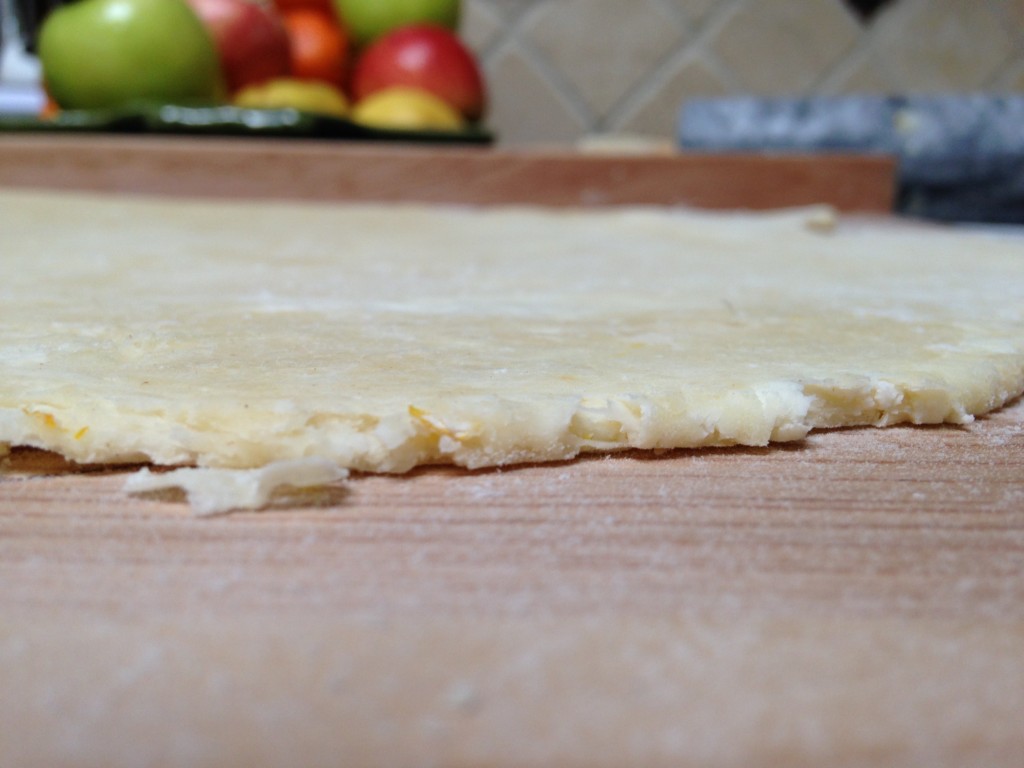
Remove the dough onto a well floured surface and start to roll the dough out. Starting from the middle and working your way out. I first roll it out up and down, then flip the dough over, turn it horizontal and roll it out some more. When you’re finished, the dough should be about 1/8″ thick. Given the size of the dough and your surface area, you may need to chop the dough in half to roll out two separate pieces.
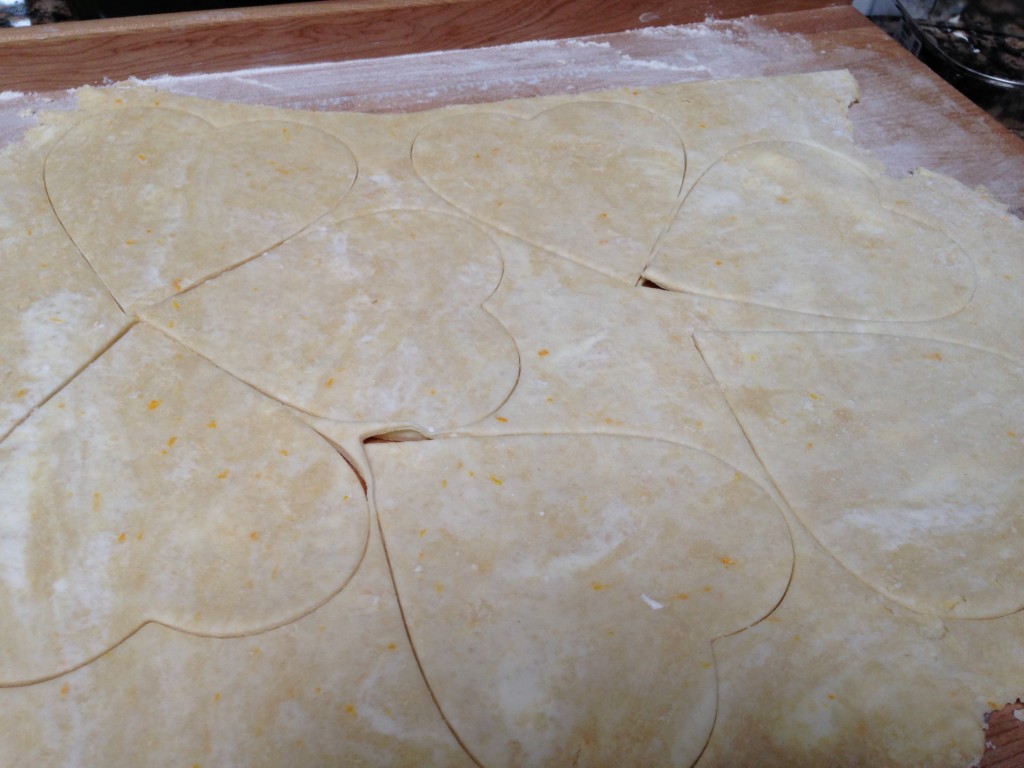
With a cookie cutter (something about 4-5″ in diameter), cut the dough to shape your hand pies. Place the dough onto a parchment paper or silpat-lined cookie sheet. Slice vents in 1/2 of the cut outs (crosses, slits, letters, it doesn’t matter) and place the dough into refrigerator temporarily while you make the filling.
To make the filling, peel two ripe Bartlett pears, two gala apples, and 1 granny smith apple. It’s hard to find a not ripe apple in the store, but pears are often sold before they are ripe. Ripe Bartlett pears are yellow (not green), and using ripe pears makes a difference. Regarding the quantity, I always peel more than this and save the leftovers for other treats. No big deal. Once peeled, core the fruit, and slice into 16ths. Separate out the pears from the apples. Chop the pears in halves or thirds and place the apples into a pot. Add the remaining sugar and orange juice to the apples and heat on medium heat for 10-15 minutes. The sugar will melt and the apples will release juice into the pot. Keep stirring the pot, until the apples still have a crunch but feel less stiff. taste one to check about 10 minutes in.
Remove the apples from the heat and, using your hands, combine the apples, pears, and spice in a large mixing bowl. The mixture should be nice and juicy and deeelicious. Set the mixture aside for a moment and Pre-heat the oven to 400F.
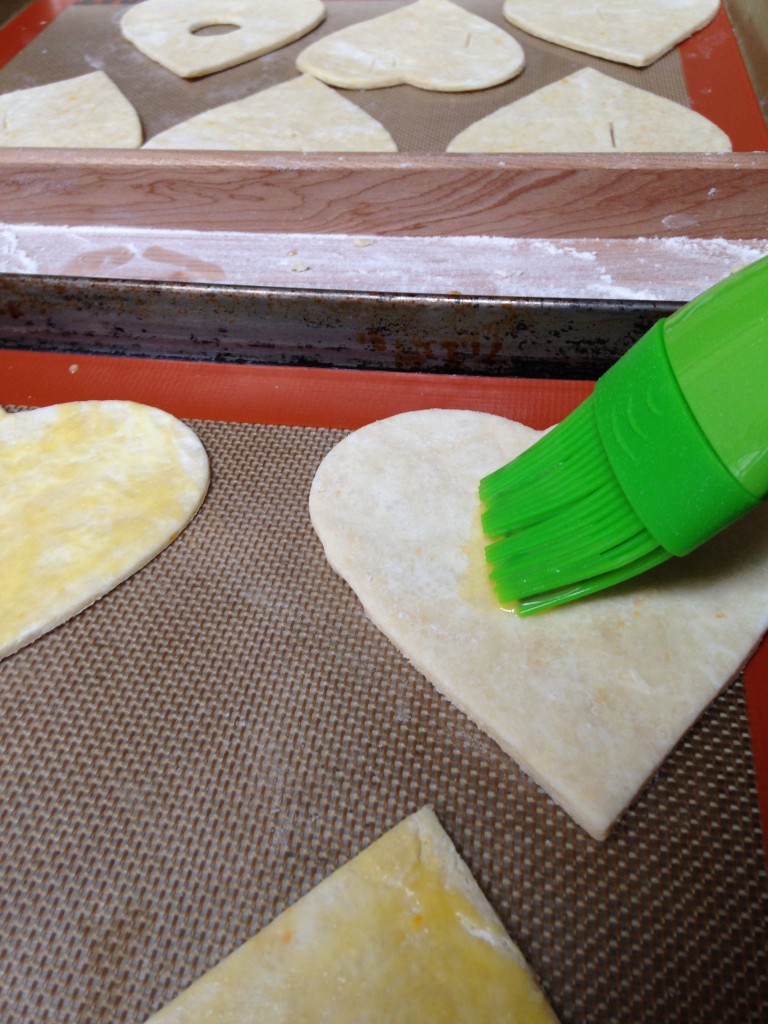
Retrieve the dough cut outs from the fridge and place on the counter. In a small glass or plastic container, make an egg wash (beat 1 egg+ 1 tbsp of water). With a pastry brush, brush half of the cut outs with the egg wash–these will be the bases). Grab a small amount of the fruit mixture and place on top of the bases. Less is more here. If you stack the fruit too high, you will rip the tops open and your hand pies will be UGLY. gasp.
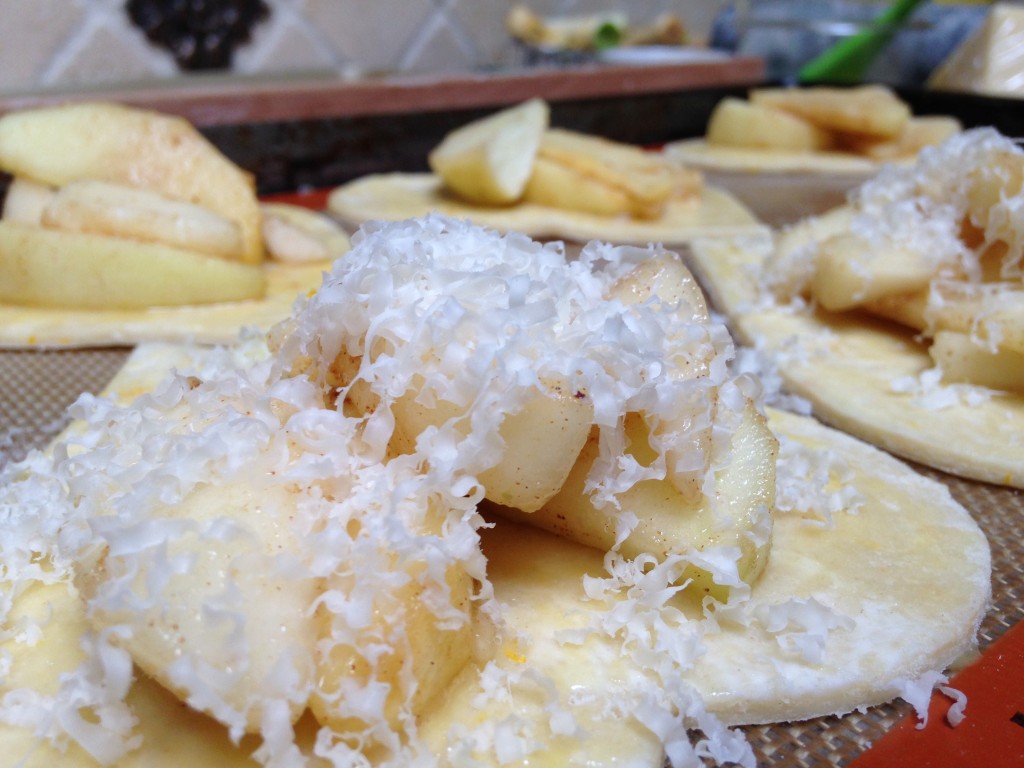
With a good zester (I used my new microplaner–also from surlatable), zest some cheddar cheese over the top of the fruit before covering the them with the tops and closing the seams with a fork making ridges that run along the edge of the hand pies. If it’s valentines day, you can sprinkle the tops with red sugar. On a normal, less cheesey day (get it…), you can sprinkle, with cheese or regular sugar.
Pop these into oven and bake for 15-20 minutes (mine were done and just slightly browned at the edges at exactly 17 minutes).
Time to pig out!
- 3¾ cup All purpose flour
- 12 oz unsalted butter
- ¾ tsp zest of 1 medium orange
- 1½ tsp kosher salt
- 1½ tbsp granulated Sugar
- ¾ cup heavy whipping cream
- ½ cup cold water
- ⅓ cup granulated sugar
- Juice of 1 orange
- 2 Bartlett Pears cored and sliced into 16ths
- 2 Gala Apples cored and sliced into 16ths
- 1 Granny Smith Apple cored and sliced into 16ths
- ¼ tsp nutmeg
- ¼ tsp ginger (ground)
- ¼ tsp cardamom (ground)
- ½ tsp cinammon
- 1 block of white cheddar cheese
- 3 tbsp red sugar
- 1 egg
- 1tbsp water
- Cut the butter into small cubes and place back into the fridge.
- Combine the flour, zest, salt and 1½ tbsp sugar into a large bowl or Tupperware container.
- Add ⅓ of the butter and combine with your fingers until the butter is in the shape of thin smushed out discs. Repeat until all the butter is incorporated.
- /4 cup at a time, add the cream to the flour and mix until the flour forms dough. If you need more liquid, add an additional ¼ cup of water or so.
- Bring the dough together and shape into a round disc. Wrap in plastic wrap and place into the fridge for 1½ -2 hours along with your rolling pin (if it's made from stone).
- Preheat the oven to 400 F.
- Break the dough into two.
- Starting from the middle, roll the dough out until it is an even ⅛" in thickness
- Repeat with the other piece of dough.
- Using a cookie cutter (about 4-5" in diameter), cut the dough into a desired shape. Slice vents into half of the cut outs (these will be the tops), and place all of the cut outs onto a parchment paper or silpat-lined cookie sheet and pop back into the fridge while you make the filling.
- Core and slice the fruit.
- Separate the pears from the apples and place the apples into a pot with the remaining sugar and orange juice. Heat on medium for 10-15 minutes until the sugar melts and the apples soften a bit.
- Remove from the stove, combine with the pears and the spice.
- Remove the cut outs from the fridge.
- Prepare an egg wash by beating 1 egg with 1 tbsp of water. Brush the non-vented half of the cookie cut outs with the egg wash (the bases).
- Place a small amount of the fruit mixture onto the egg-washed bases.
- Zest/grate some cheddar cheese over top of the fruit.
- Place the vented tops on top of the fruit and seal the edges using a fork.
- Sprinkle with cheese or sugar.
- Place into the oven for 15-20 minutes until the edges are just very slightly brown.
- Enjoy!





Nom nom nom! Who doesn’t love cookies and… Archer?
You could buy me with anything that has ginger in it!