This week I had my first ever appearance in court; I was brought in for a traffic violation. I may be ridiculous, but in the days leading up to my court date I felt like Albert Brooks in Defending Your Life. My nerves along with my guilt were growing. It didn’t help that my entire family decided to play on my neuroses by recounting stories of people being thrown in jail for coming to court without enough money to pay their tickets.
As I child, I would forget or lose just about anything forgettable. The threat of having my mother attach glove clasps to my winter coats, loomed well into my high-school years .To this day (I am pushing 34), the fear of leaving something behind lives.
In sort of a 6-year old’s hell, after donning a really nice suit and driving to court, I realized that not only did I leave my money at home, but I had also left my entire wallet! Oh the irony and shame of walking into a courthouse after not paying your parking meter… Would I get another ticket for driving without my license? Jail time? You better believe I threw a 2-year old’s fit in the parking lot and called multiple family members in panic until I found someone to go to my house and bring my wallet to me. Just as I was entering the courtroom, I found a magic stash of money hidden in my pants pocket (a gift from my 6-year old self). On my Grumplepuss Absurdometer, I give the day about an 11 out of 10. Bravo, Russ!
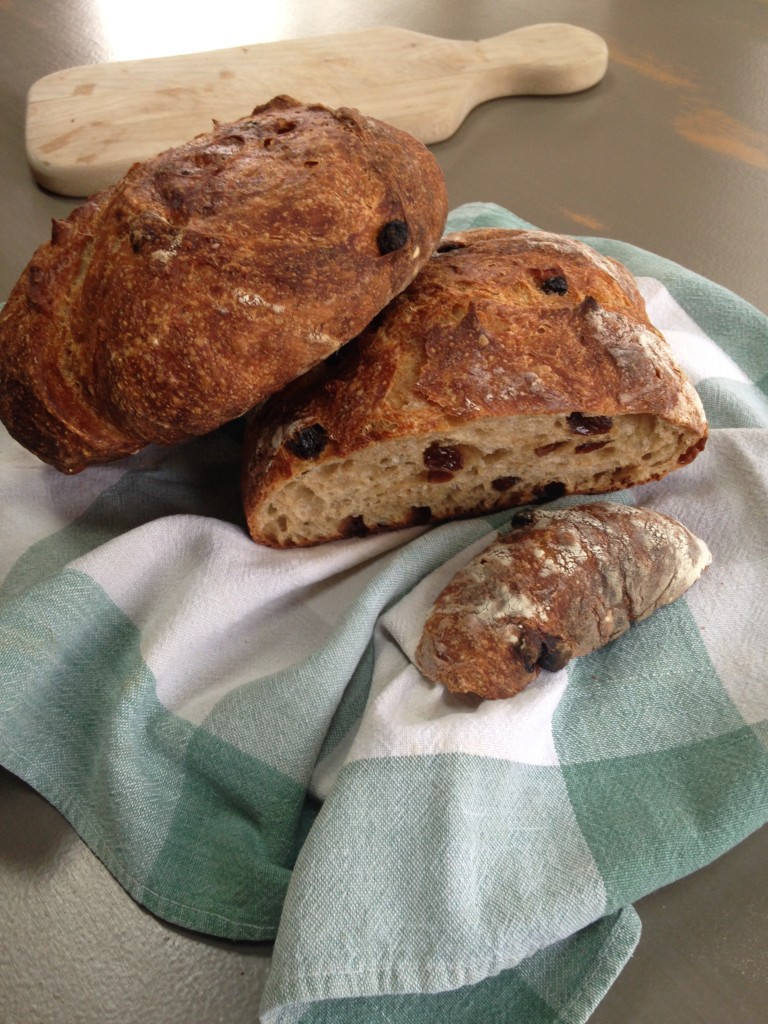
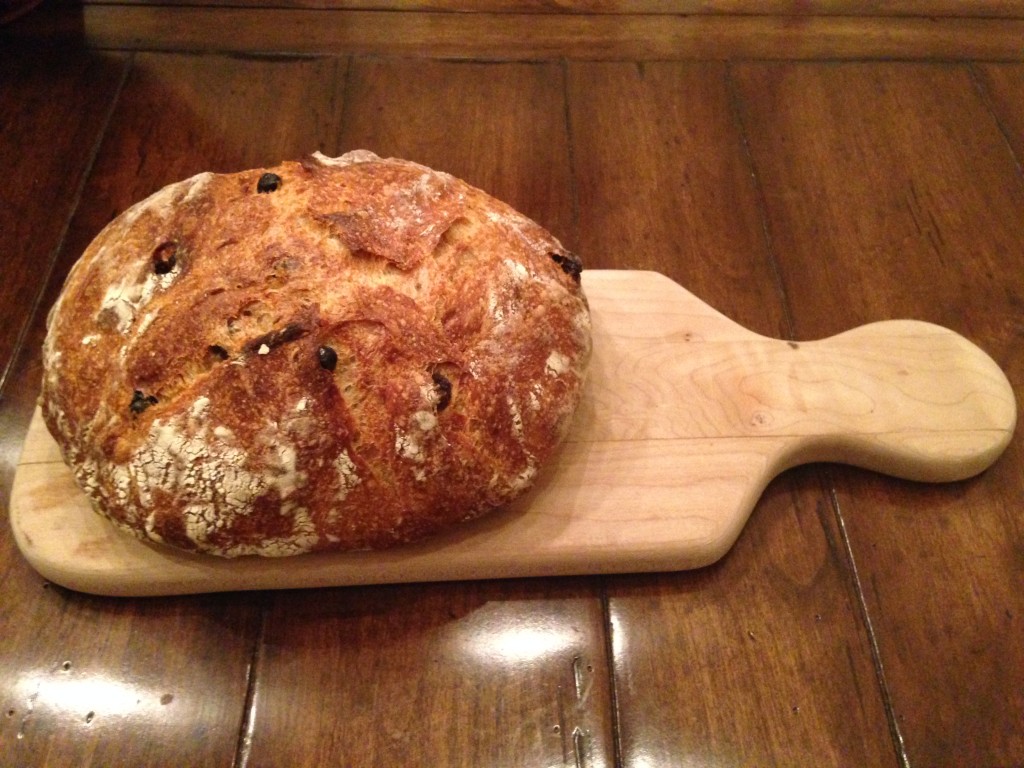
Luckily, the judge appreciated my stellar driving record, and I remain a free citizen;) To celebrate narrowly escaping jail time and being fed bread and water for the rest of my life, I decided to make this delicious rustic raisin bread when I got home. It tastes even better than it looks, and here’s how I did it…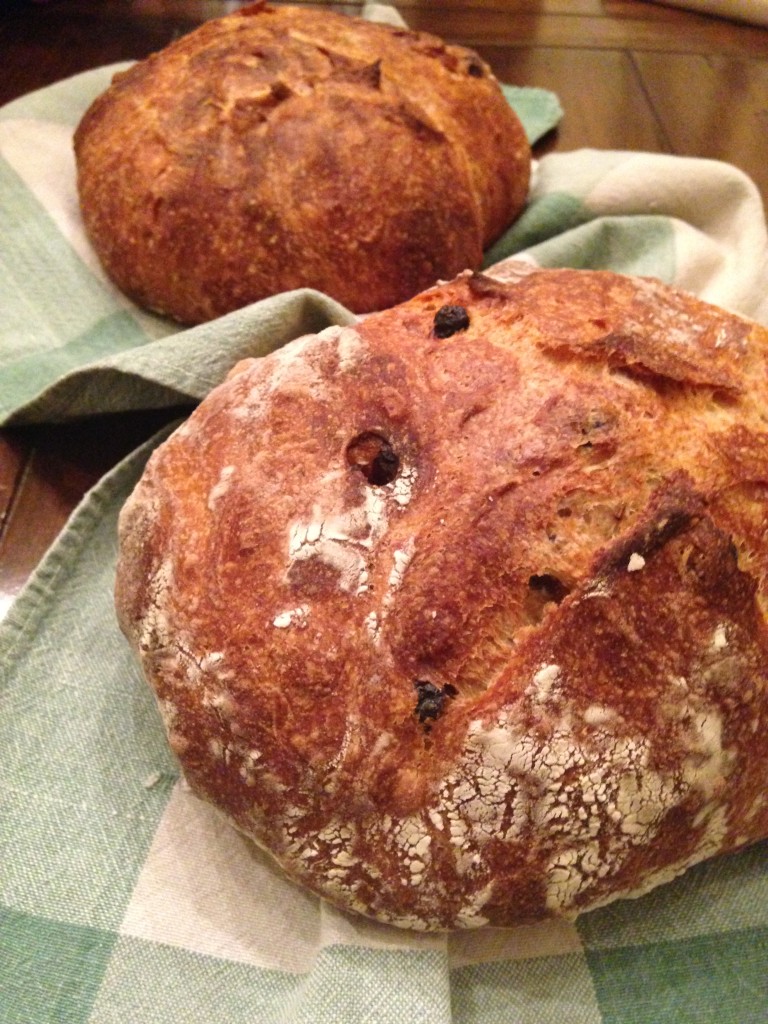
This rustic bread is an all day affair. Most of the hands-on time is done up front, but the dough is left to rise for 12-14 hours after kneading. To finish this bread before leaving for a morning work commute at 8am, you would need to plan for an early morning wake-up call with ovens preheated and ready to go by ~6am. Alternatively, you could wake up at this time and work quickly on your dough leaving it to rise during the day when you are at work. By the time you come home, it should be all set to pop into the oven to bake in time for dinner. Don’t be a baby like me at the courthouse, just set your alarm. It’s well worth it.
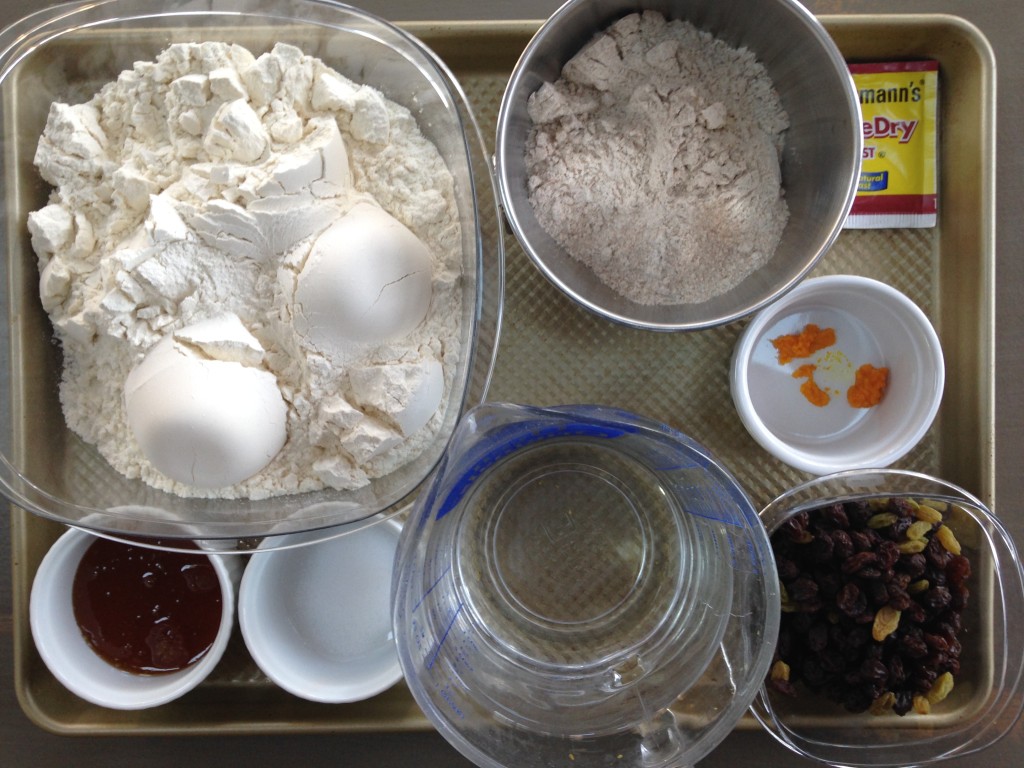
To get started, I suggest assembling and organizing all of your ingredients. My mother insists on calling her tray ma place, which I always think sounds ridiculous. Apparently this is actually what these ingredient tray displays are called. In any case, make your ma place (or is it just your place? ugh…), snap a photo and upload it to instagram so I can see it. Here’s mine…
No fancy ingredients here. Just rustic deliciousness. You’ll need flour (regular and whole wheat), salt, honey, orange zest, water, raisins, and a package of dried yeast. Grab a large tub or very large bowl (12 qts) and very slowly combine the flours with the water. Using your fingers, mix the flours and the water until the dough begins to take shape. Continue until all the ingredients are combined. The dough should still be very sticky when you’re done. If your hands become full of dough, let your dough have a break. Go wash your hands and come back to the dough with floured hands when you’re all cleaned up.
Once the flour and water is combined, form the dough into a circular mound. Push down in the middle of the circle to create a small divit. Pour your honey into the hole. Fold the honey into the dough by lifting up the dough from the right side and folding over the top of the dough being careful not to let the honey slip out. Continue to fold the dough on top of itself making sure to keep the honey inside. The act of kneading in this way will fully incorporate the honey into the dough after a few folds. As you continue to knead the dough, you may feel the dough becoming a tad wetter. If necessary, add a sprinkling of additional flour to the dough so that you can continue to work with it.
Once the honey is incorporated, sprinkle the salt, orange zest, raisins, and dry yeast over the honey-infused dough and incorporate the ingredients using the folding technique described above.
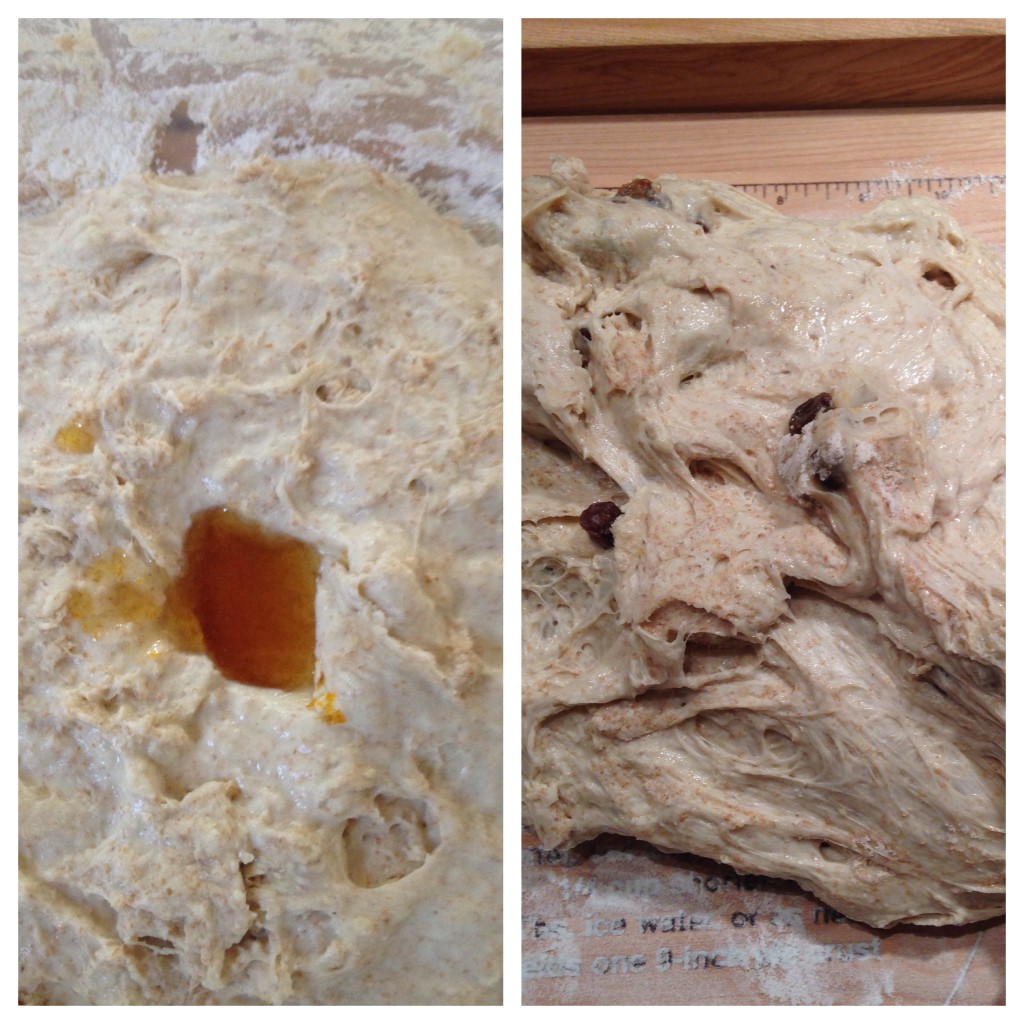 Once fully incorporated, form the dough into a round ball and place into a lightly floured tub or very large bowl and let sit for 12-14 hours. The dough will start to grow and spread out fairly quickly. As the yeast begins to react with the sugars in the dough, gas bubbles will form inside your dough. Within the first hour or so, go back to the dough and fold the dough over itself a couple of times so that you capture the gases inside the dough. This will help the dough rise so that your bread turns out light and airy v. dense and…well… jail-like.
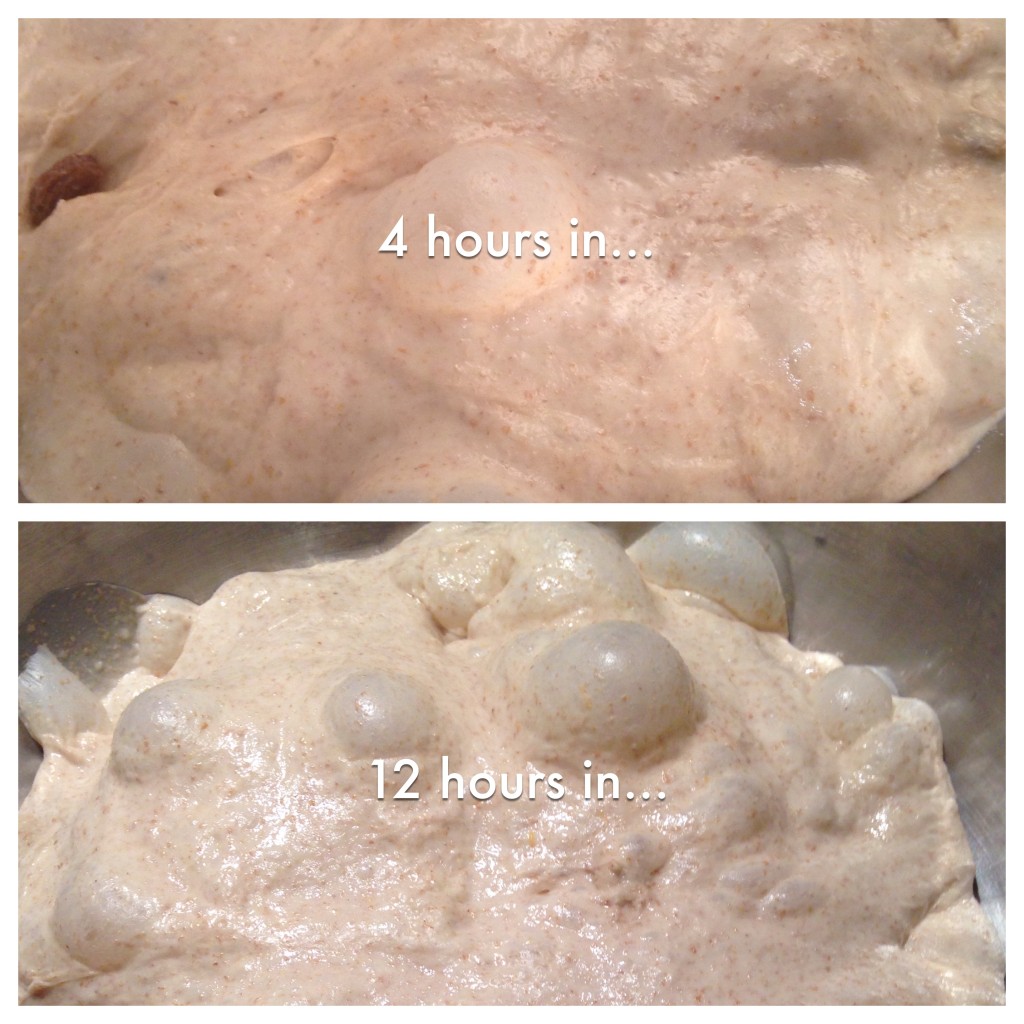
After 12 hours, invert the tub or bowl where your dough has been rising and remove the dough from the container with floured hands. Carefully place it onto a well-floured kneading surface and shape it into a tight round ball. Flour the dough ball in a straight line running from the top of the ball to bottom and cut the dough into two equal pieces along the line. Reshape each piece of dough into a tight round ball. Lightly flour each ball and place into a floured mixing bowl (just floured, not greased) and cover with a kitchen towl for 1 1/14 hours. Try and get the flour in the bowl to reach up the sides, so that it comes in contact with the surface of the dough v. just the bottom. If you’ve done it correctly, the flour will remains on the dough even after you’ve baked it. You can see the difference between the two loafs I made that were in two different bowls. Both are tasty, so don’t worry if you can’t achieve the look. 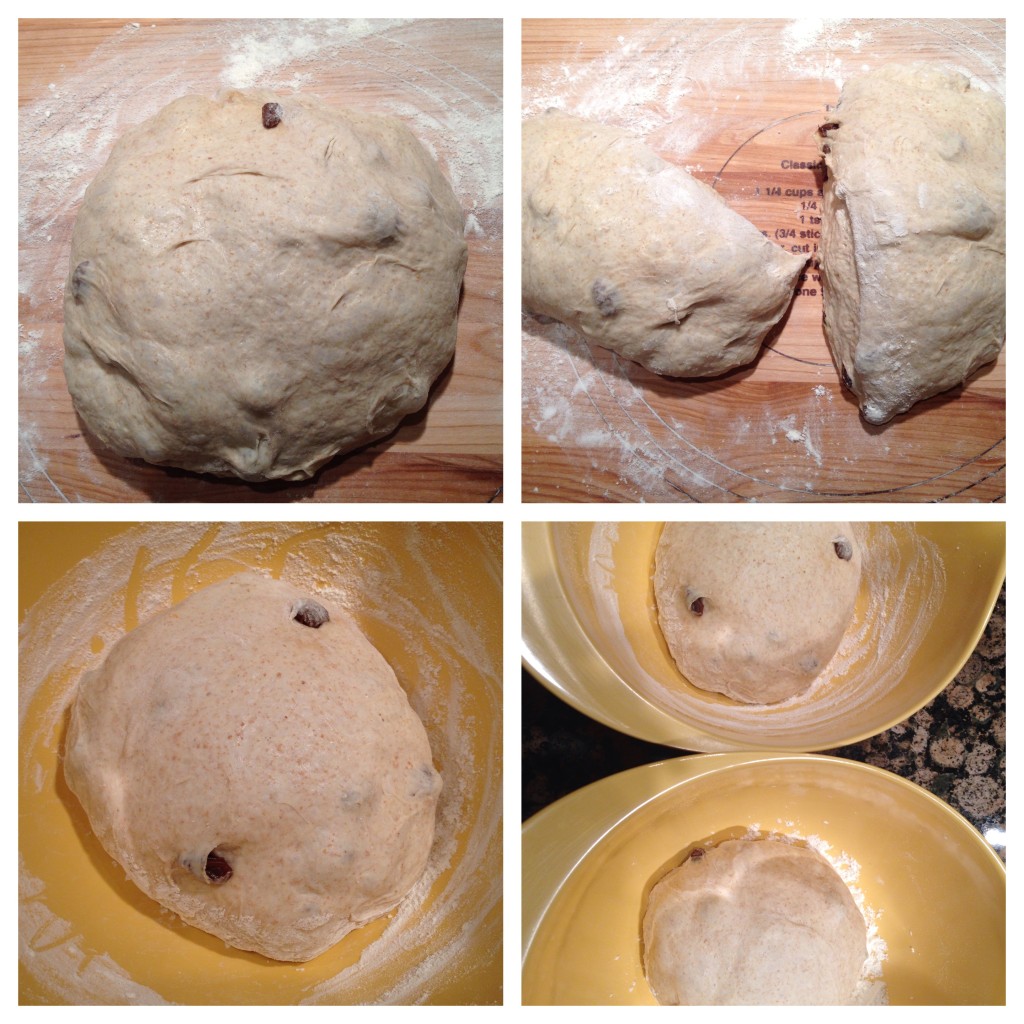
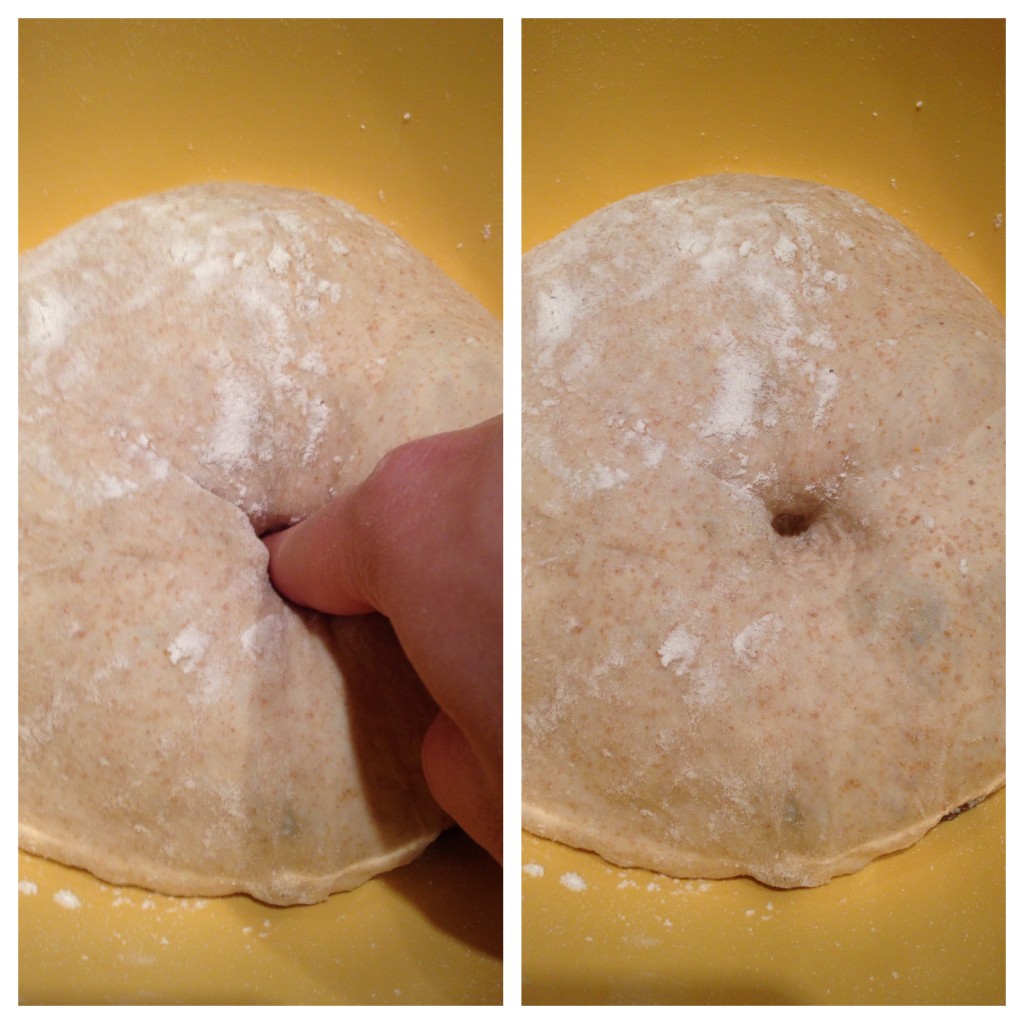
To test whether or not your dough has risen/is ready, poke it with your finger. The dough should keep the hole your finger has made.
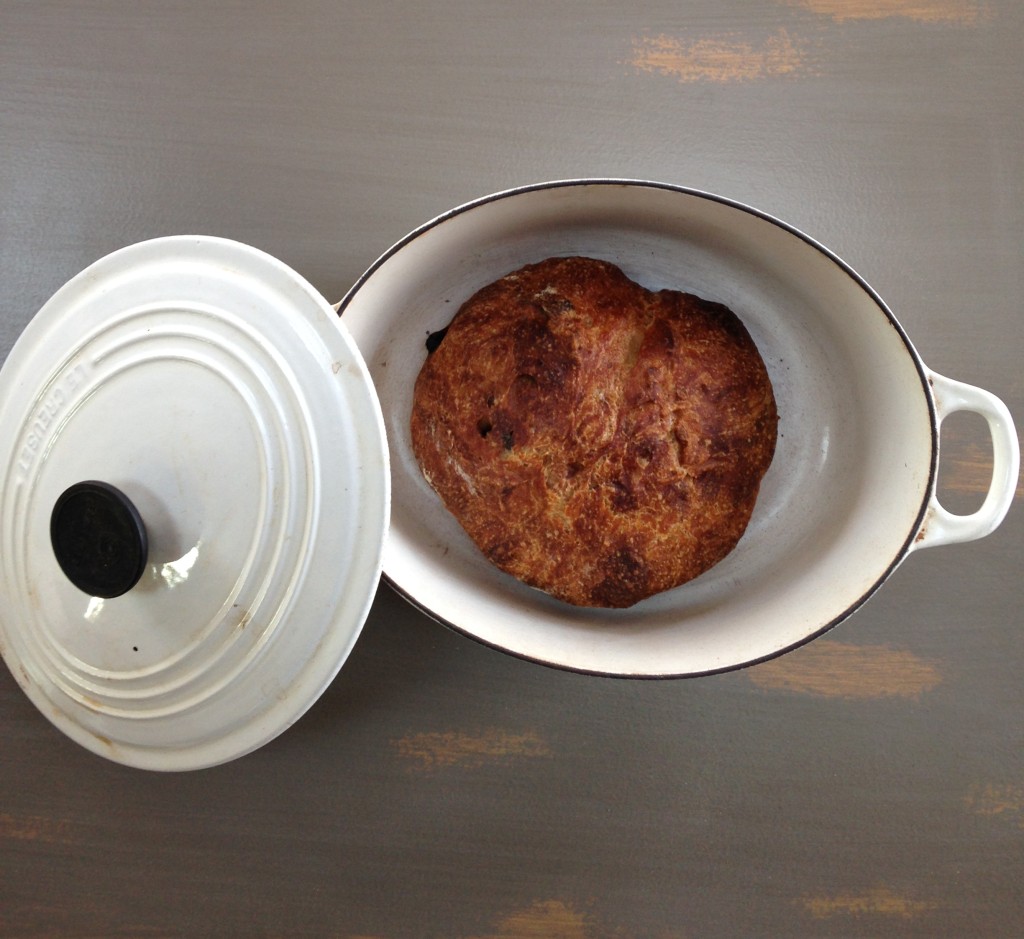
Pre-heat your oven to 475 degrees F and place your dutch oven into the oven to heat up while the oven pre-heats. Once the oven is fully pre-heated, carefully take the dutch oven out of the oven and remove the lid. Invert the risen dough onto your floured surface (seam side up) and, again, reshape into a nice rounded ball. Being careful not to touch the sides of the dutch oven, place the dough inside. Cover the dutch oven and place back into the oven for 30 minutes to bake. After 30 minutes, remove the lid and continue to bake for 15 minutes or until the bread is a nice golden brown. Repeat the process with the other piece of dough.
Allow the bread to cool for 5-10 minutes before cutting into it. This bread is great alone, with butter, or for added flavor on a turkey sandwich. Enjoy!
- 3½ cups All Purpose Flour
- ⅔ cups Whole Wheat Flour
- 3¼ cups Water
- 3 tbsps Honey
- ½ Orange, zested
- ½ packet of dried yeast
- ½ to ¾ cup of Raisins
- 1½ tsps Kosher Salt
- Combine flours (all purpose and wheat) with water in a large tub or very wide mixing bowl (12 qt).
- Using your hands, mix the flour with the water until dough is formed and all flour and water is combined.
- Use your finger to create a divit in the dough and fill with honey. Using the folding technique, incorporate the honey into the dough. Fold one side of the dough over the top of the dough. Repeat, alternating sides, until honey is fully incorporated.
- Sprinkle salt, orange zest, yeast and raisins over the dough and incorporate using the folding technique.
- Carefully lift the dough and place into a clean, floured container or bowl and let rise for 12-14 hours.
- Within the first hour to 1½ hours of rising, go back to the dough, and fold the dough over itself a few times to ensure gas retention in the dough.
- After 12 hours, carefully invert the bowl or tub and remove the dough and place onto a floured surface. Reshape the dough into a round ball.
- Flour a line down the center of the ball (top to bottom) and slice the dough into two pieces.
- Reshape the pieces of dough into two equal dough balls. flour the tops of the balls and place into 2 floured mixing bowls. Cover with a towel and let sit for 11/4 hours or until your dough passes the finger dent test.
- Pre-heat your oven to 475 F and place a dutch oven inside it while pre-heating.
- Once fully pre-heated, remove the dutch oven from the oven, and place 1 dough ball in side. Close the lid and bake for 30 minutes.
- Remove the lid and continue to bake for another 15 minutes or until golden brown.
- Repeat with the second dough ball.





Hahahaha! I like how you transformed a seemingly almost-to-be-terrible court drama to the kitchen table. Bet the bread was filled with all that grumpy goodness!
It’s totally delicious! Just requires a bit of patience or planning 🙂